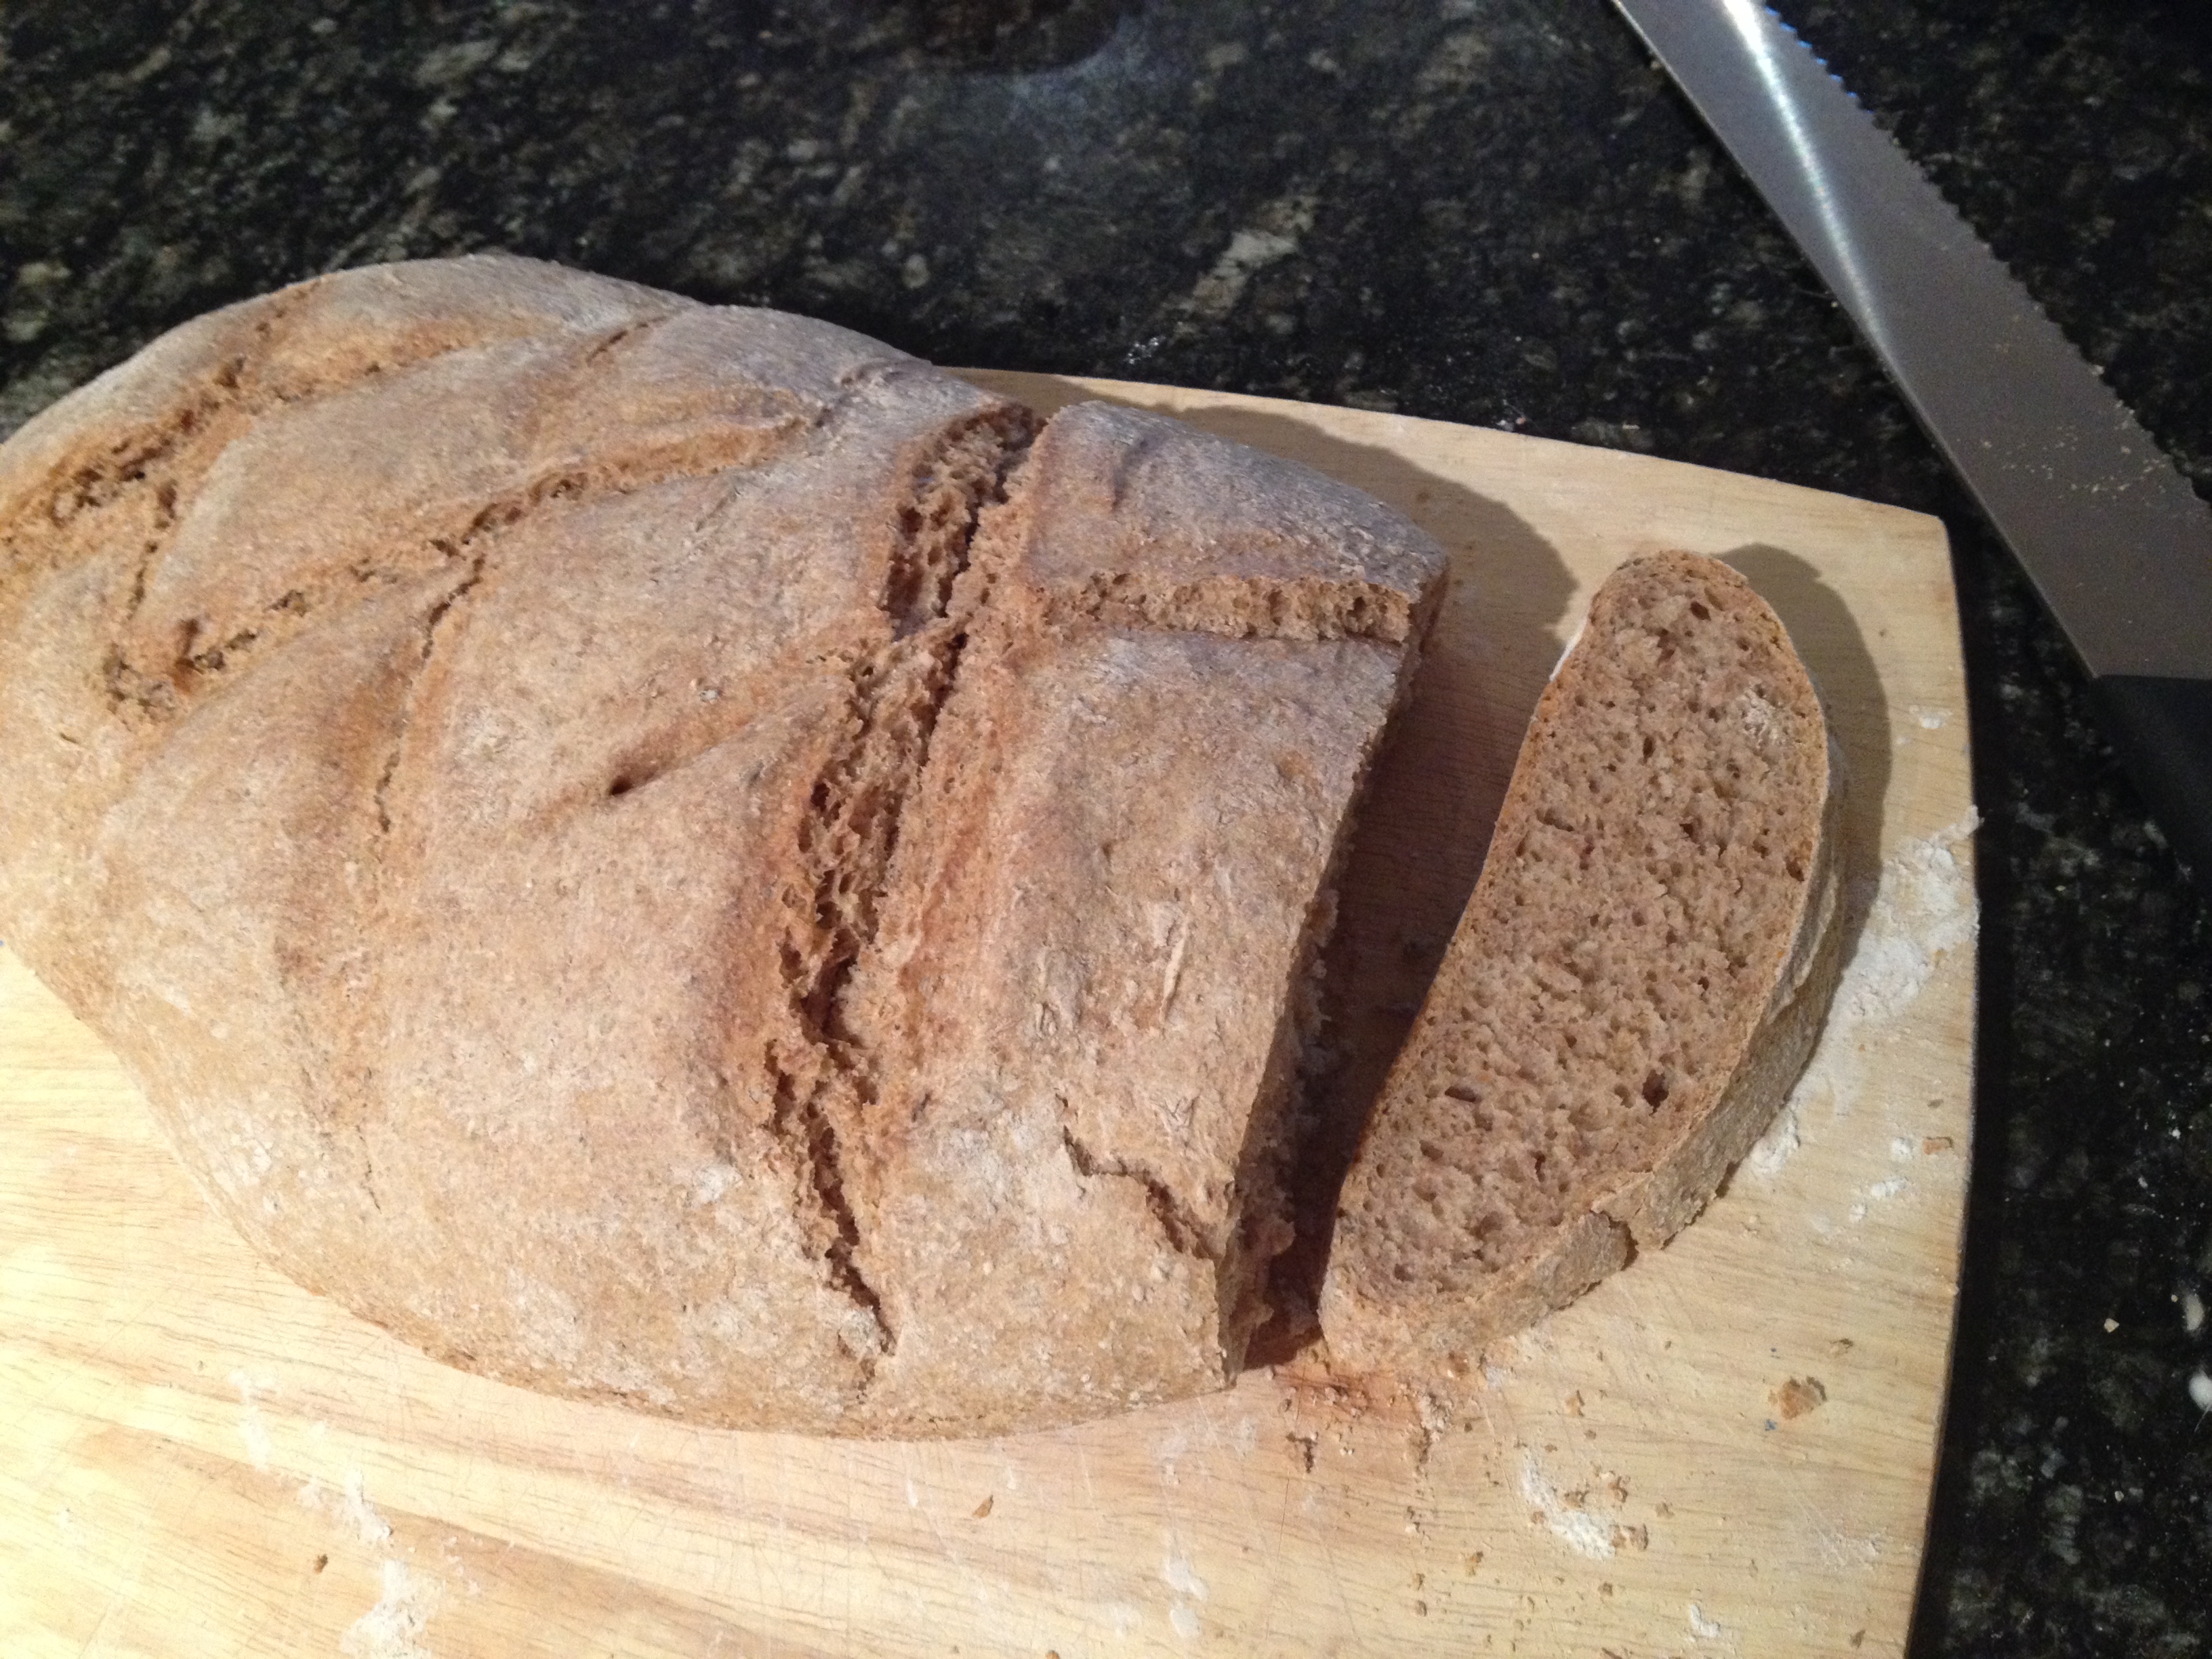
100% Whole Wheat Bread (Celozrnný Chlieb)
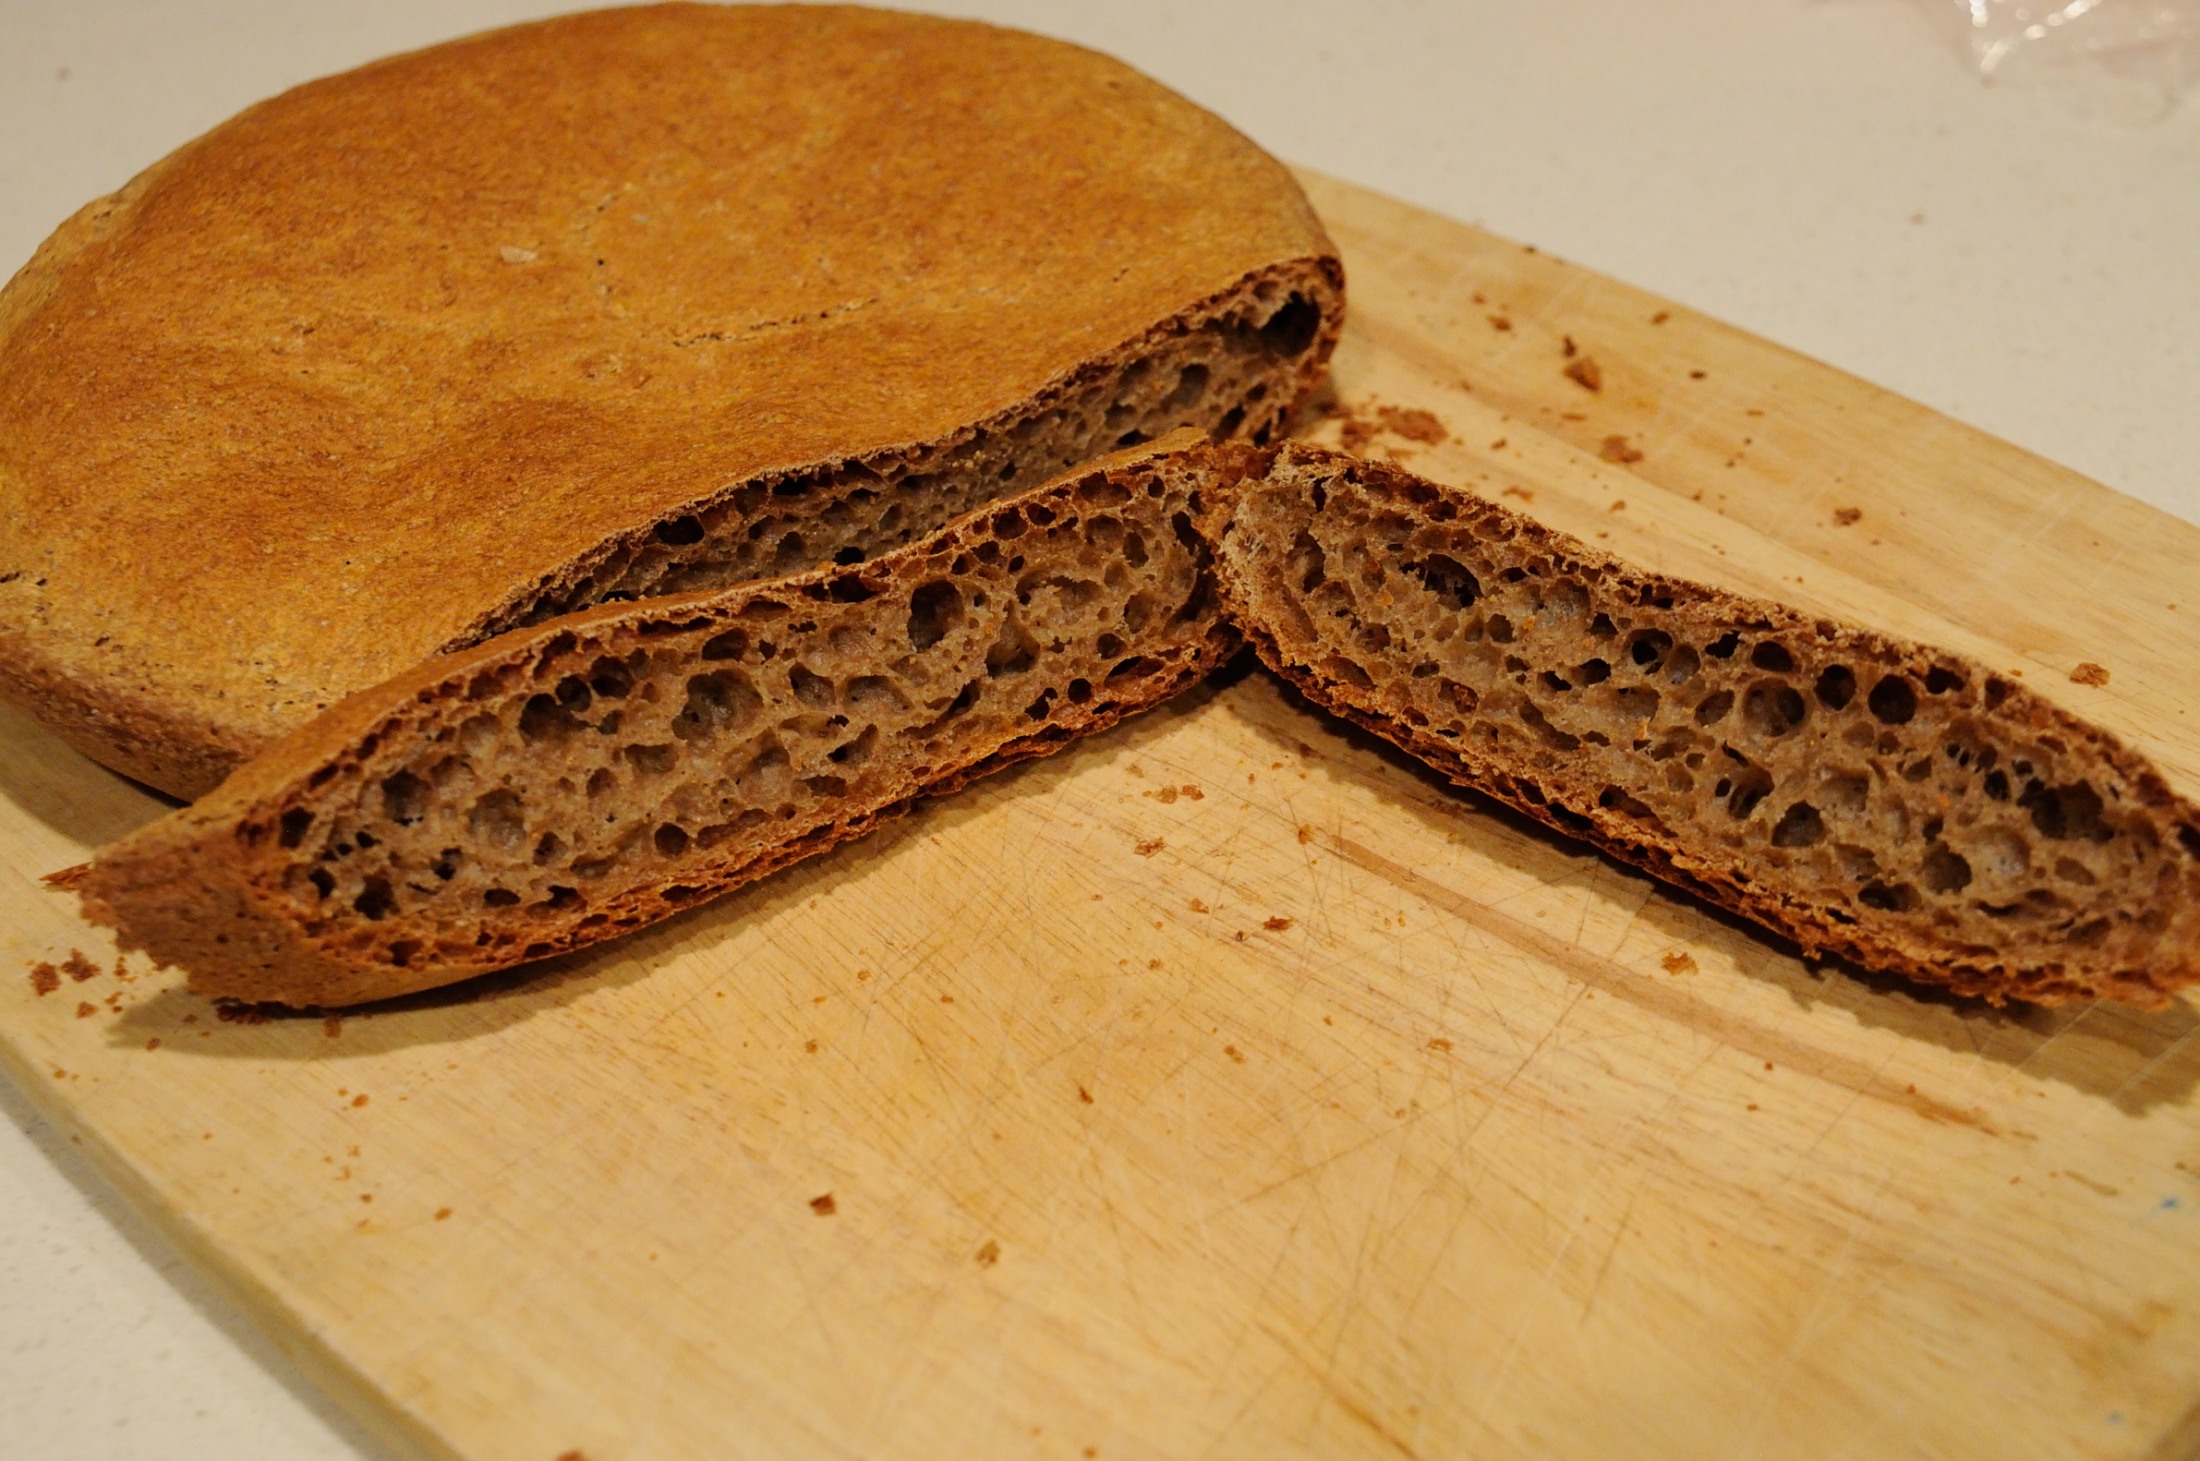
As my wife will attest, I love bread. There is nothing more satisfying than a slice of bread topped with green peppers, tomatoes, or cucumbers. While white breads have their place, what I really crave is that flavorful crunchy crust and moist center that you find in a whole wheat loaf. These days it’s easy to find “rustic” breads thanks to local bakeries and chains such as La Brea. The downside is that many “whole wheat” breads are made partly with white flour. Store-bought bread can also be quite pricey, often even six dollars for a single loaf. Hence, for the past months, I’ve been experimenting with baking my own 100% whole wheat bread. It’s been a challenge! I even said that getting a whole wheat loaf that is not dense, dry, and sandy may be more difficult that qualifying for the Boston marathon. This was attempt #20 (or so). While not completely perfect (the loaf looks like a Frisbee), it turned out airy and moist so I decided to share the recipe with you. The total cost of ingredients is only around a dollar. In making this recipe, I used the lid of the Lodge Cast Iron Double Dutch Oven. I greatly recommend this product. It’s been in constant rotation in my kitchen since buying it few months ago. The skillet lid is great for any type of sautéing and pan frying, while the pot works great for making popcorn without burning it. Buying it through the above affiliated link is also a great way to support this site, as I receive a small percentage of the purchase price from Amazon.
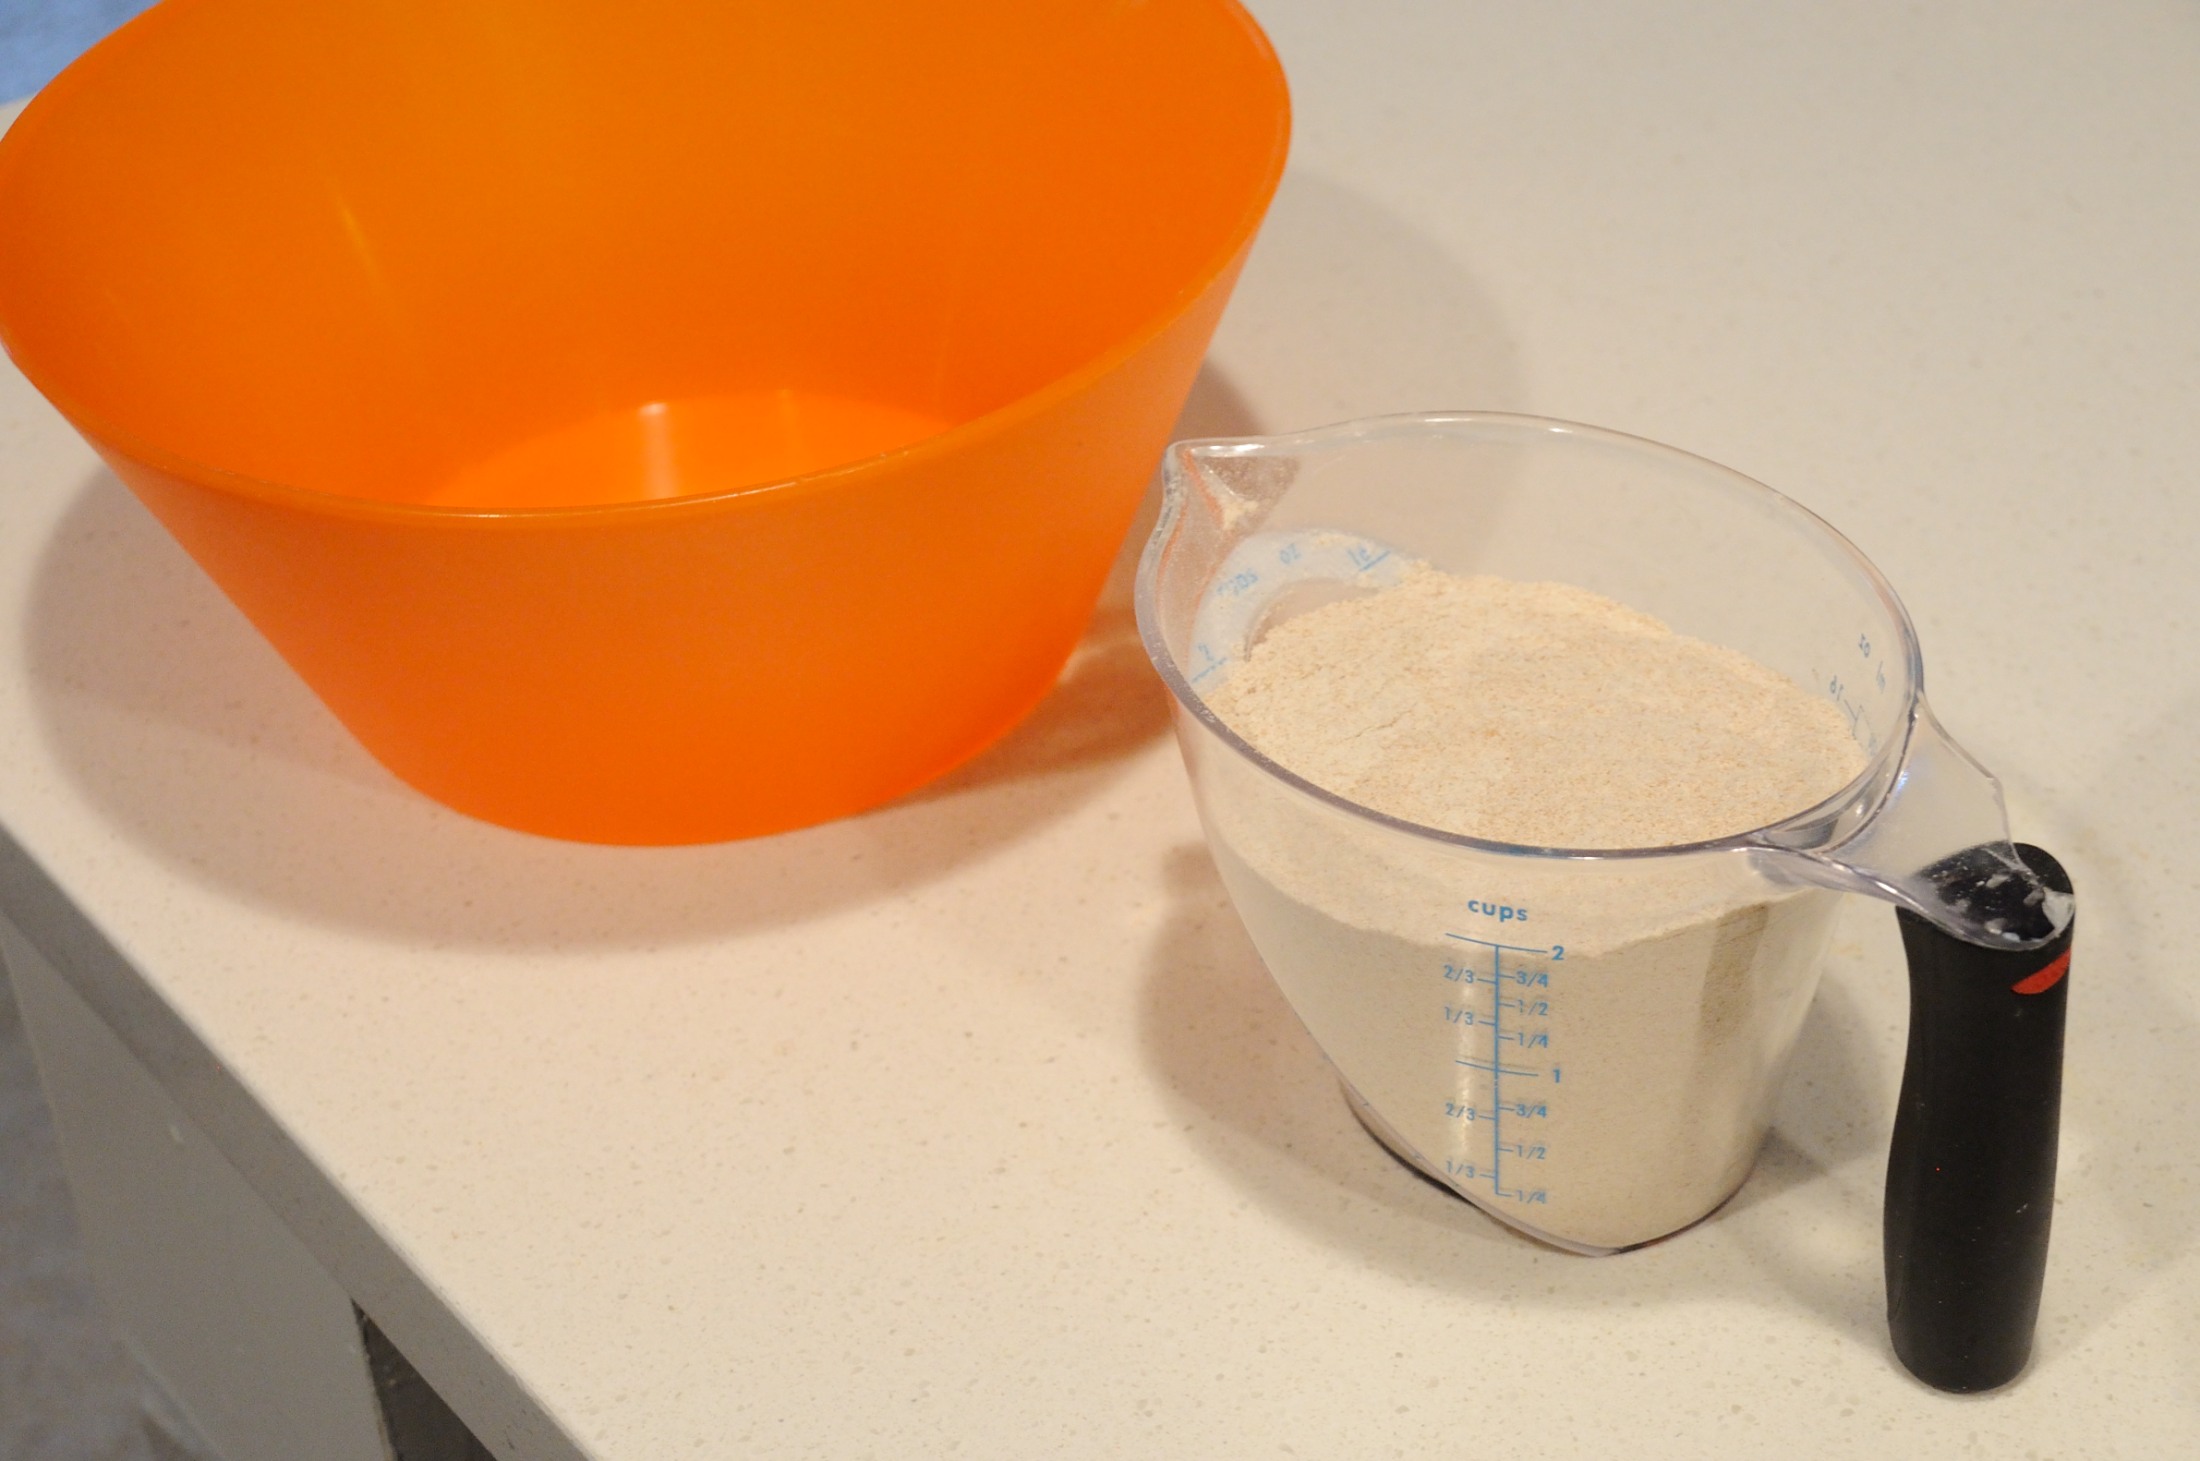
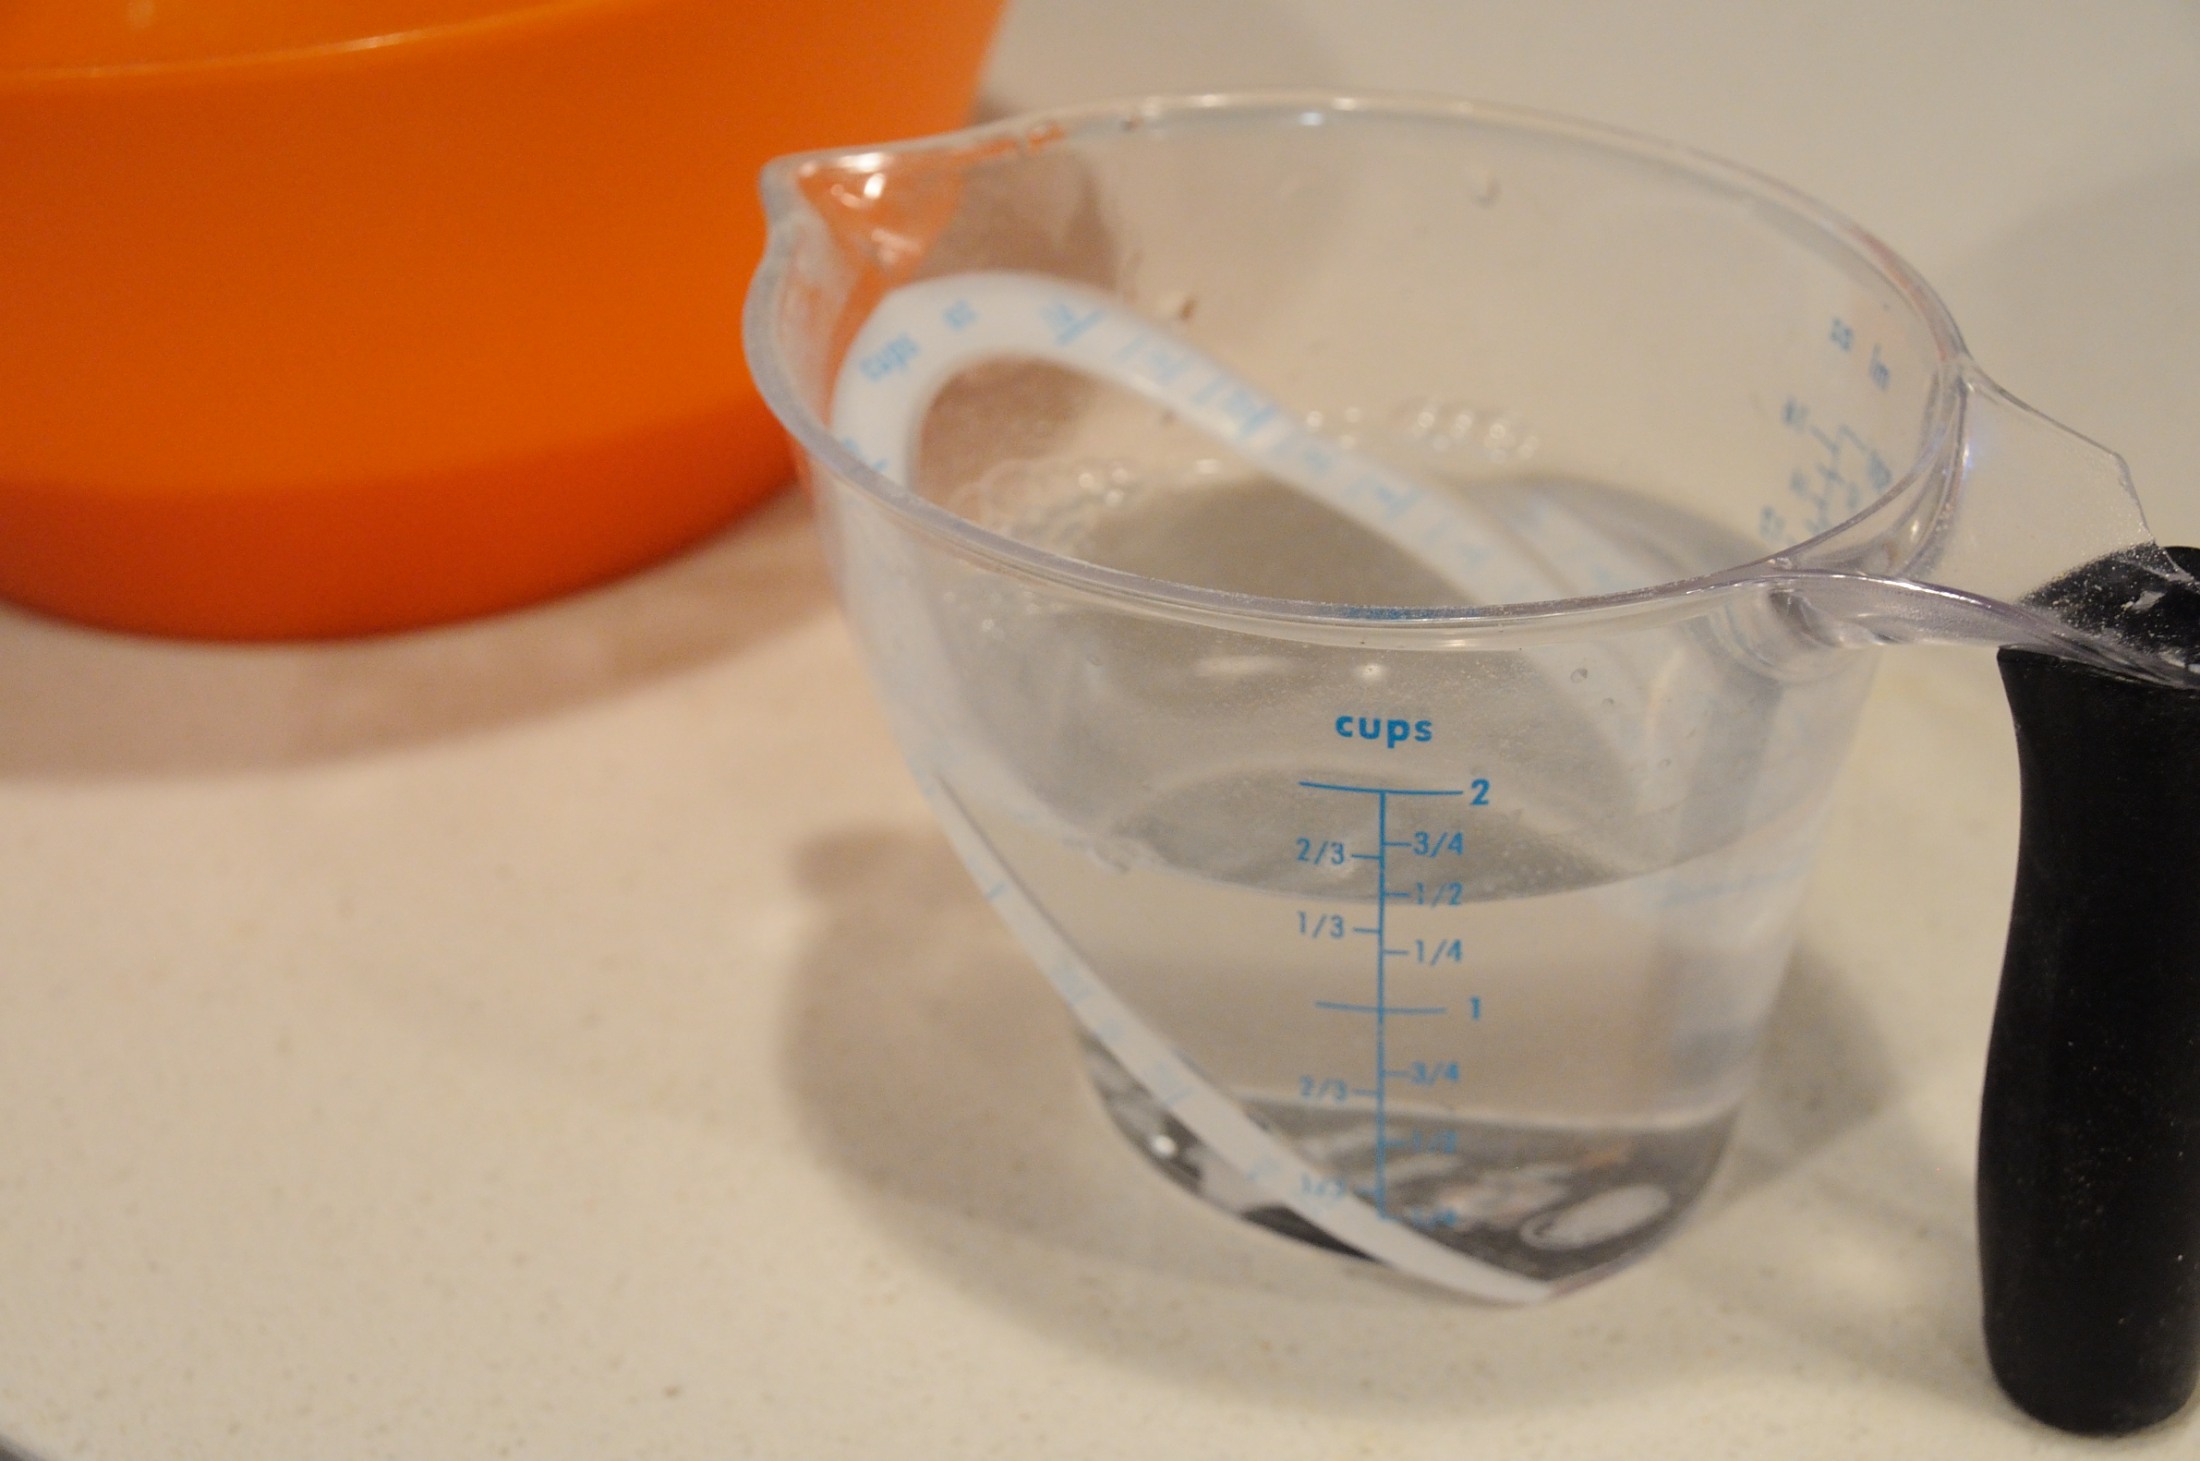
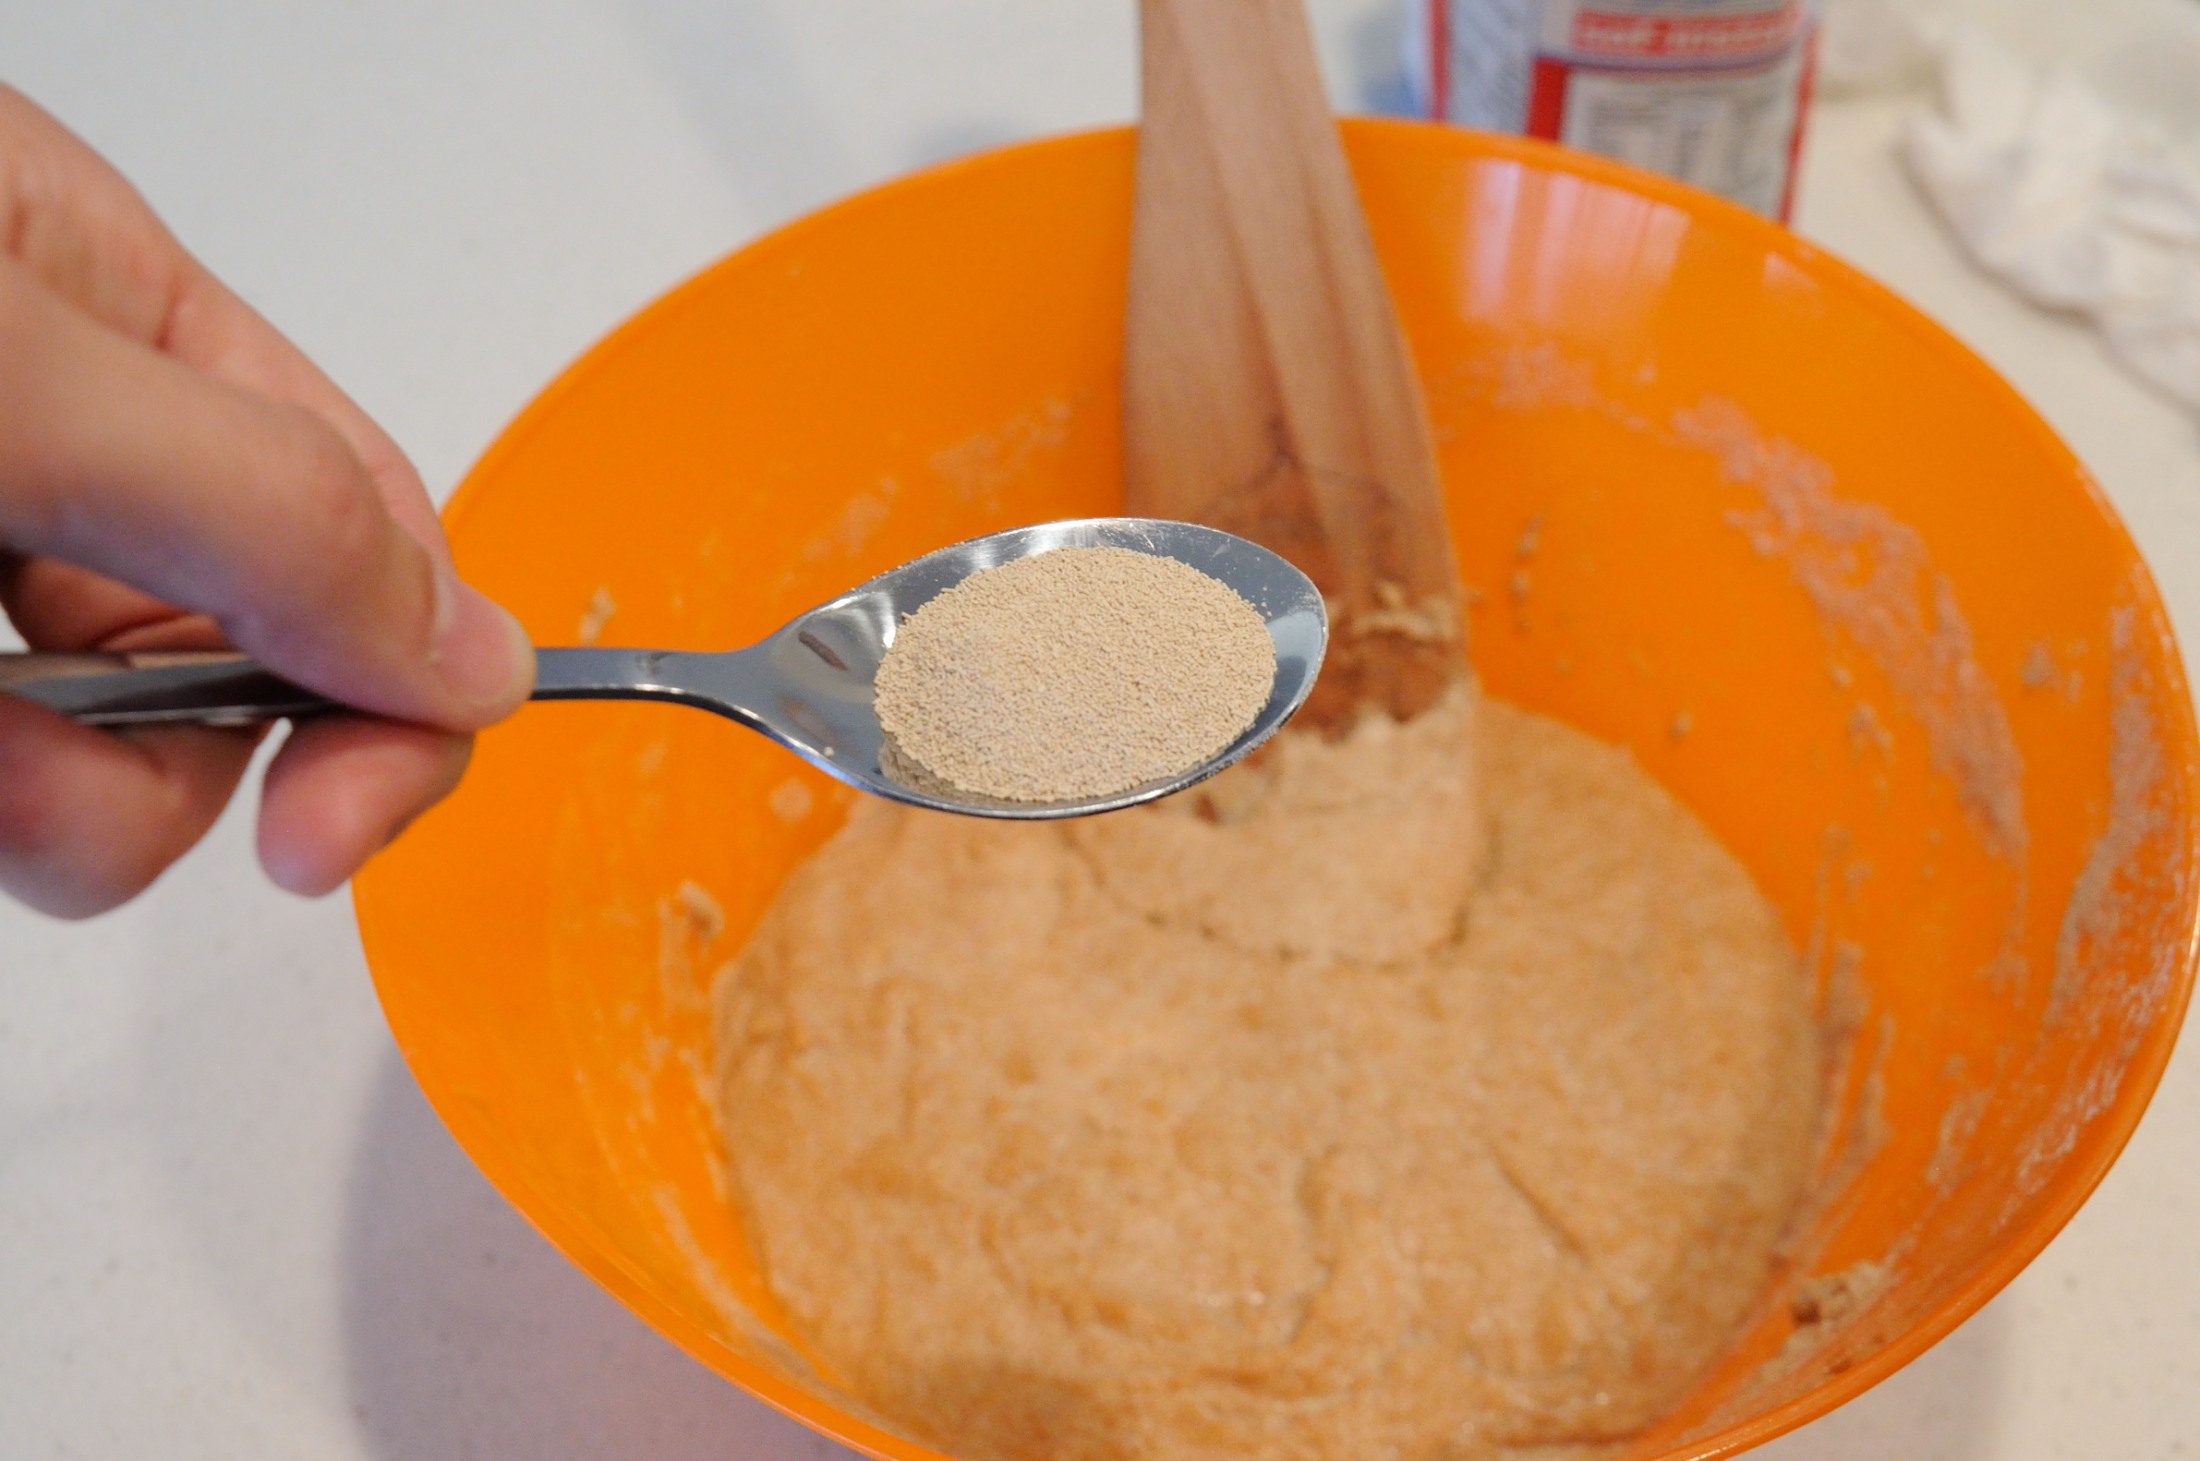
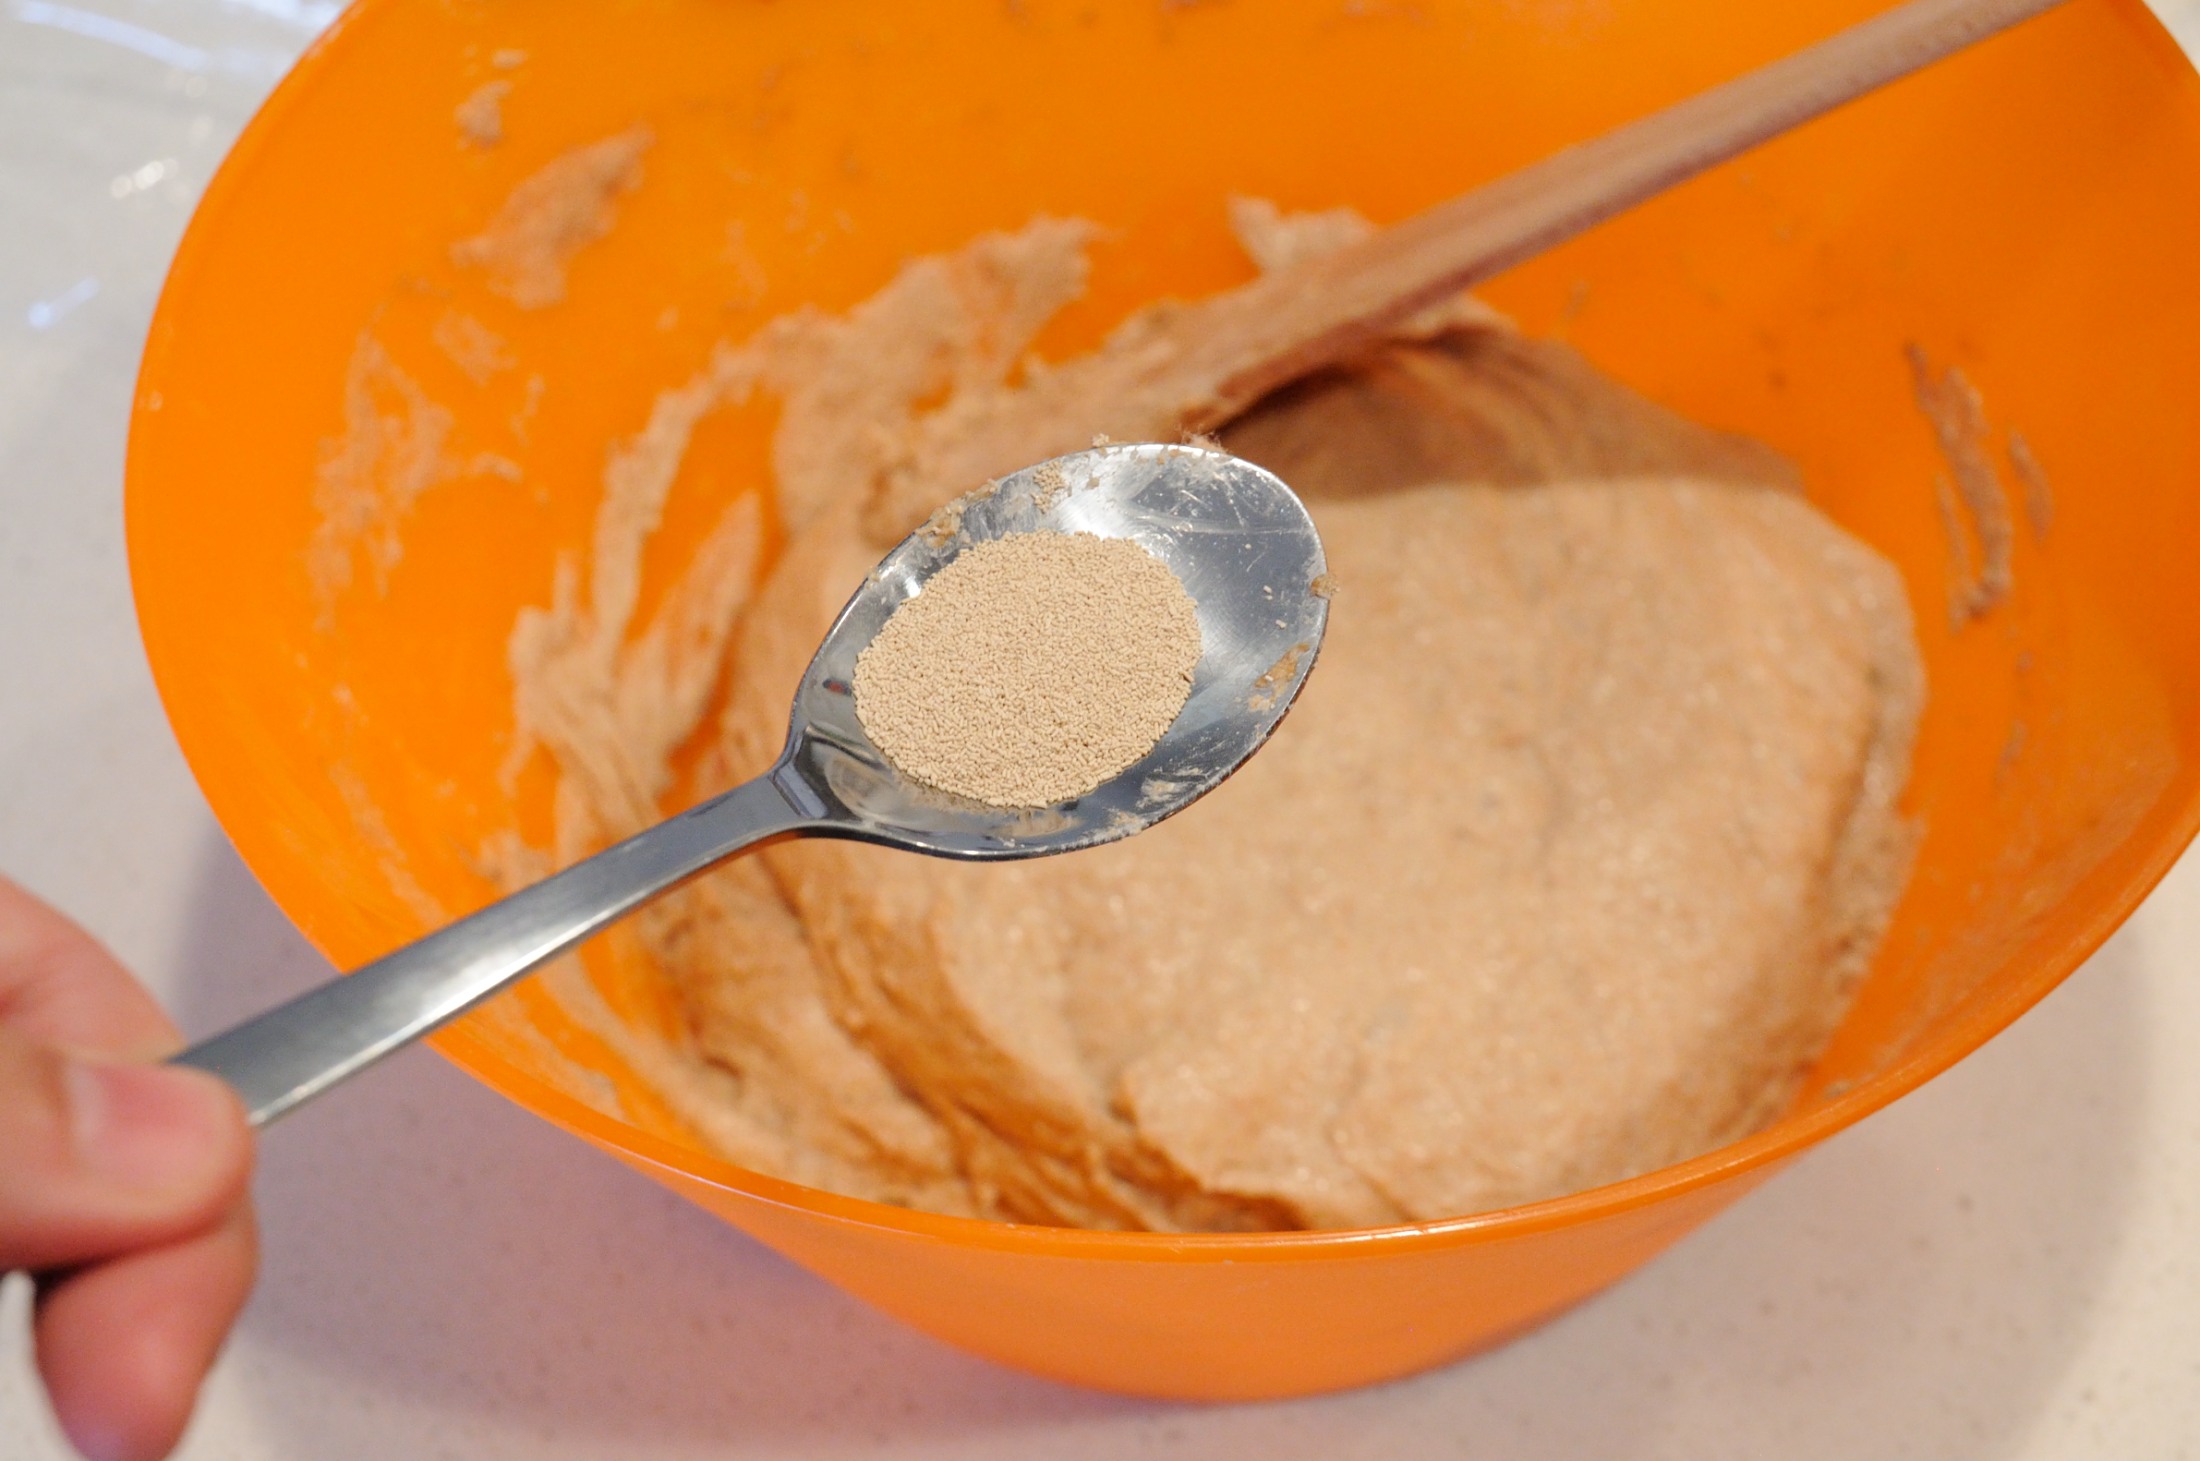
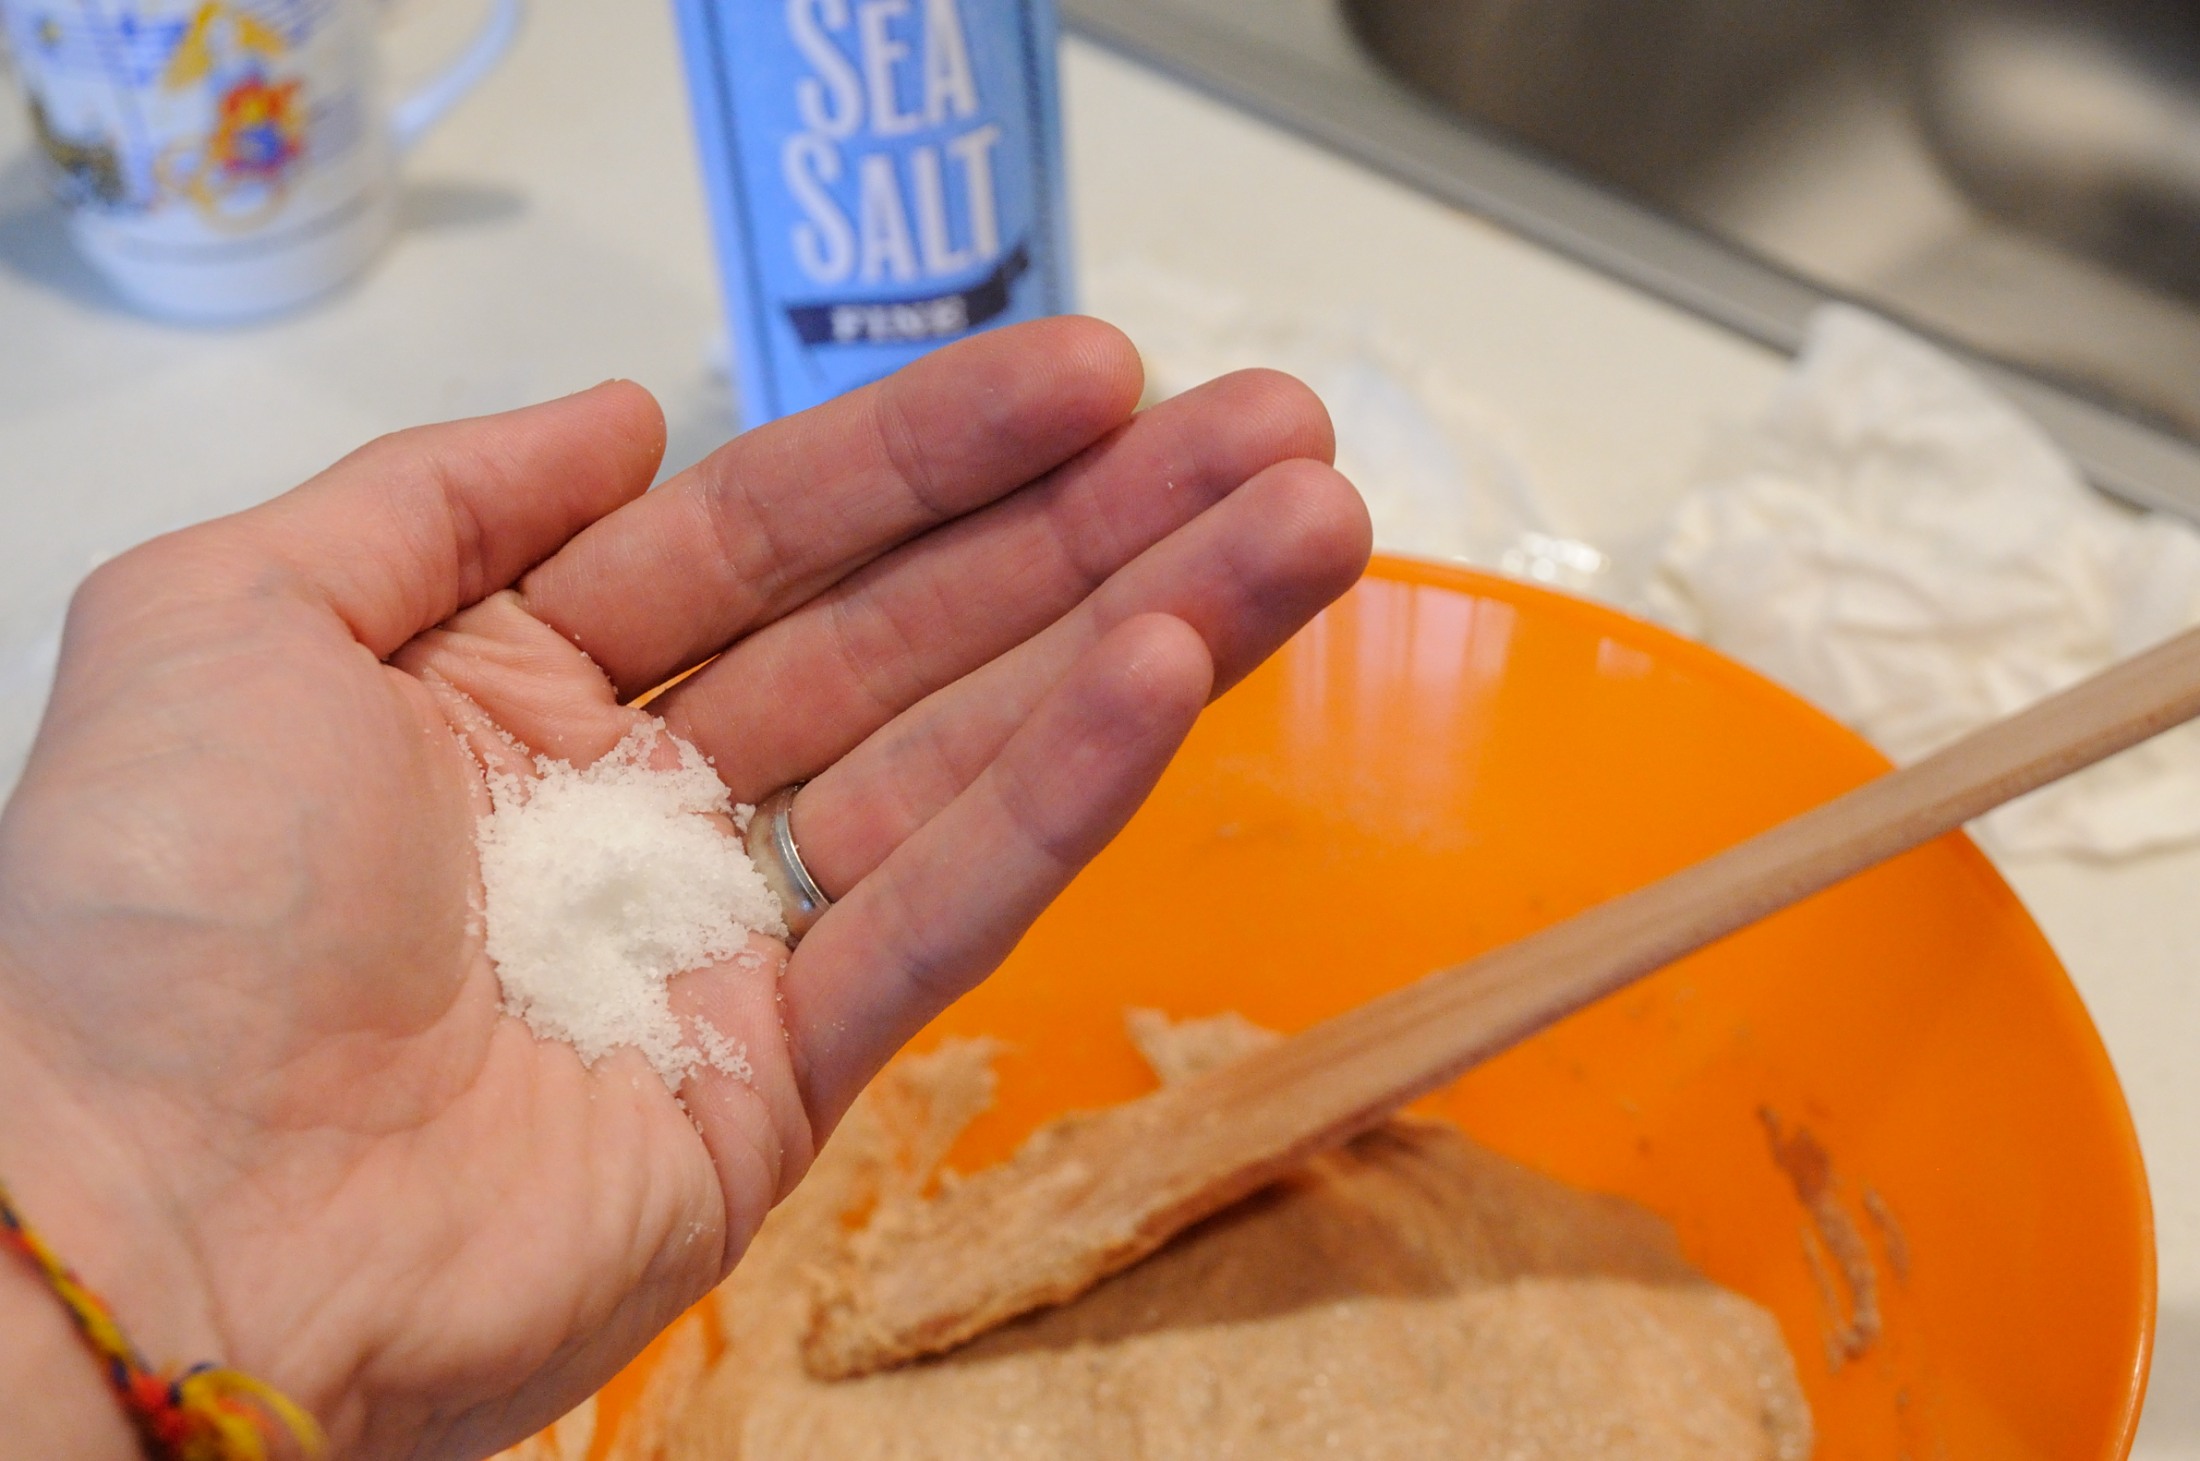
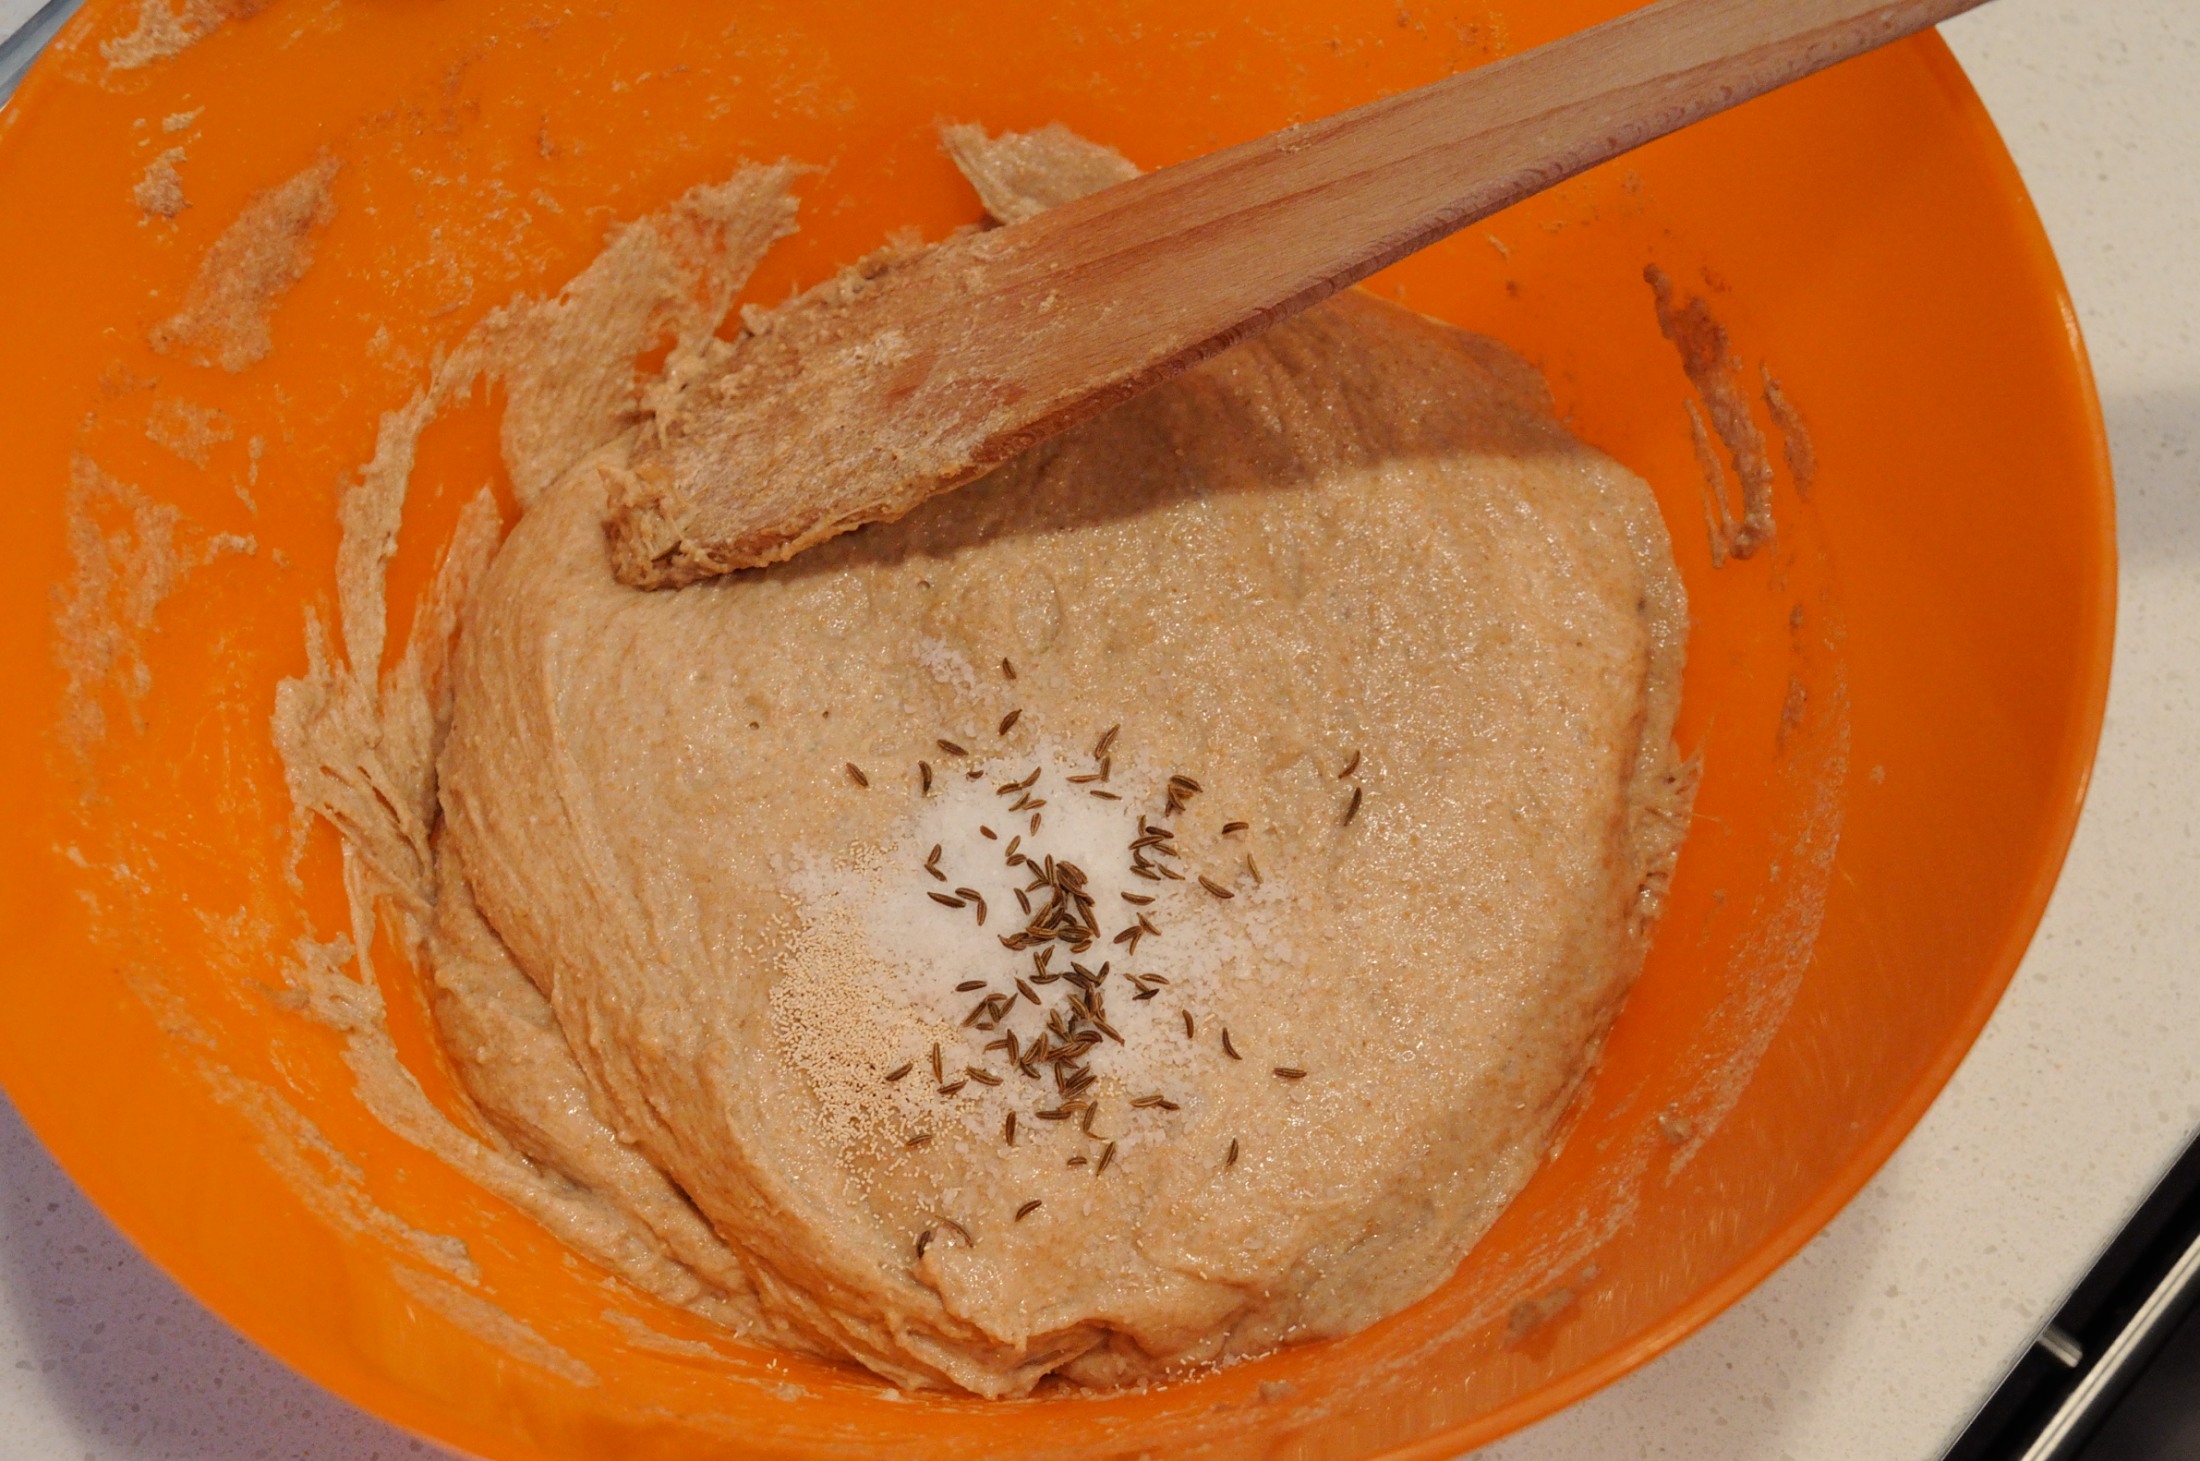
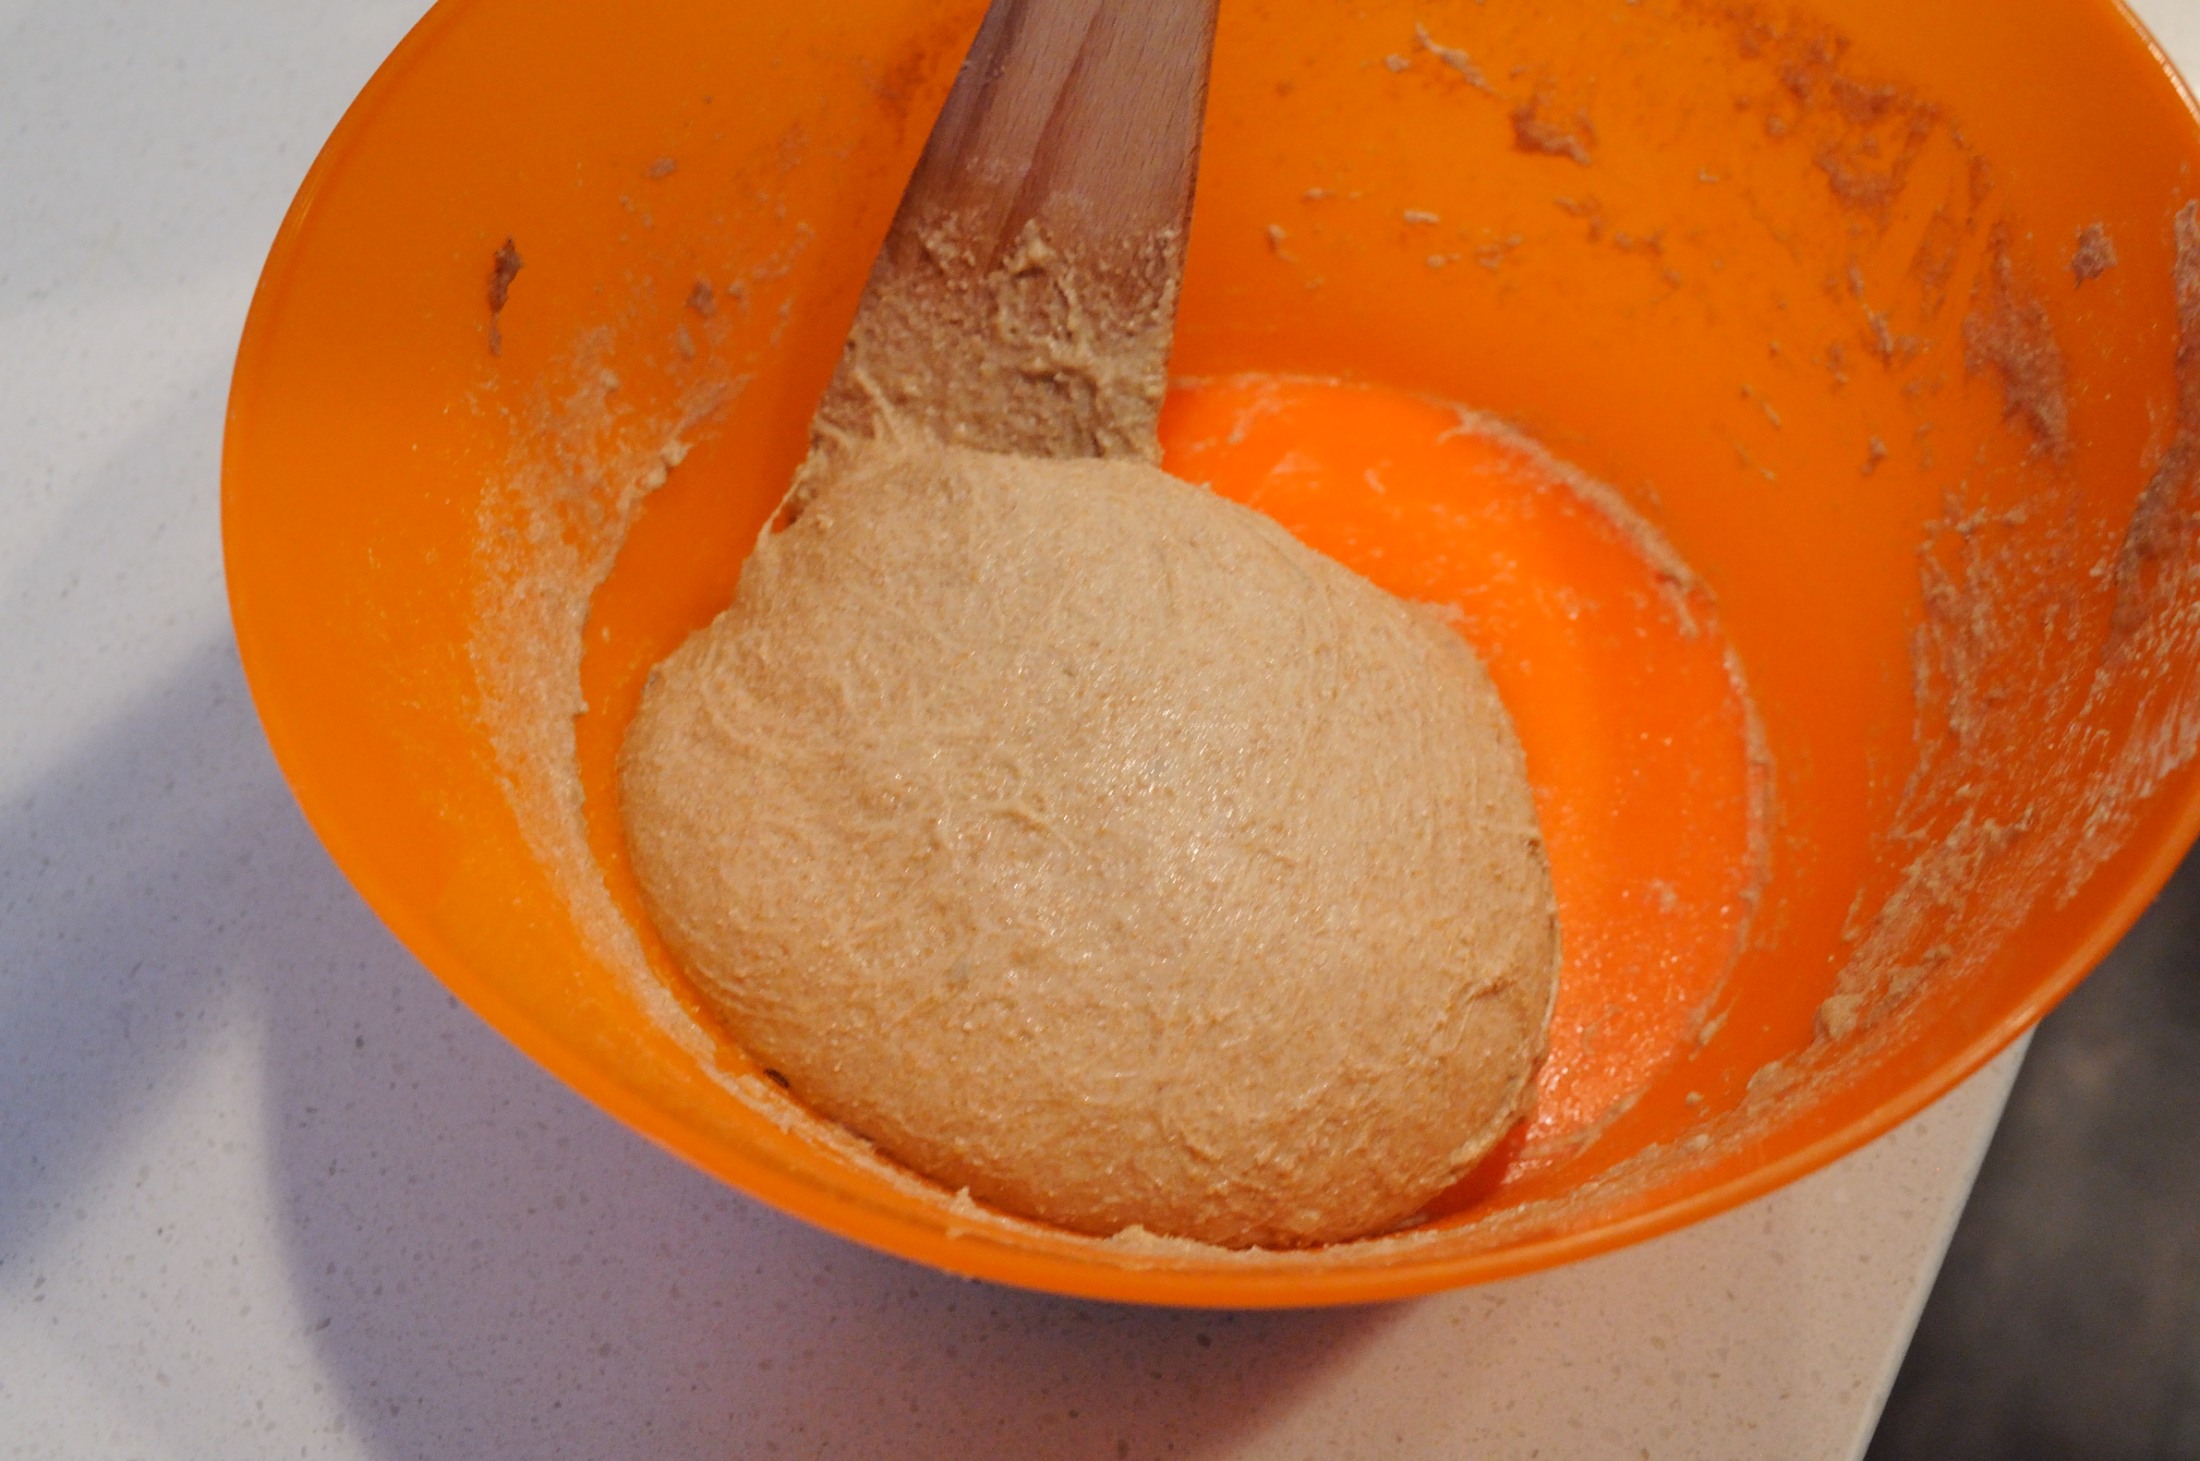
Ingredients: 2 cups of whole wheat flour, 1.5 cups warm water, tablespoon of yeast, handful of salt, caraway seeds (optional)
Prep Time: most of the day spent waiting for the dough to rise, slightly over an hour for baking
Mixing


Below is a video showing the consistency of the dough at this point:
First Rise


Second Rise

Here is a video showing the dough after the second rise:
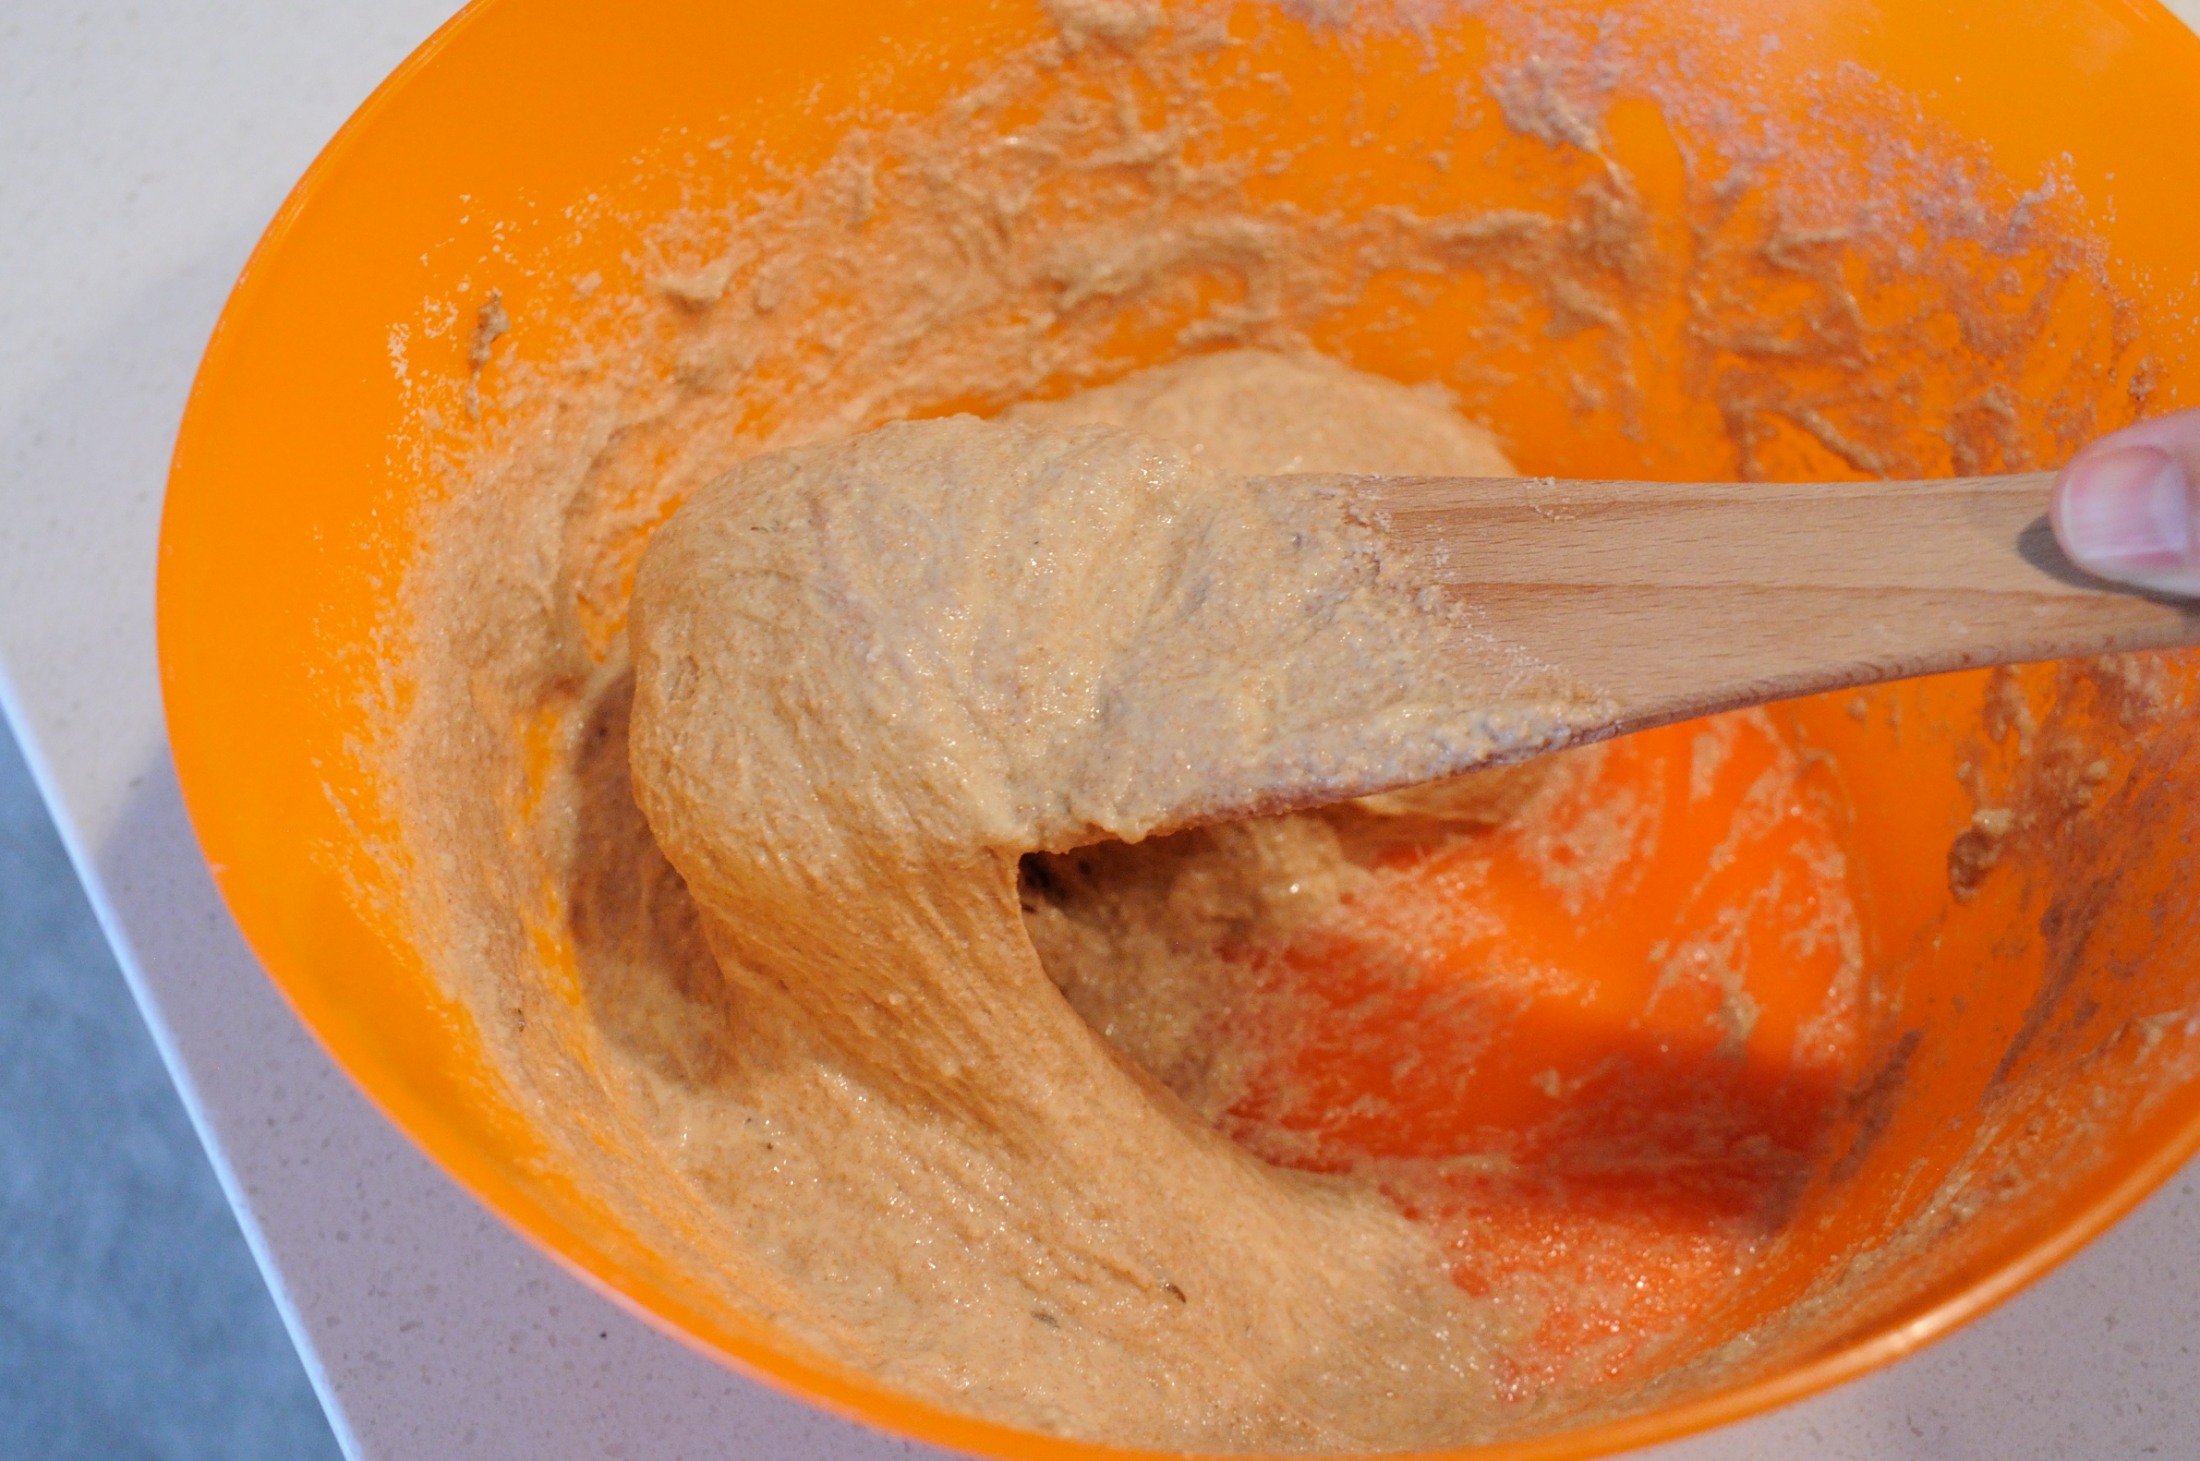
Seasoning
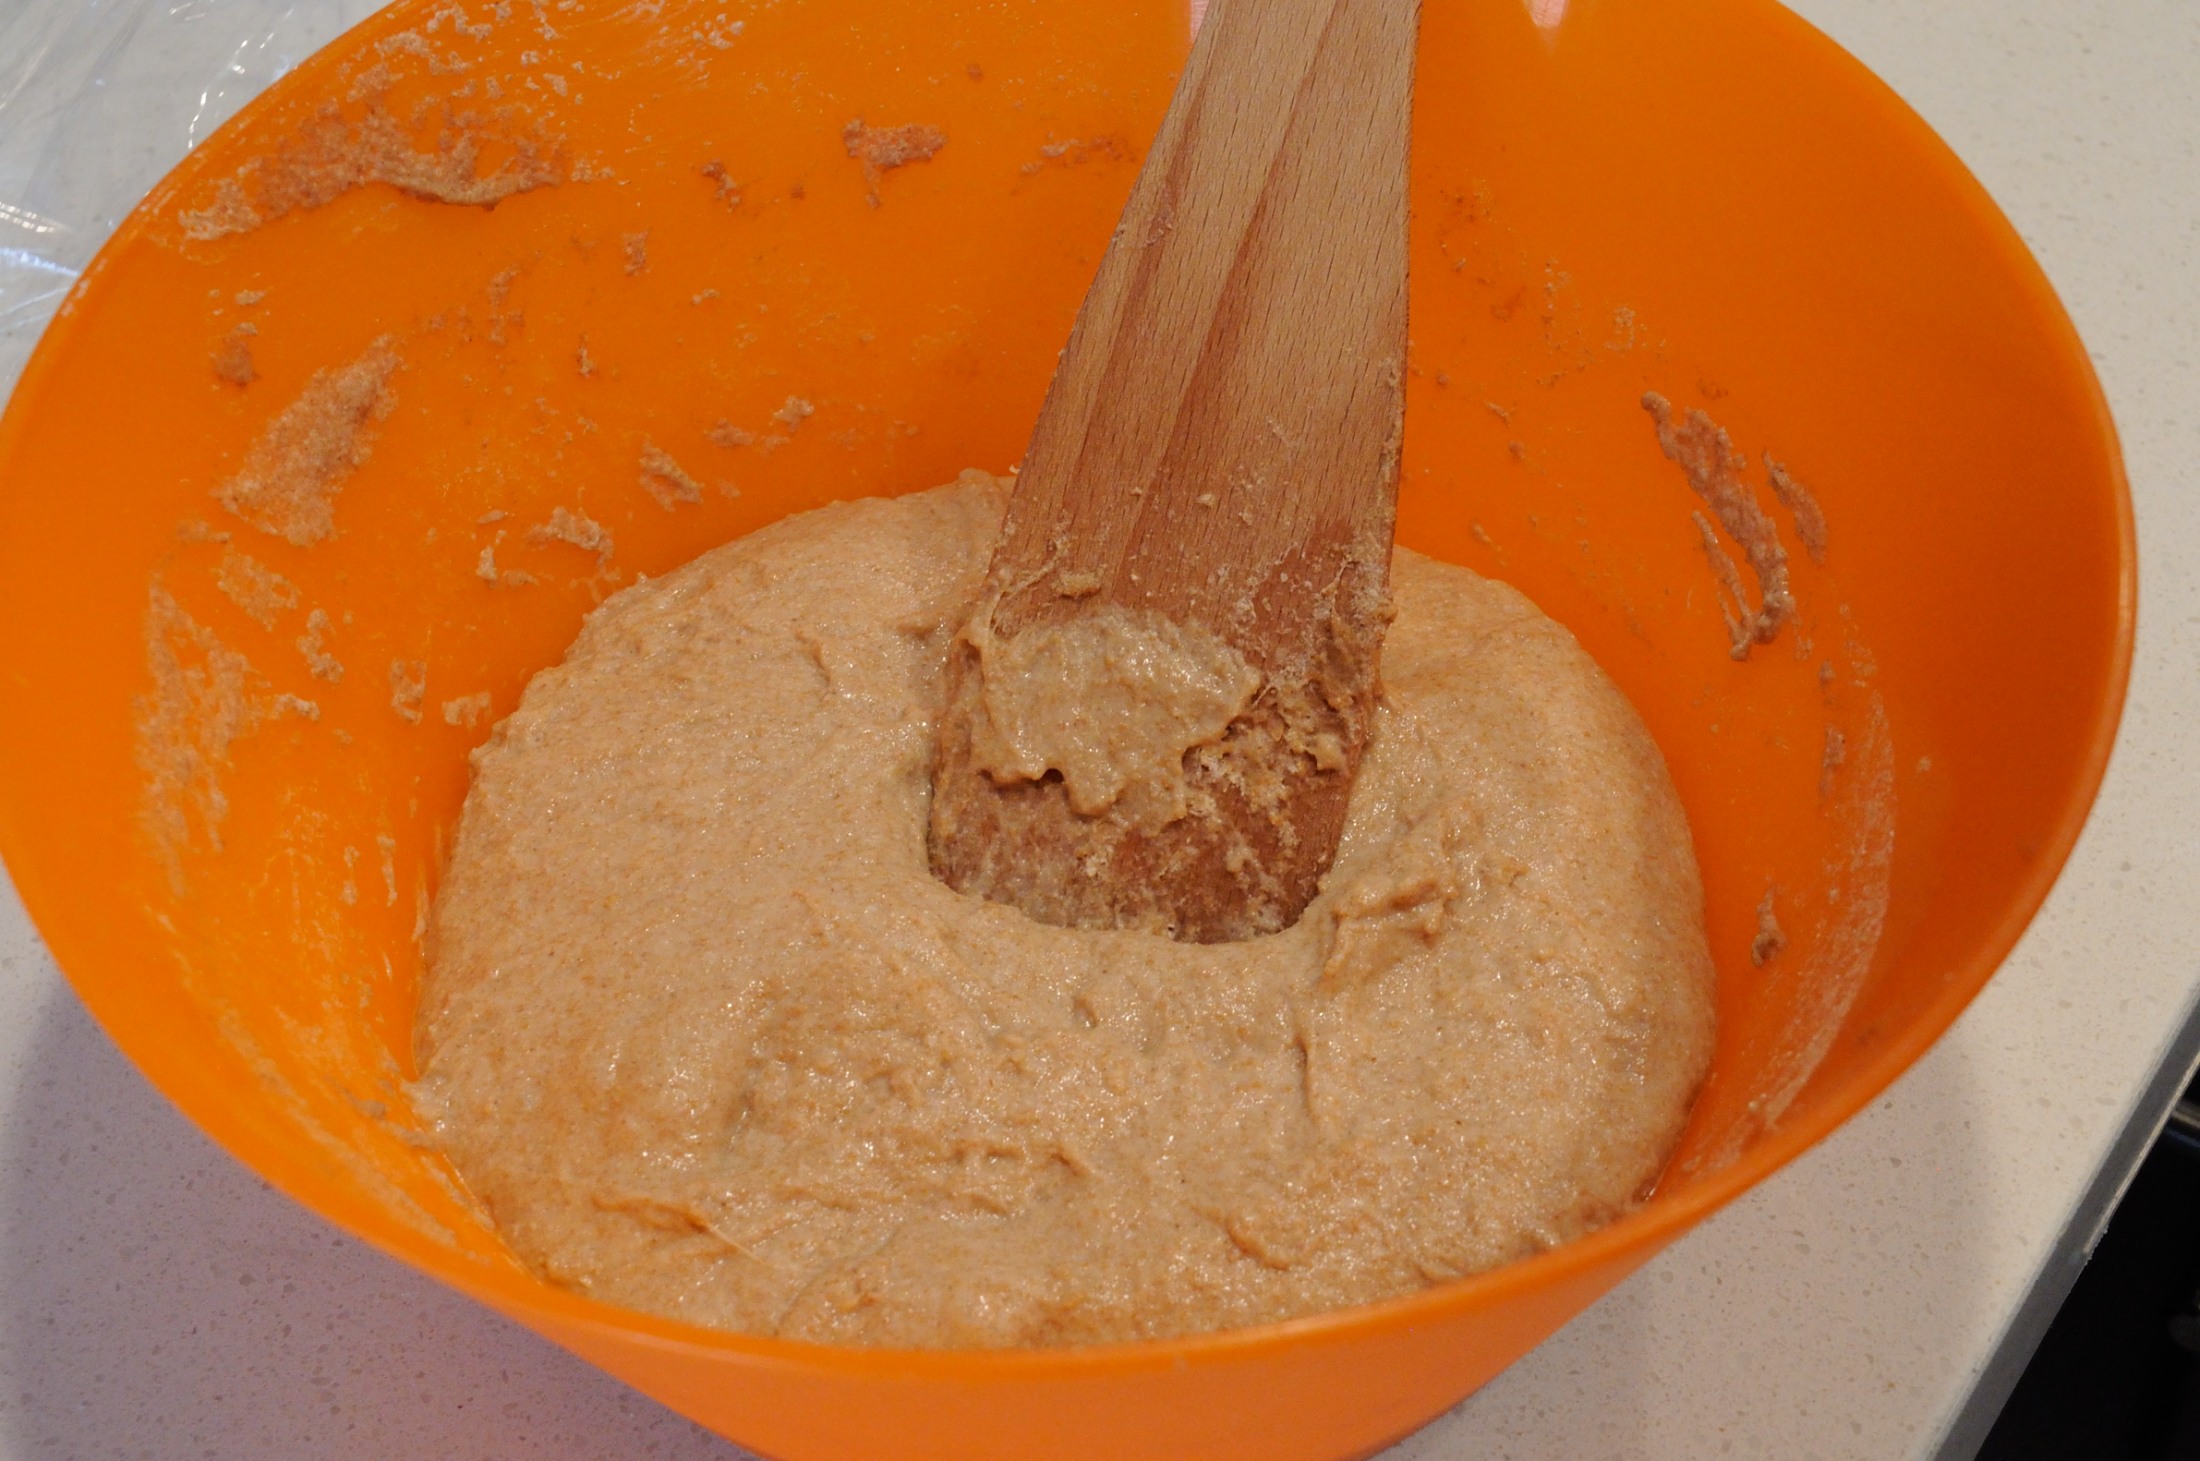
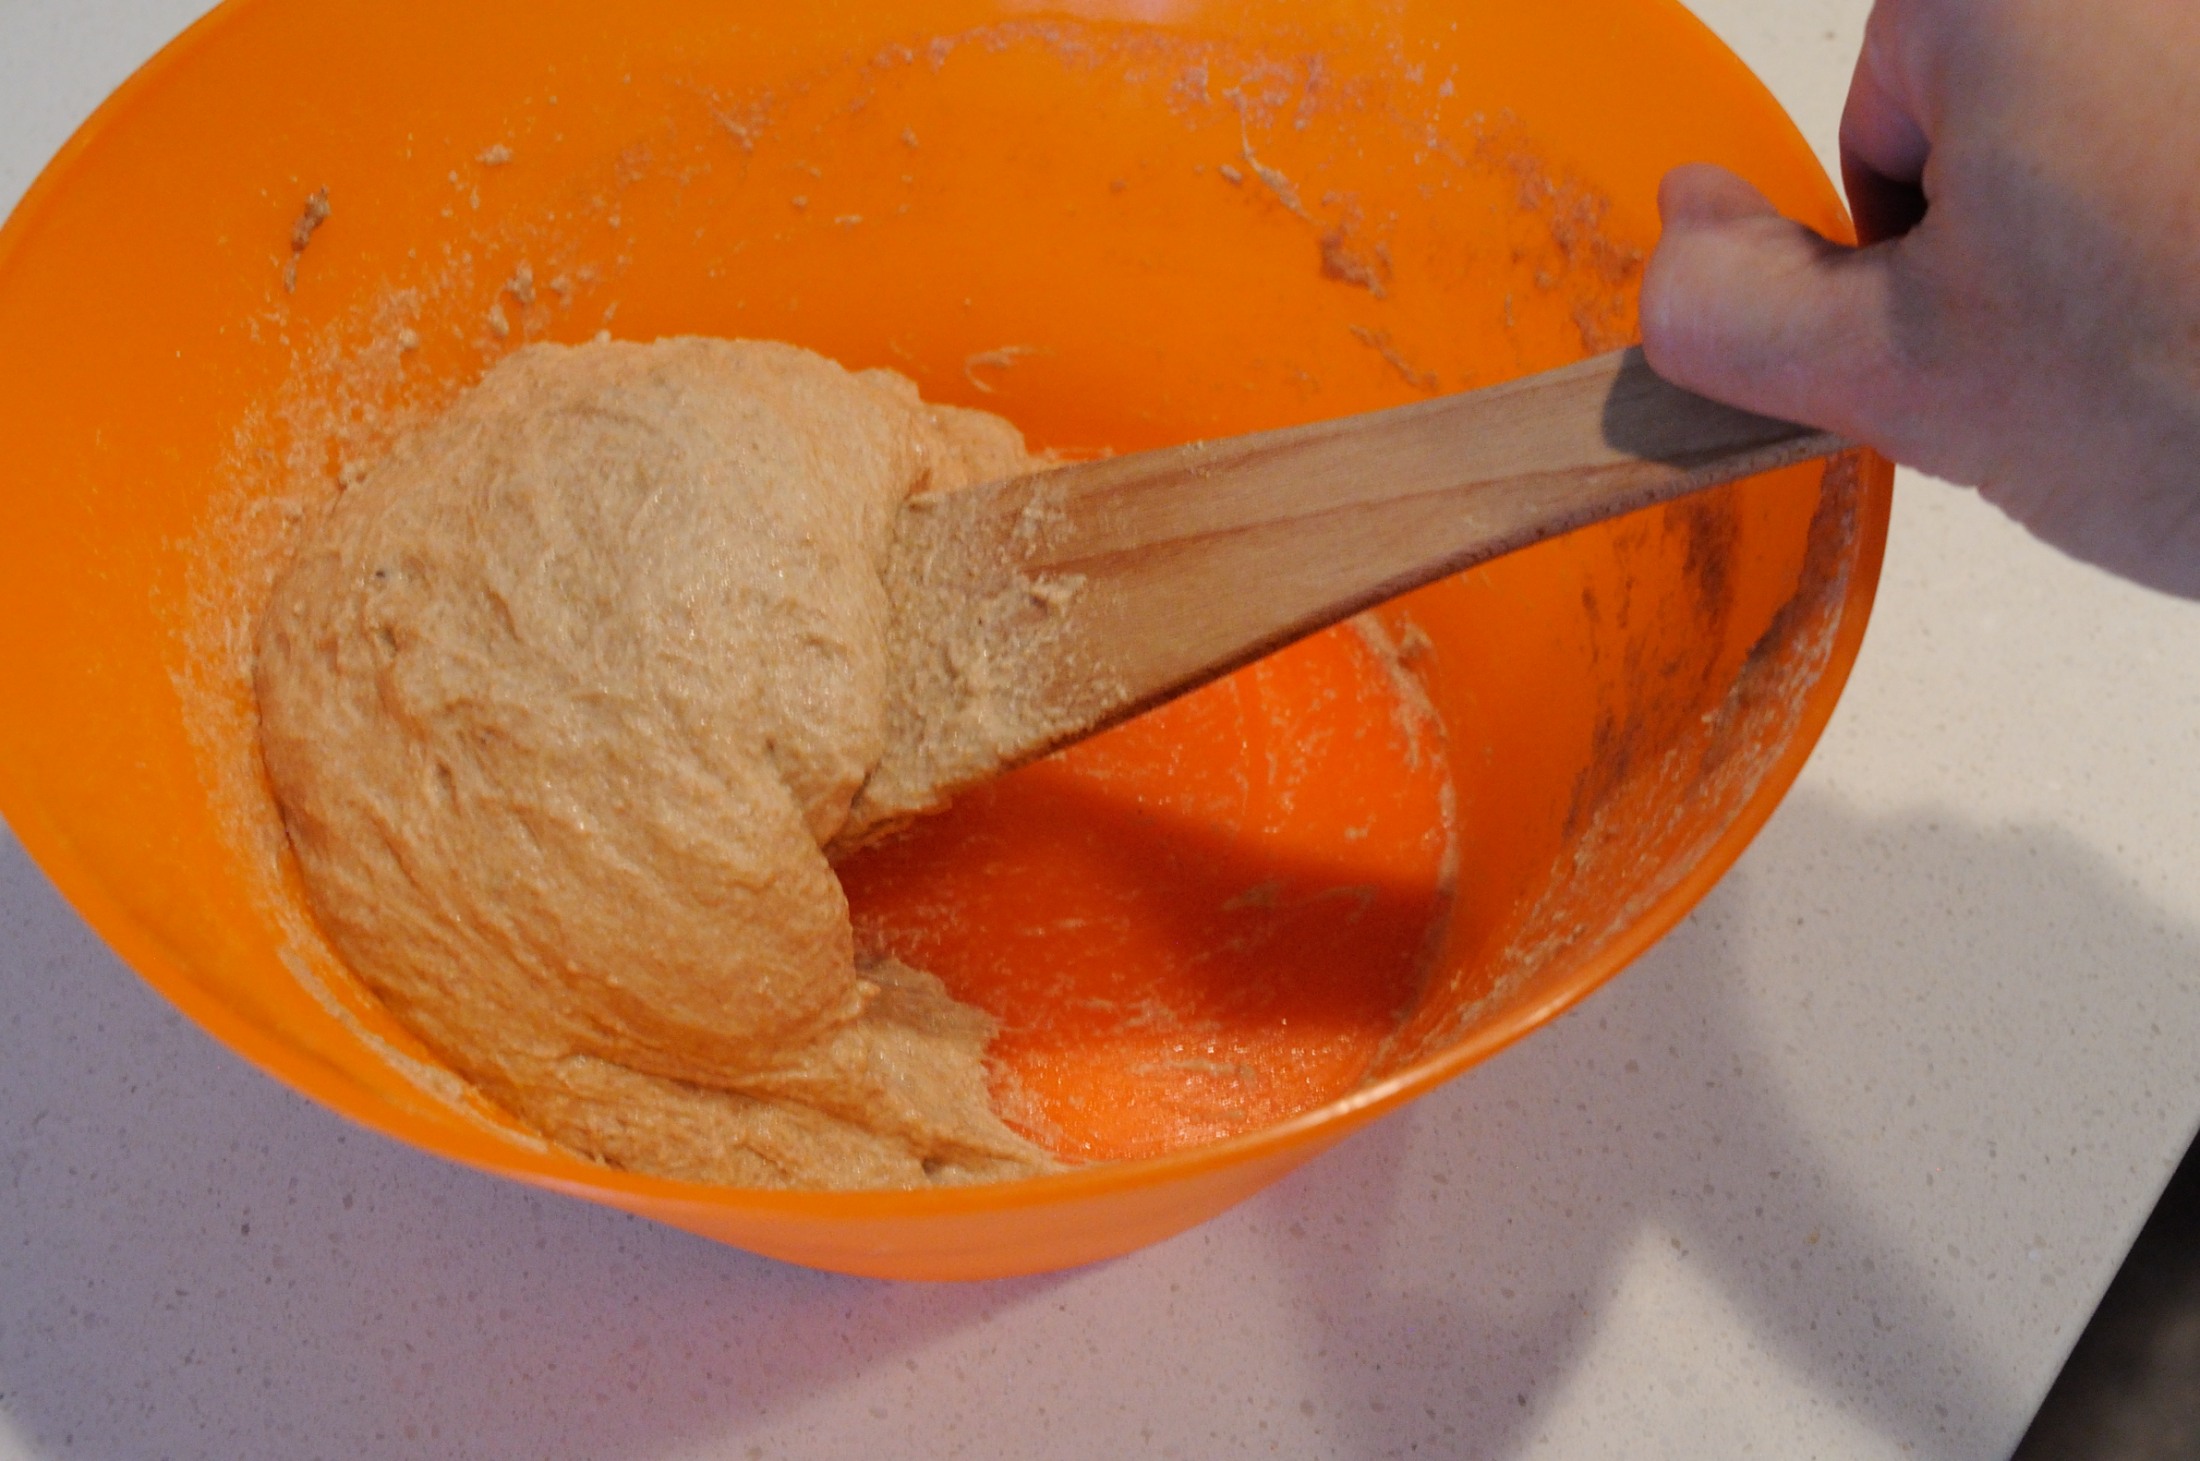
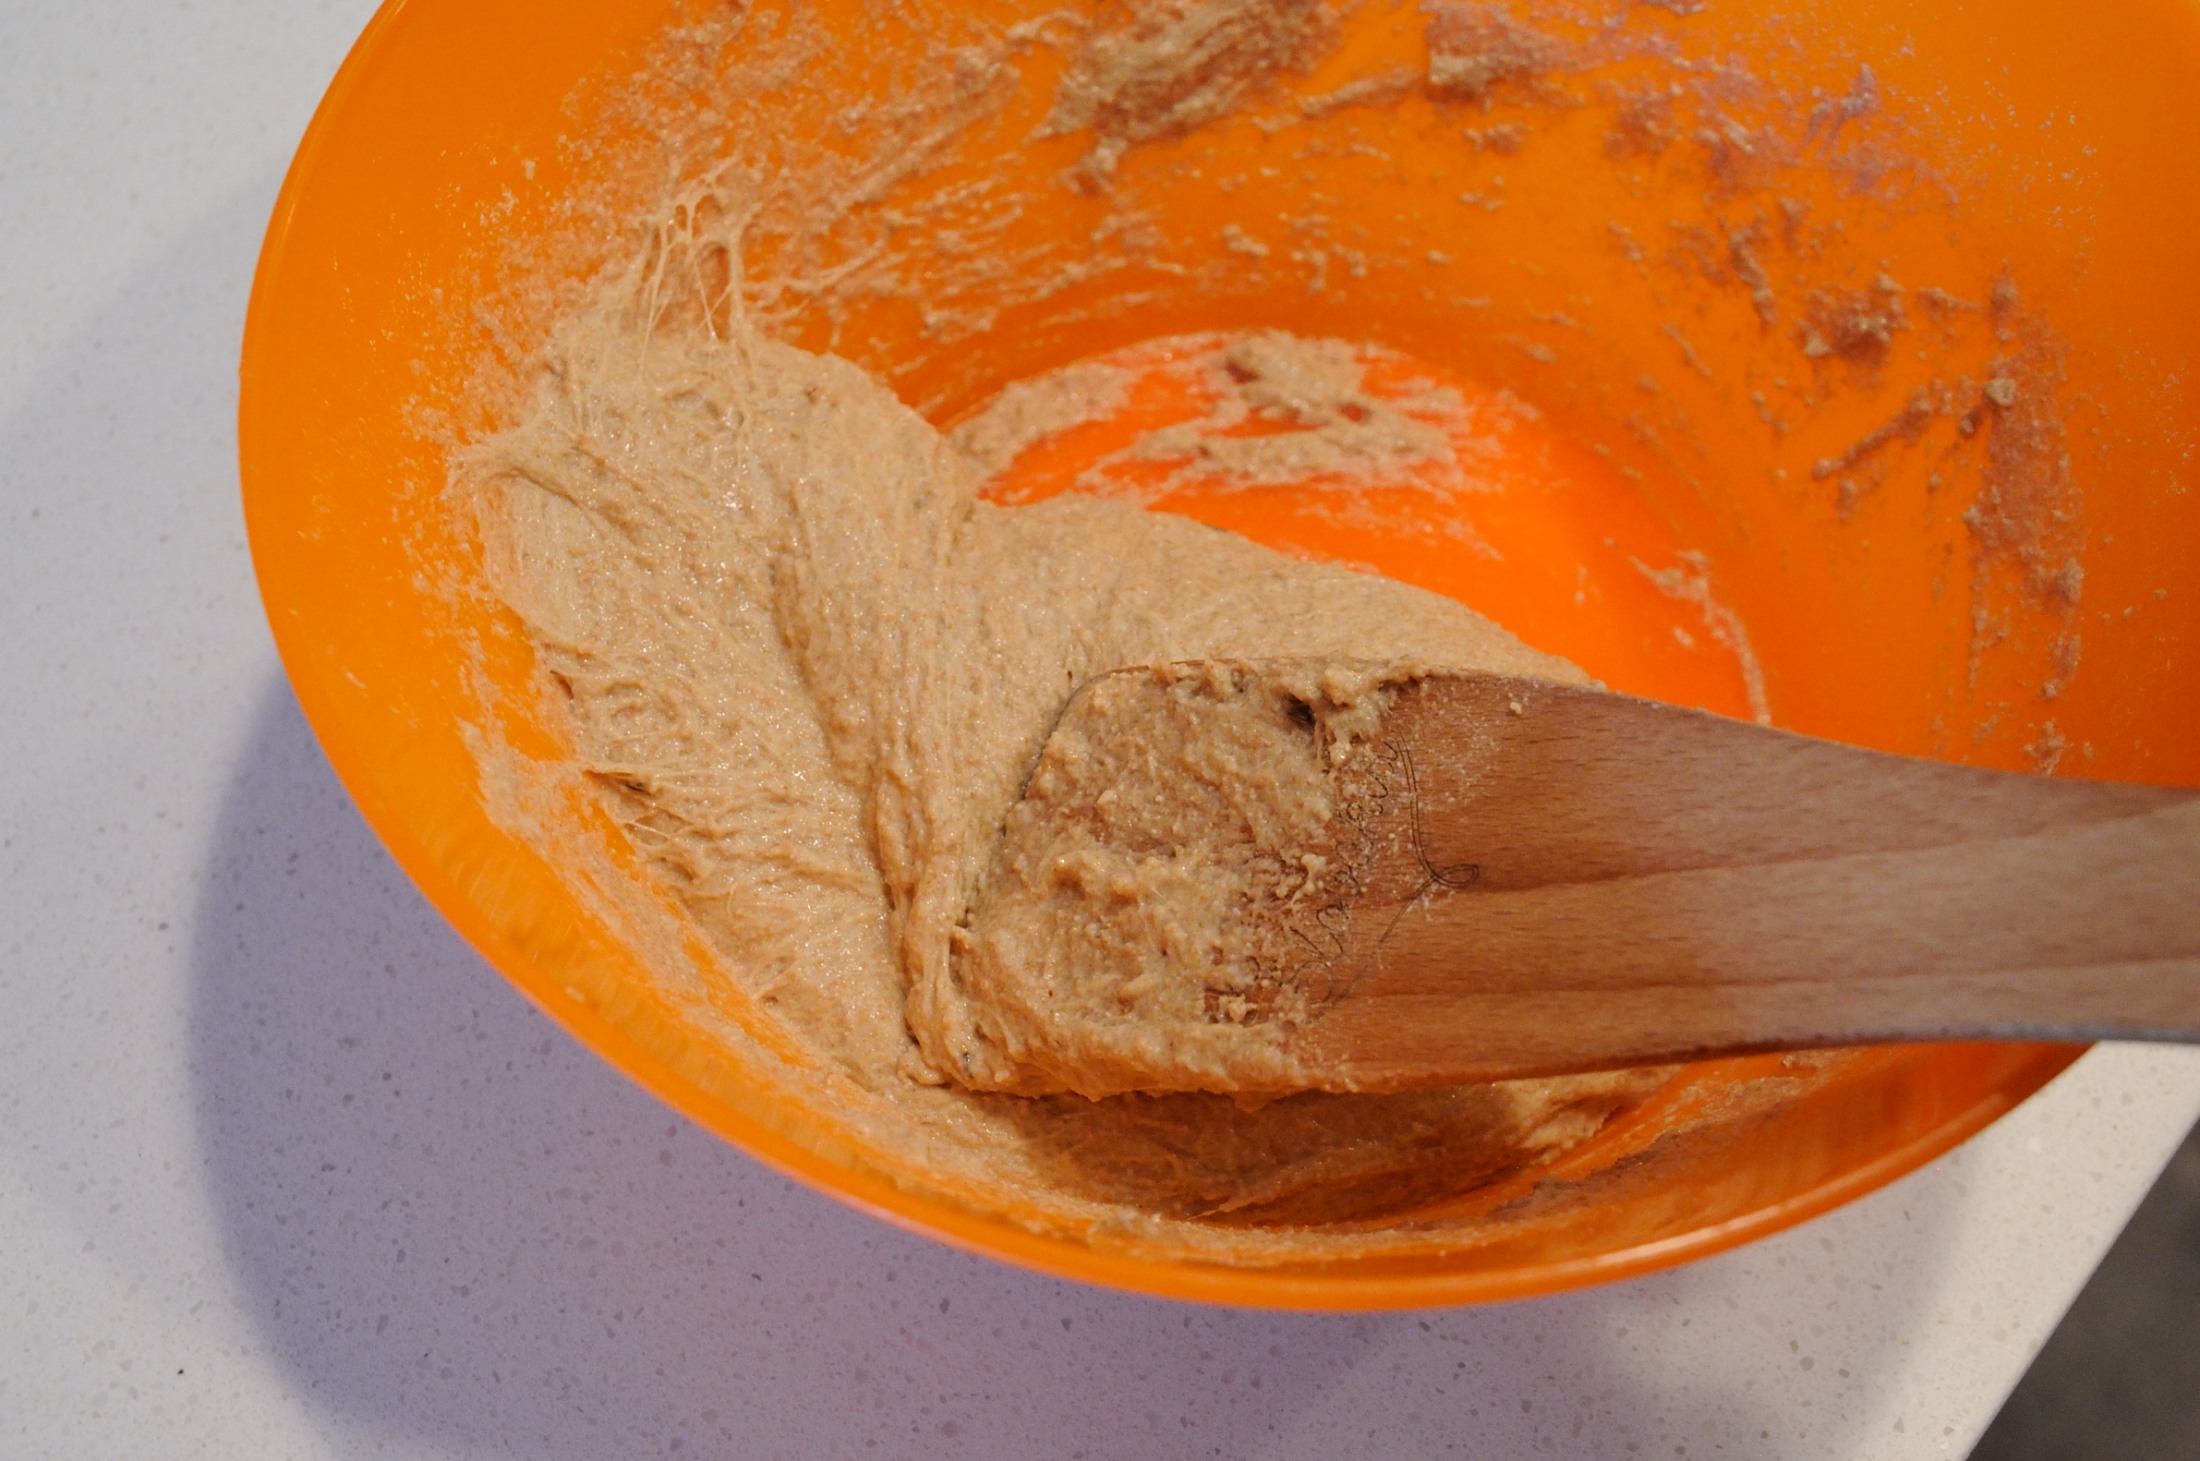
Kneading
We next knead the dough to better develop the gluten that gives bread its structure. This is typically done by dumping the dough onto a floured surface and repeatedly stretching and folding over with your hands. What I am showing here instead is the method I use, in which I do the kneading in the bowl using a wooden spatula. It seems to work just as fine and your hands stay clean.
Third Rise
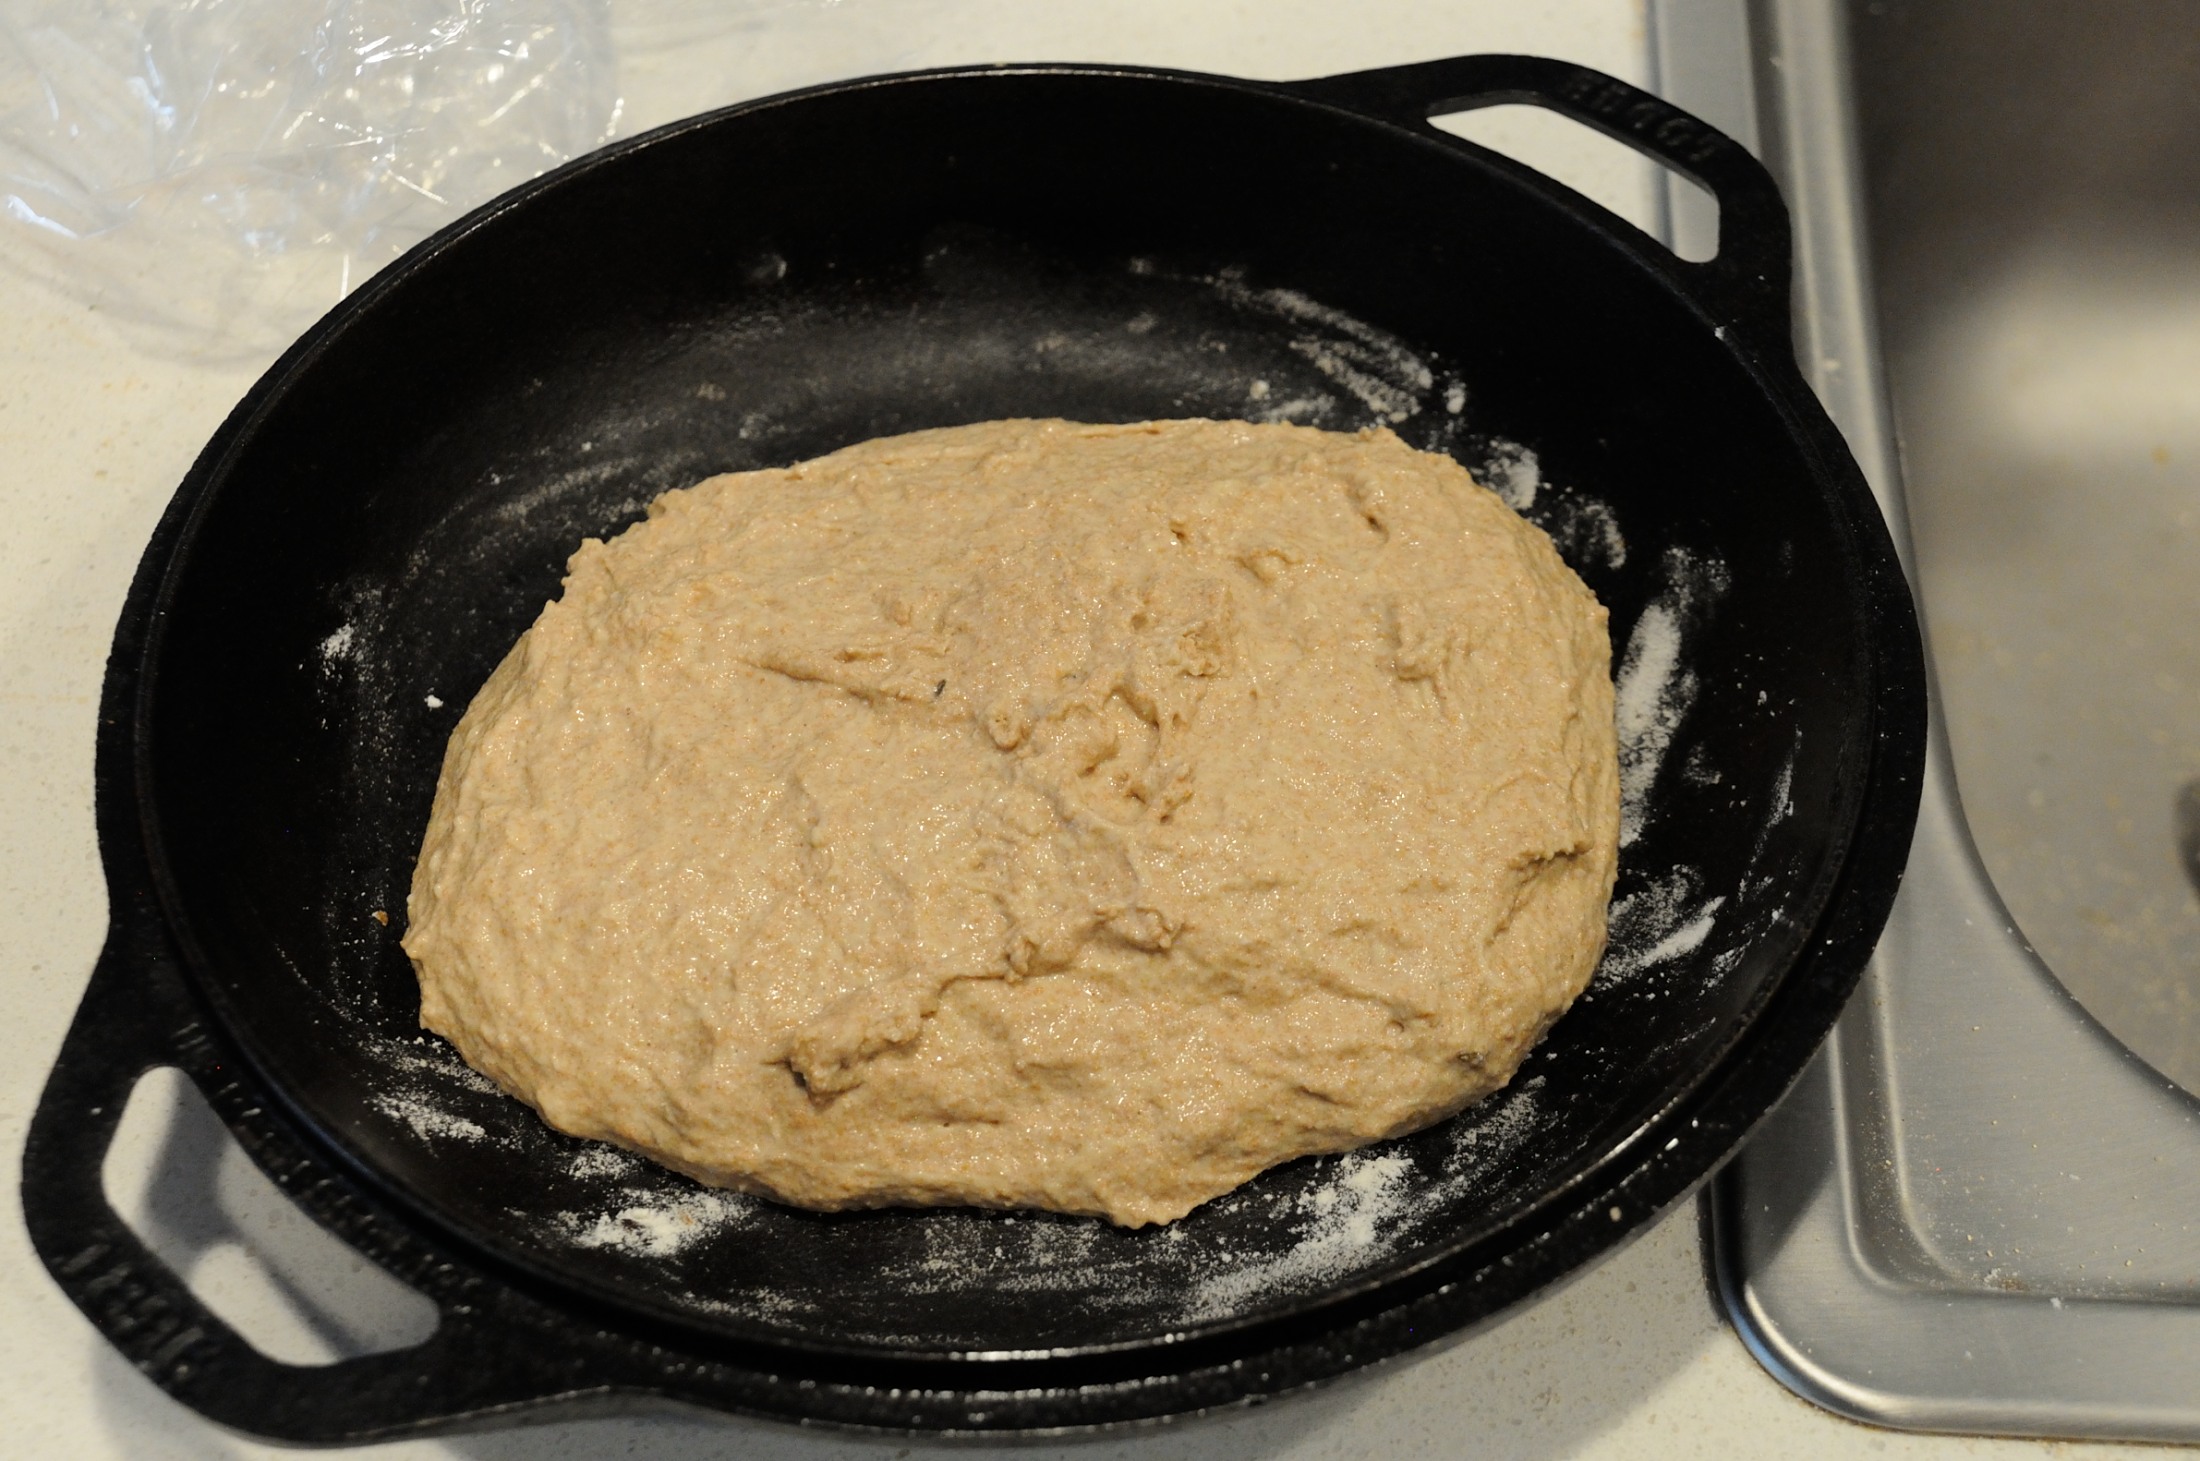
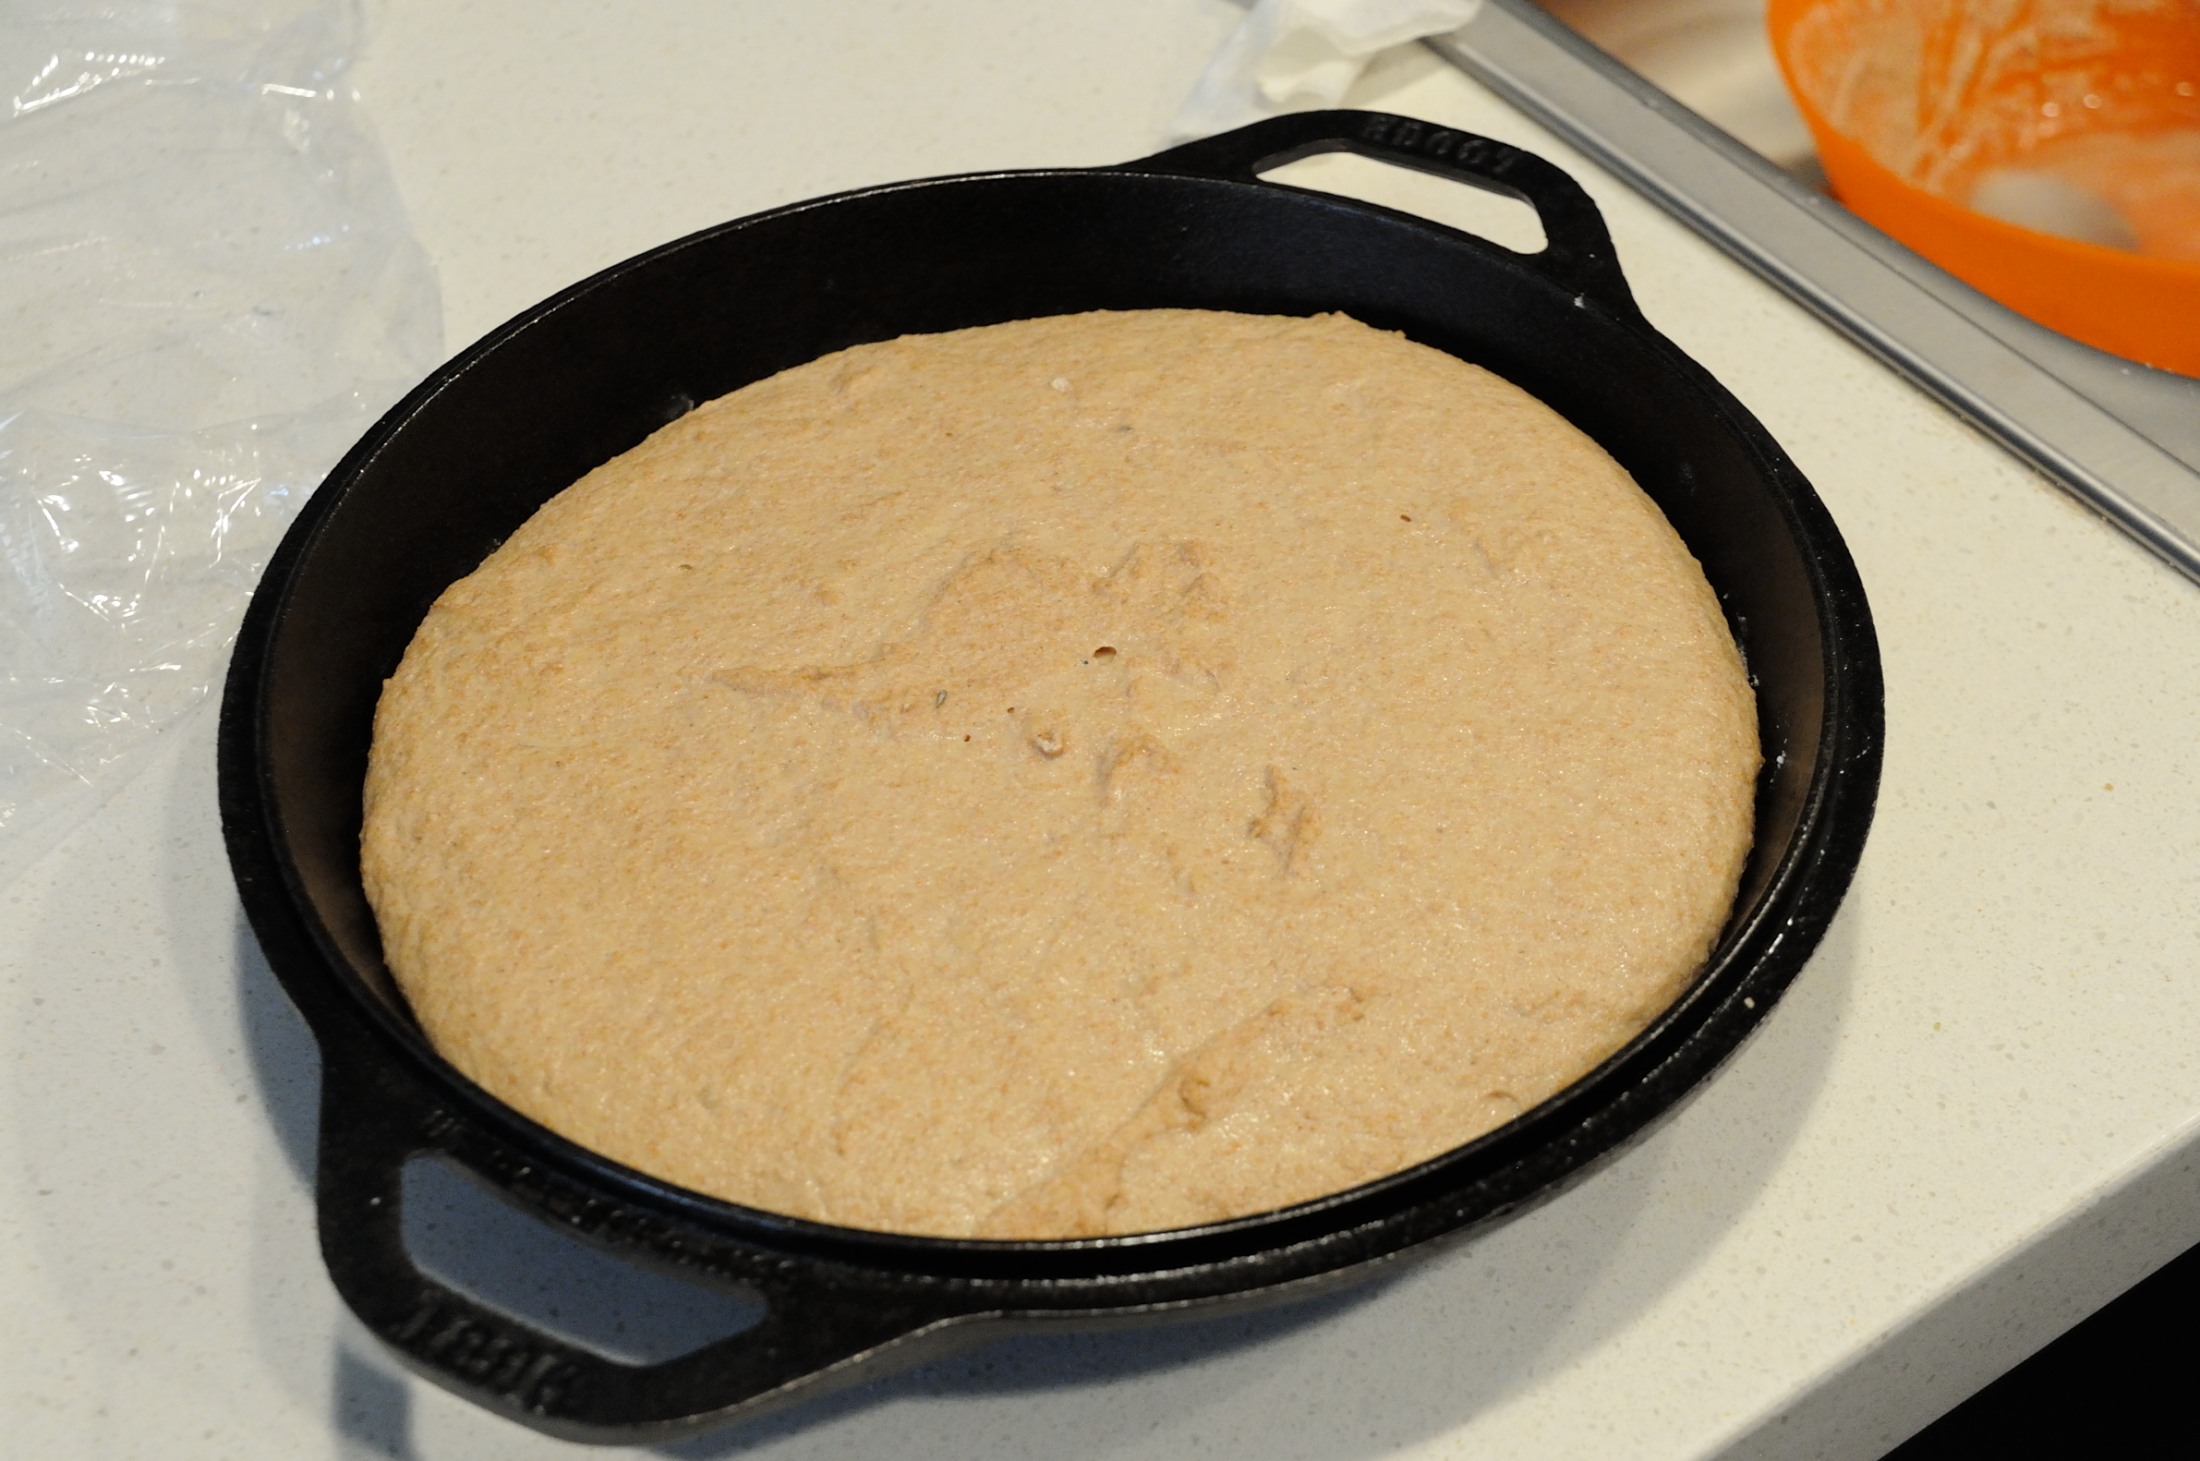
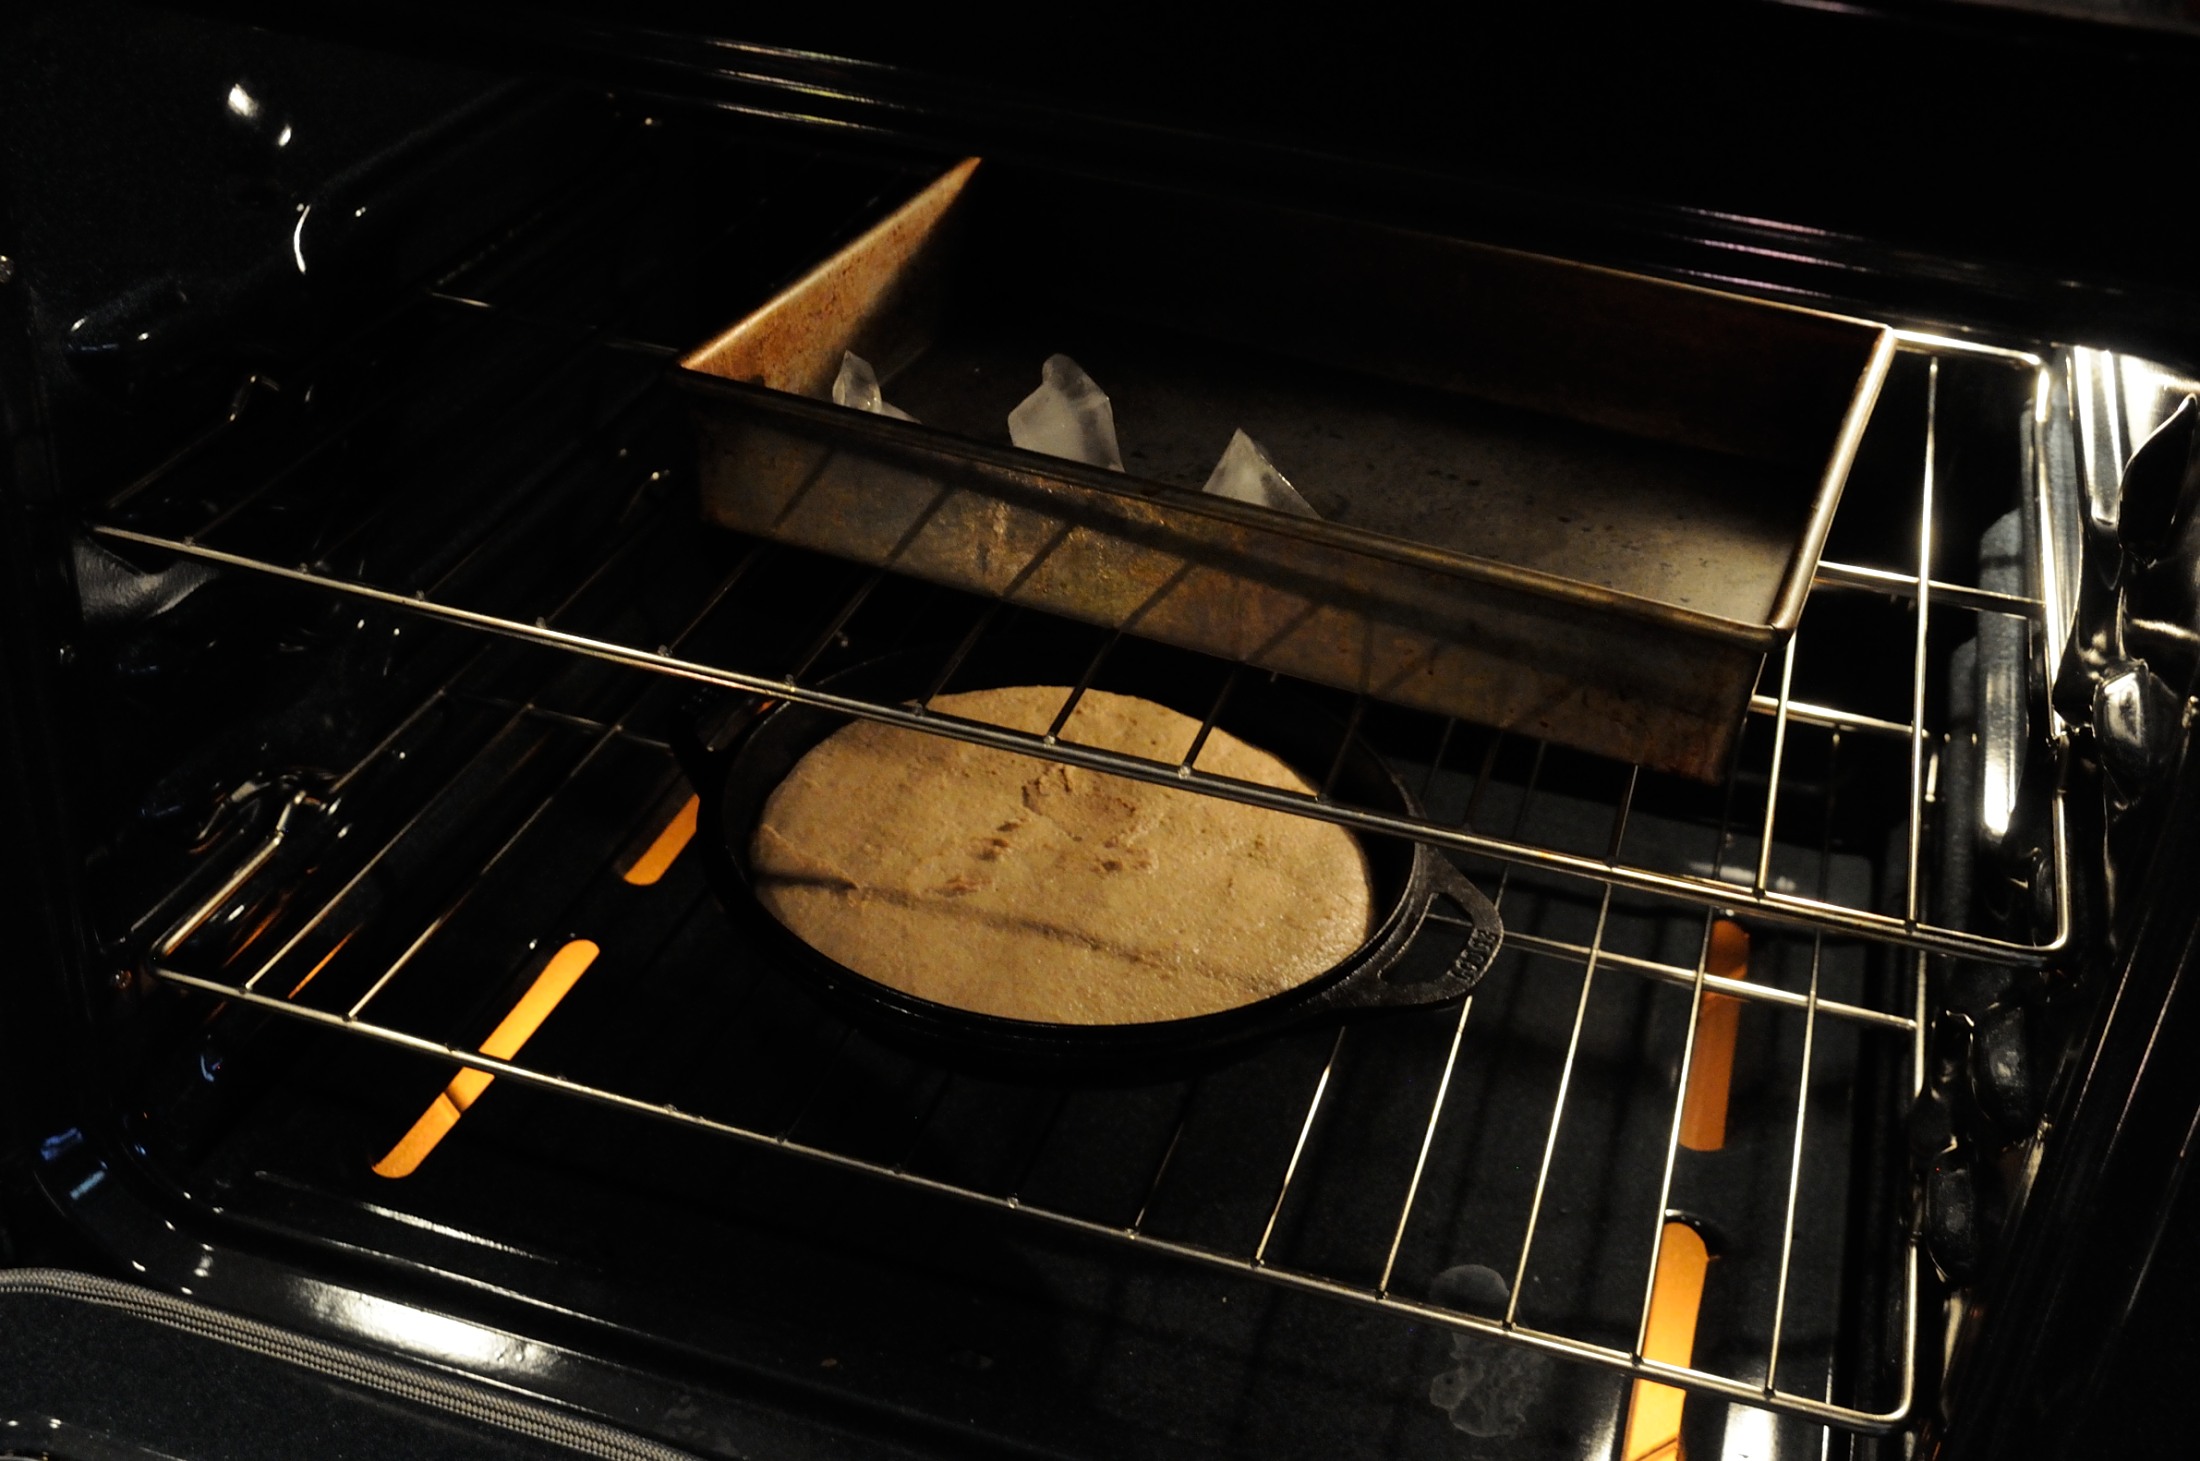
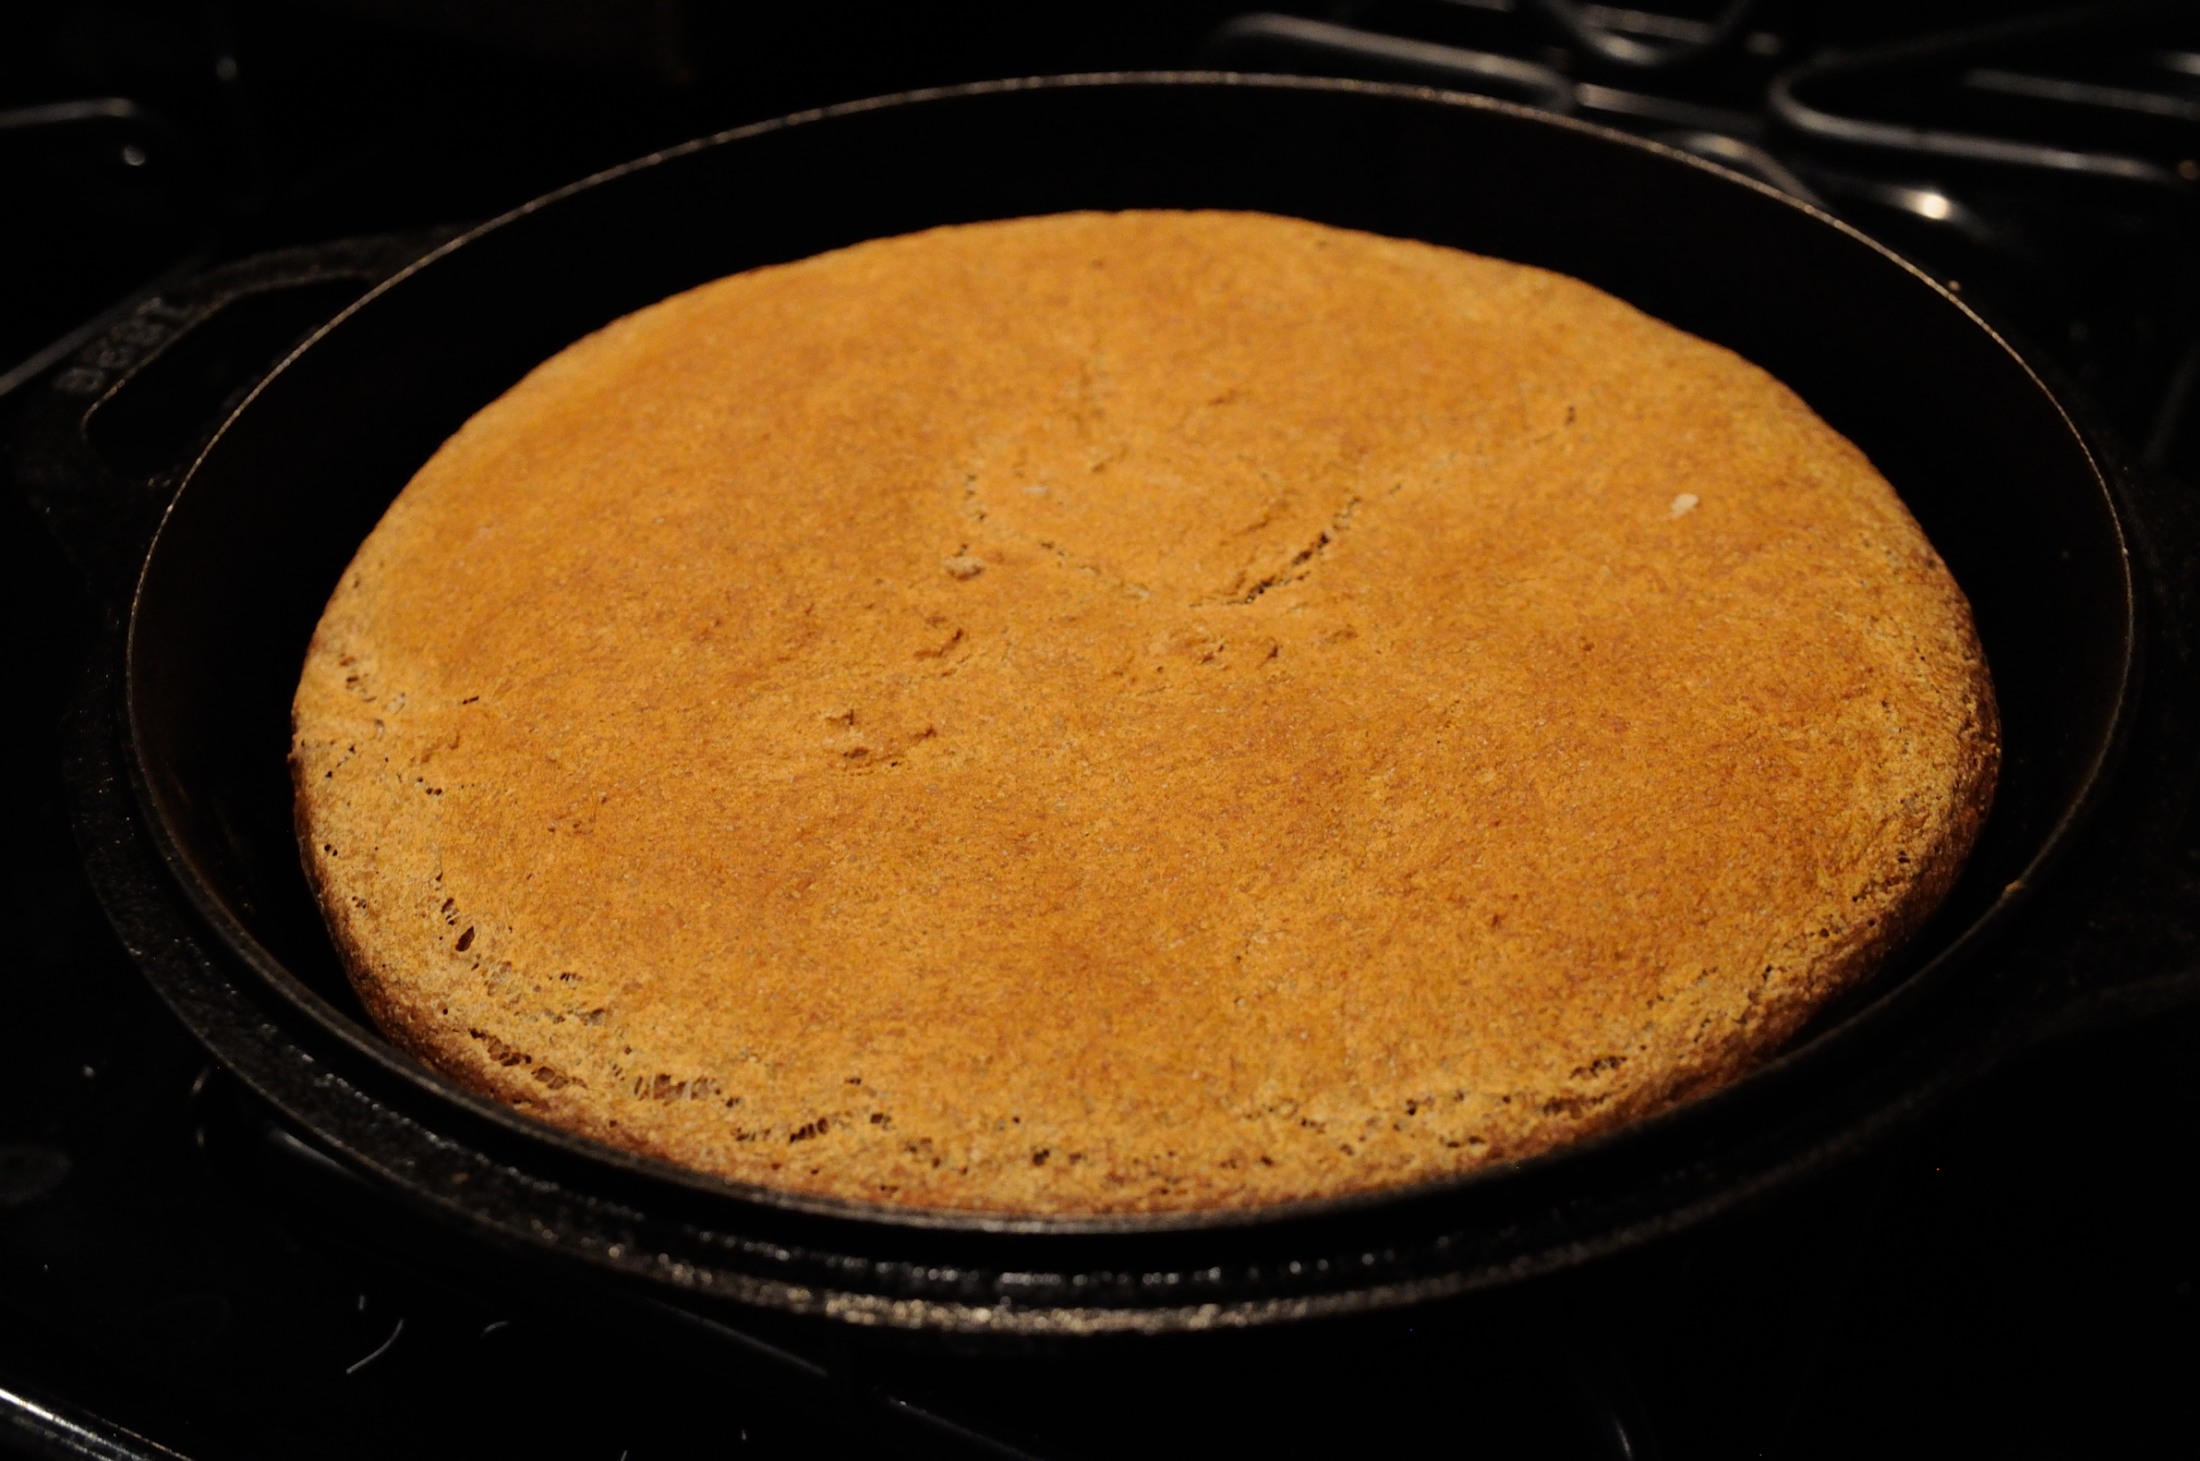
Baking

You are dedicated–100% whole wheat bread is tricky! Yours looks really good, as do the butter and jam that top it.
This may be cheating, but have you tried adding mashed potato–leftover is fine–to the dough (maybe 1/2 cup; reduce water by 1/4 cup or so)? I find that potato makes breads airier and moister. The tradeoff is that you could lose the nice crust, though the pan of water you’re using during baking can help it crisp.
Thanks Amy. I haven’t tried that yet but I’ve heard of that before. Thanks for reminding me, that will be next iteration.
If you haven’t done so already, take a look at The Bread Bible by Rose Levy Beranbaum–a lot of information and recipes. Thanks for posting again. Good luck in the marathon.
Thank you for the recipe, Ľuboš Chlebodarca!
For the kneading process after the second rise, how long did you knead it for? Beautiful bread! When I tried it mine turned out quite dense and not as light and airy and nice as yours… Practice makes perfect though! Thanks for the recipe
Made this bread this morning and it turned out beautifully. I added honey and oats to the top <3 thanks for sharing the recipe
Good work friend I read some articles that you posted in your blog. I just want to admire blog and your work. Thanks for posting such posts here.Yeh Rishta Kya Kehlata Hai
Hi Lubos, How are you? We will have our festival in Phillips, WI 3rd full weekend in June, but it is now outside! My mother made bramborove placky that had an egg in the dough, and mashed potatoes, flour, and milk, I believe. I cannot find a recipe in her recipe box, but she made them on top of the cook stove, after scrubbing it, and rolled them out like a crepe, and we ate them for breakfast or supper sometimes. They tasted like lefse, but were more moist and we buttered them, put jelly on them, and rolled them up to eat. Did your mother ever make them and do you have a recipe? I can make them “by guess and by gosh”, but it would be nice to have a recipe. Do you know of them? Toni Brendel