Homemade Wine (Domáce Víno)
You probably know by now that I am a big fan of making things at home from scratch. Besides cooking, I frequently bake my own bread, and have even tried my hand at making sausages.
Well, few years ago, while I was still living in California, I used to brew my own beer. I made few batches, including a cherry ale that was quite delicious. I left the desert in 2008 for grad school on the east coast and took with me only things that fit in the car. Unfortunately, the brewing stuff did not make the cut. It was not until late last year that I got into talking with a friend who is an avid wine maker that I got the bug to home brew again. Or home wine-make in this case. Here is my first attempt at winemaking. I may be a bit biased but I like it so far!
So get ready, here we go. Winemaking is a bit different from brewing beer in that there is no cooking required. It’s kind of like chemistry, you just mix different chemicals and let them do their magic. In a sense, it’s easier than making beer; it definitely at least won’t fill your house with a smell as powerful as what happens when you mix in hops to the beer wort. You can also just let it sit if you get busy with other things without worrying that it will spoil.
Ingredients: Stellar Craft Sterling Collection Pinot Noir from MoreWine, winemaking equipment for concentrate kits
Prep Time: 35-38 days per instructions, but I let mine sit longer. Then at least few weeks in the bottle before enjoying.
Day 1 (11/10/2012): Primary Fermentation
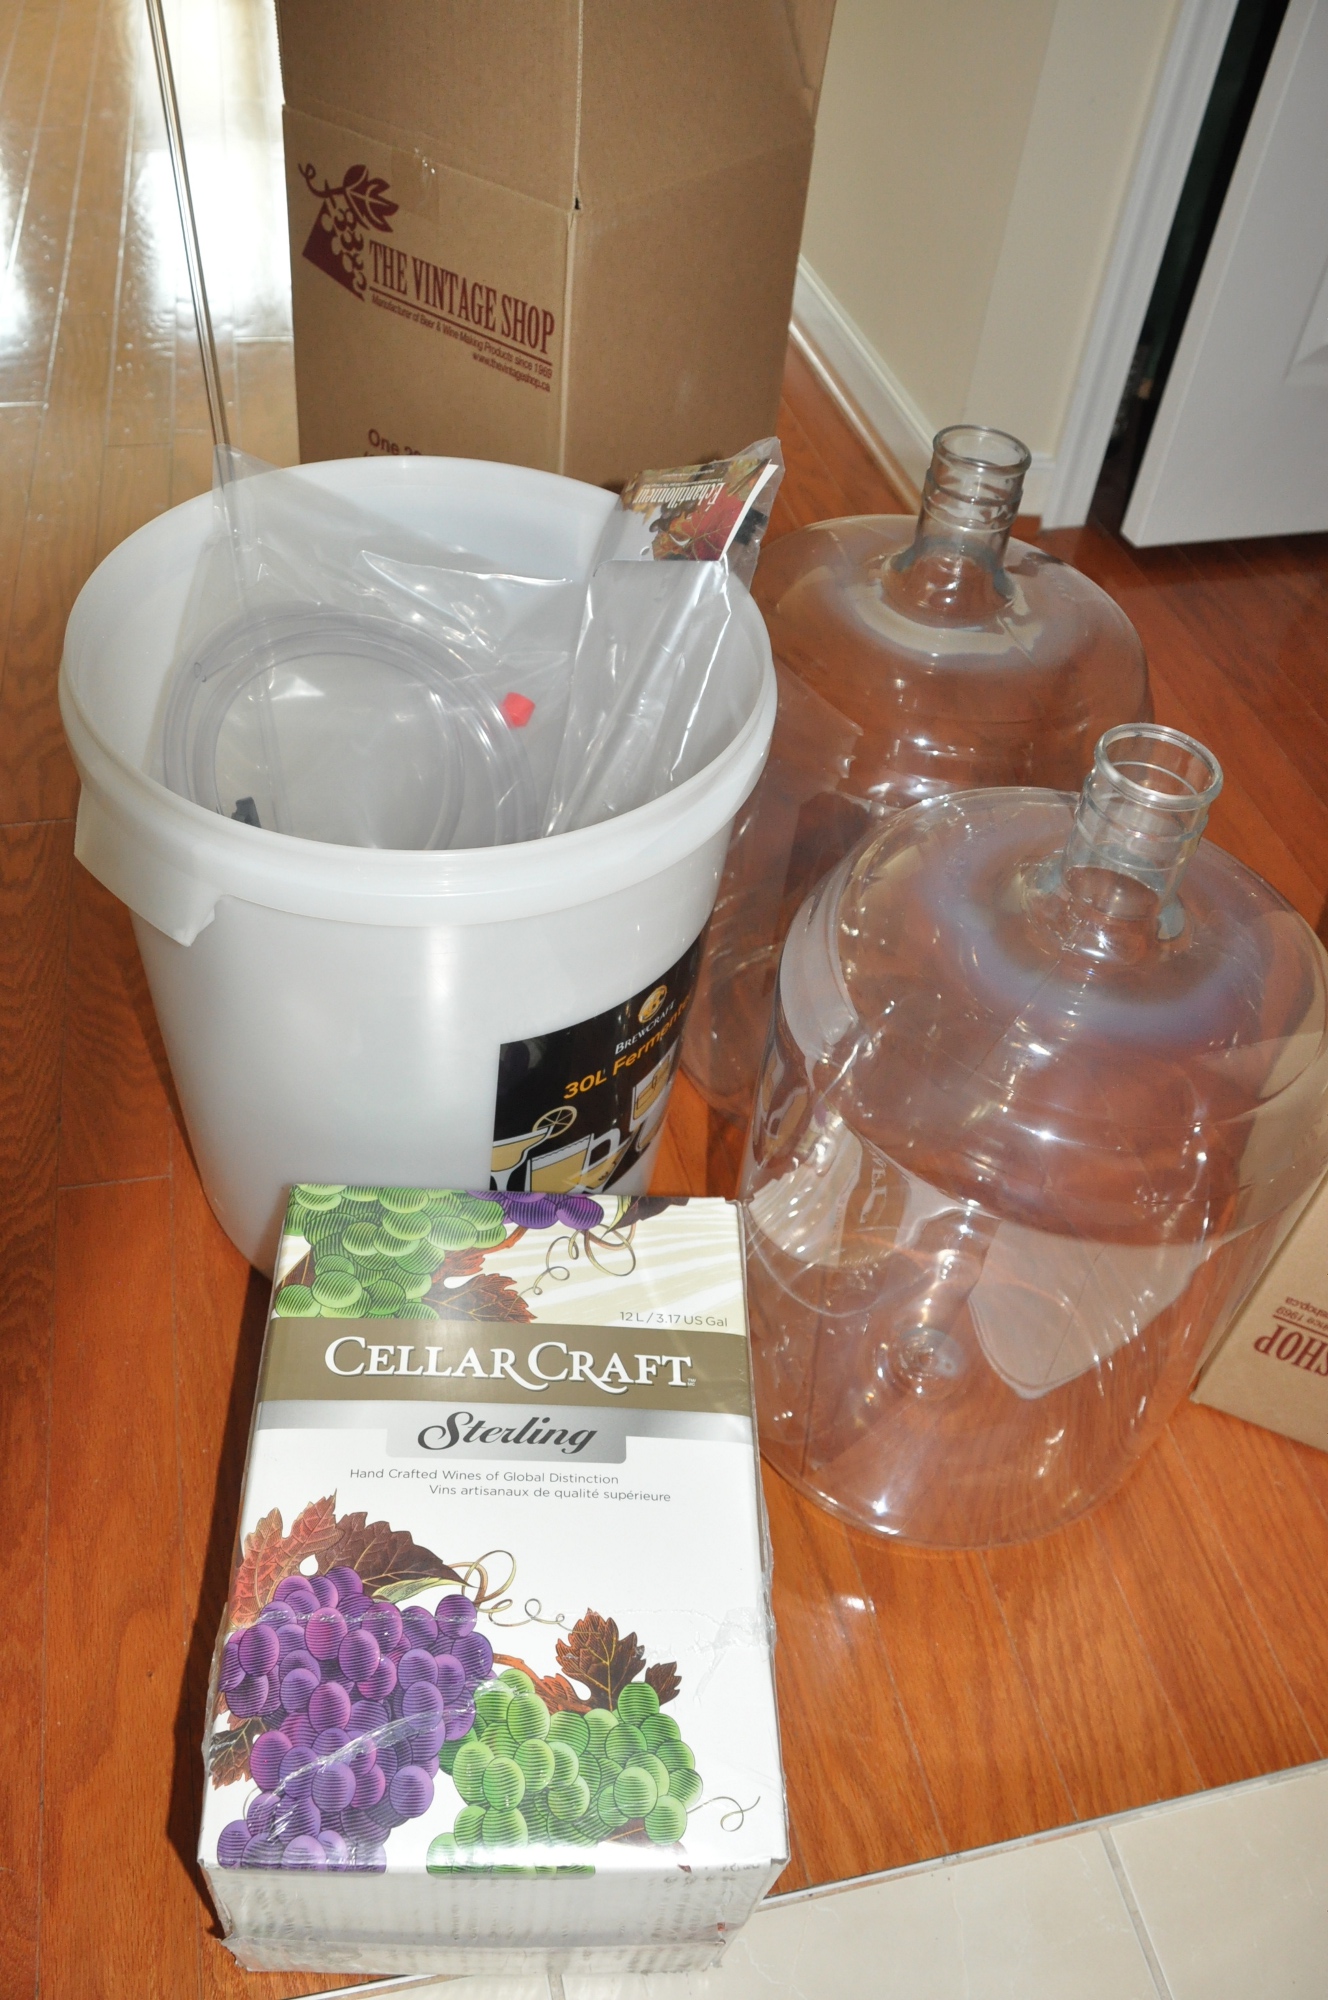
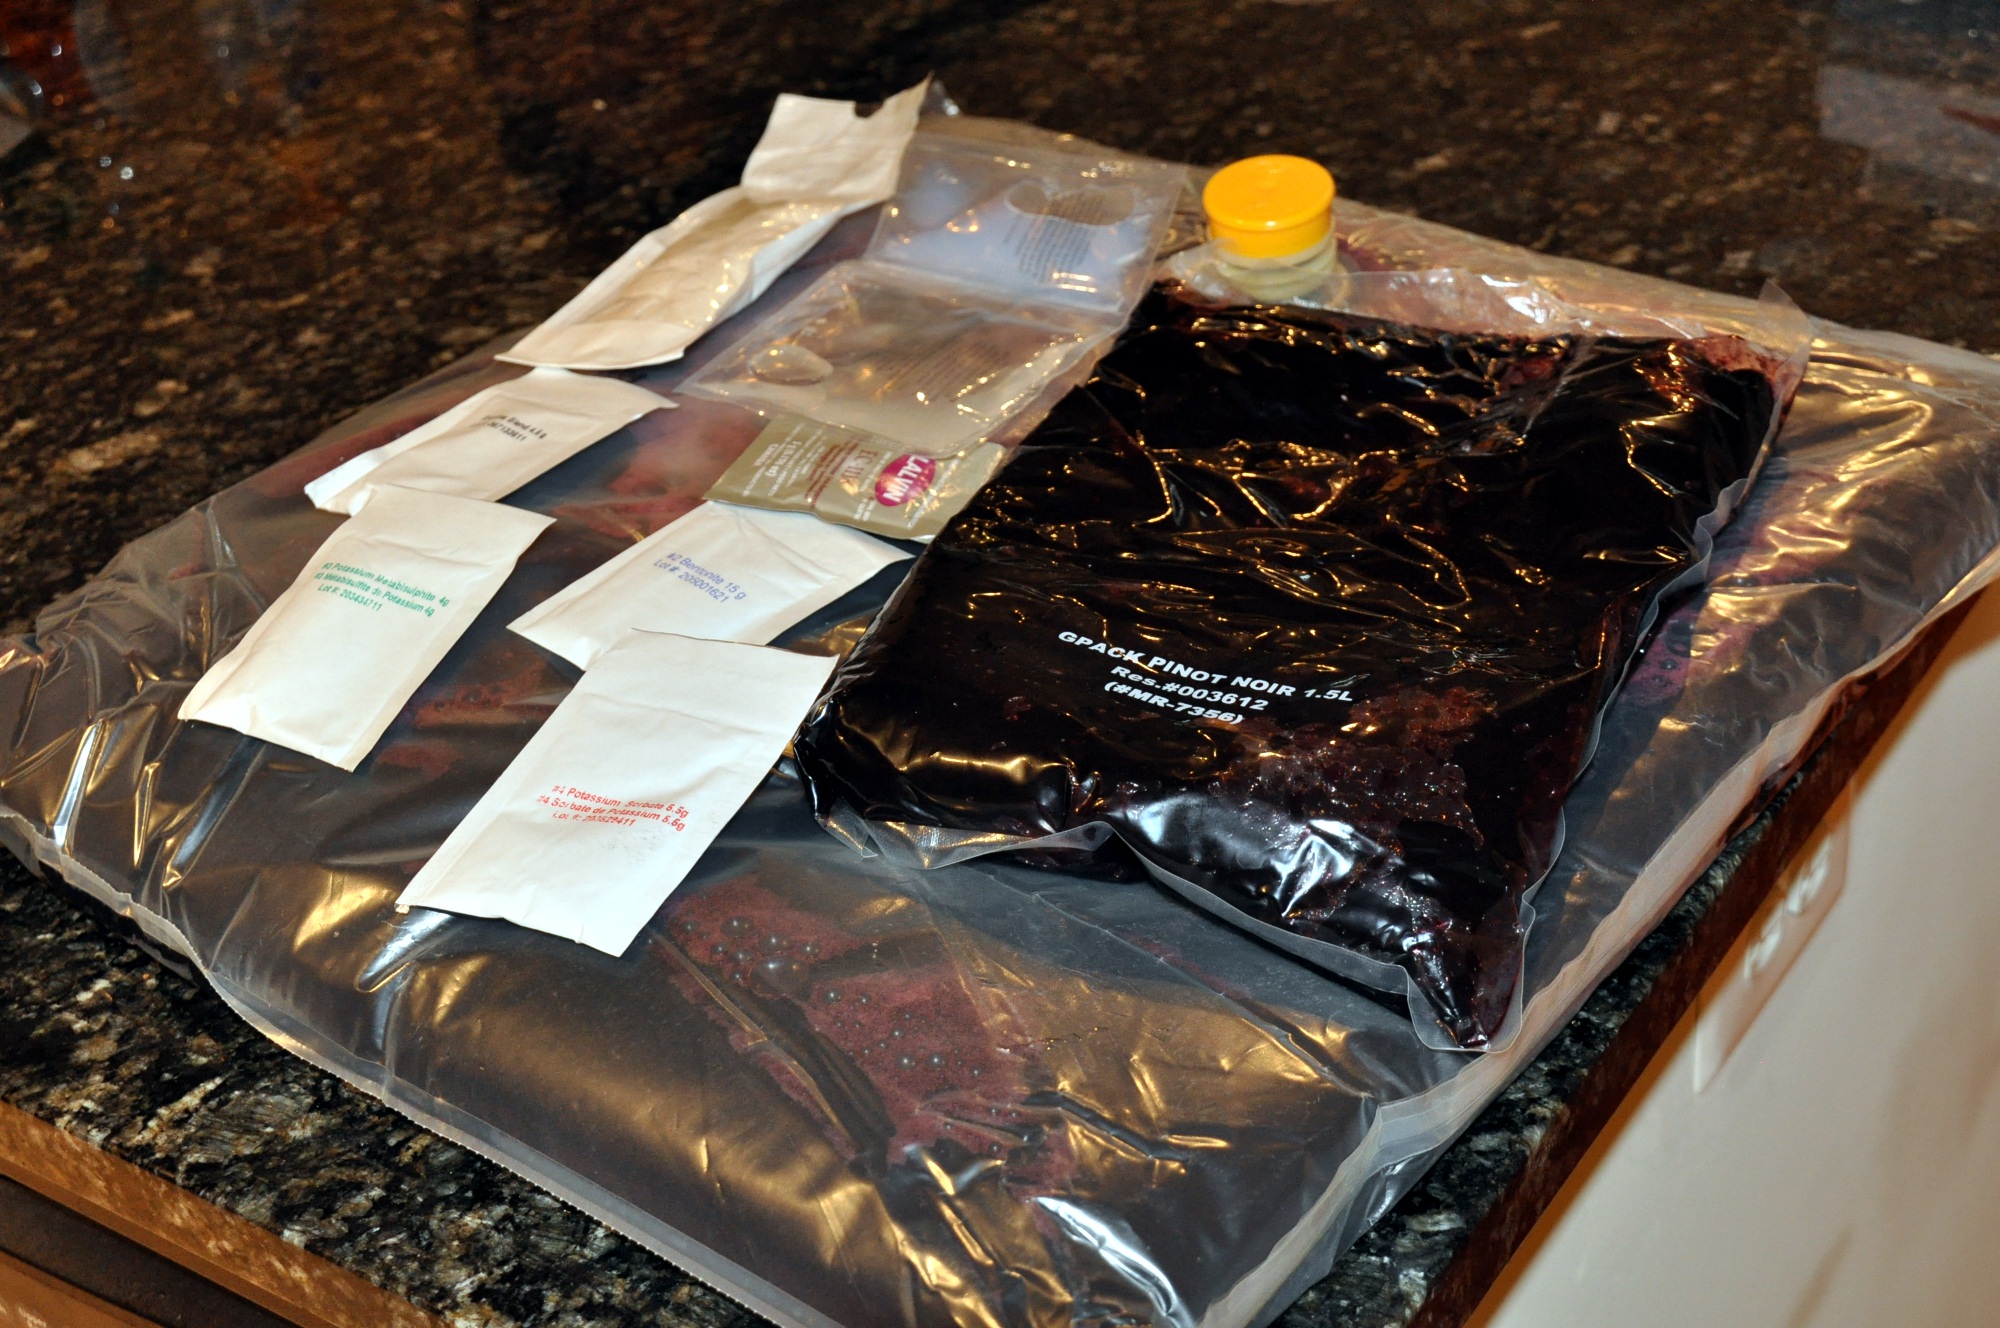
Here is what the supplies look like: the box contains all the ingredients, including the grape juice and the grape skins.
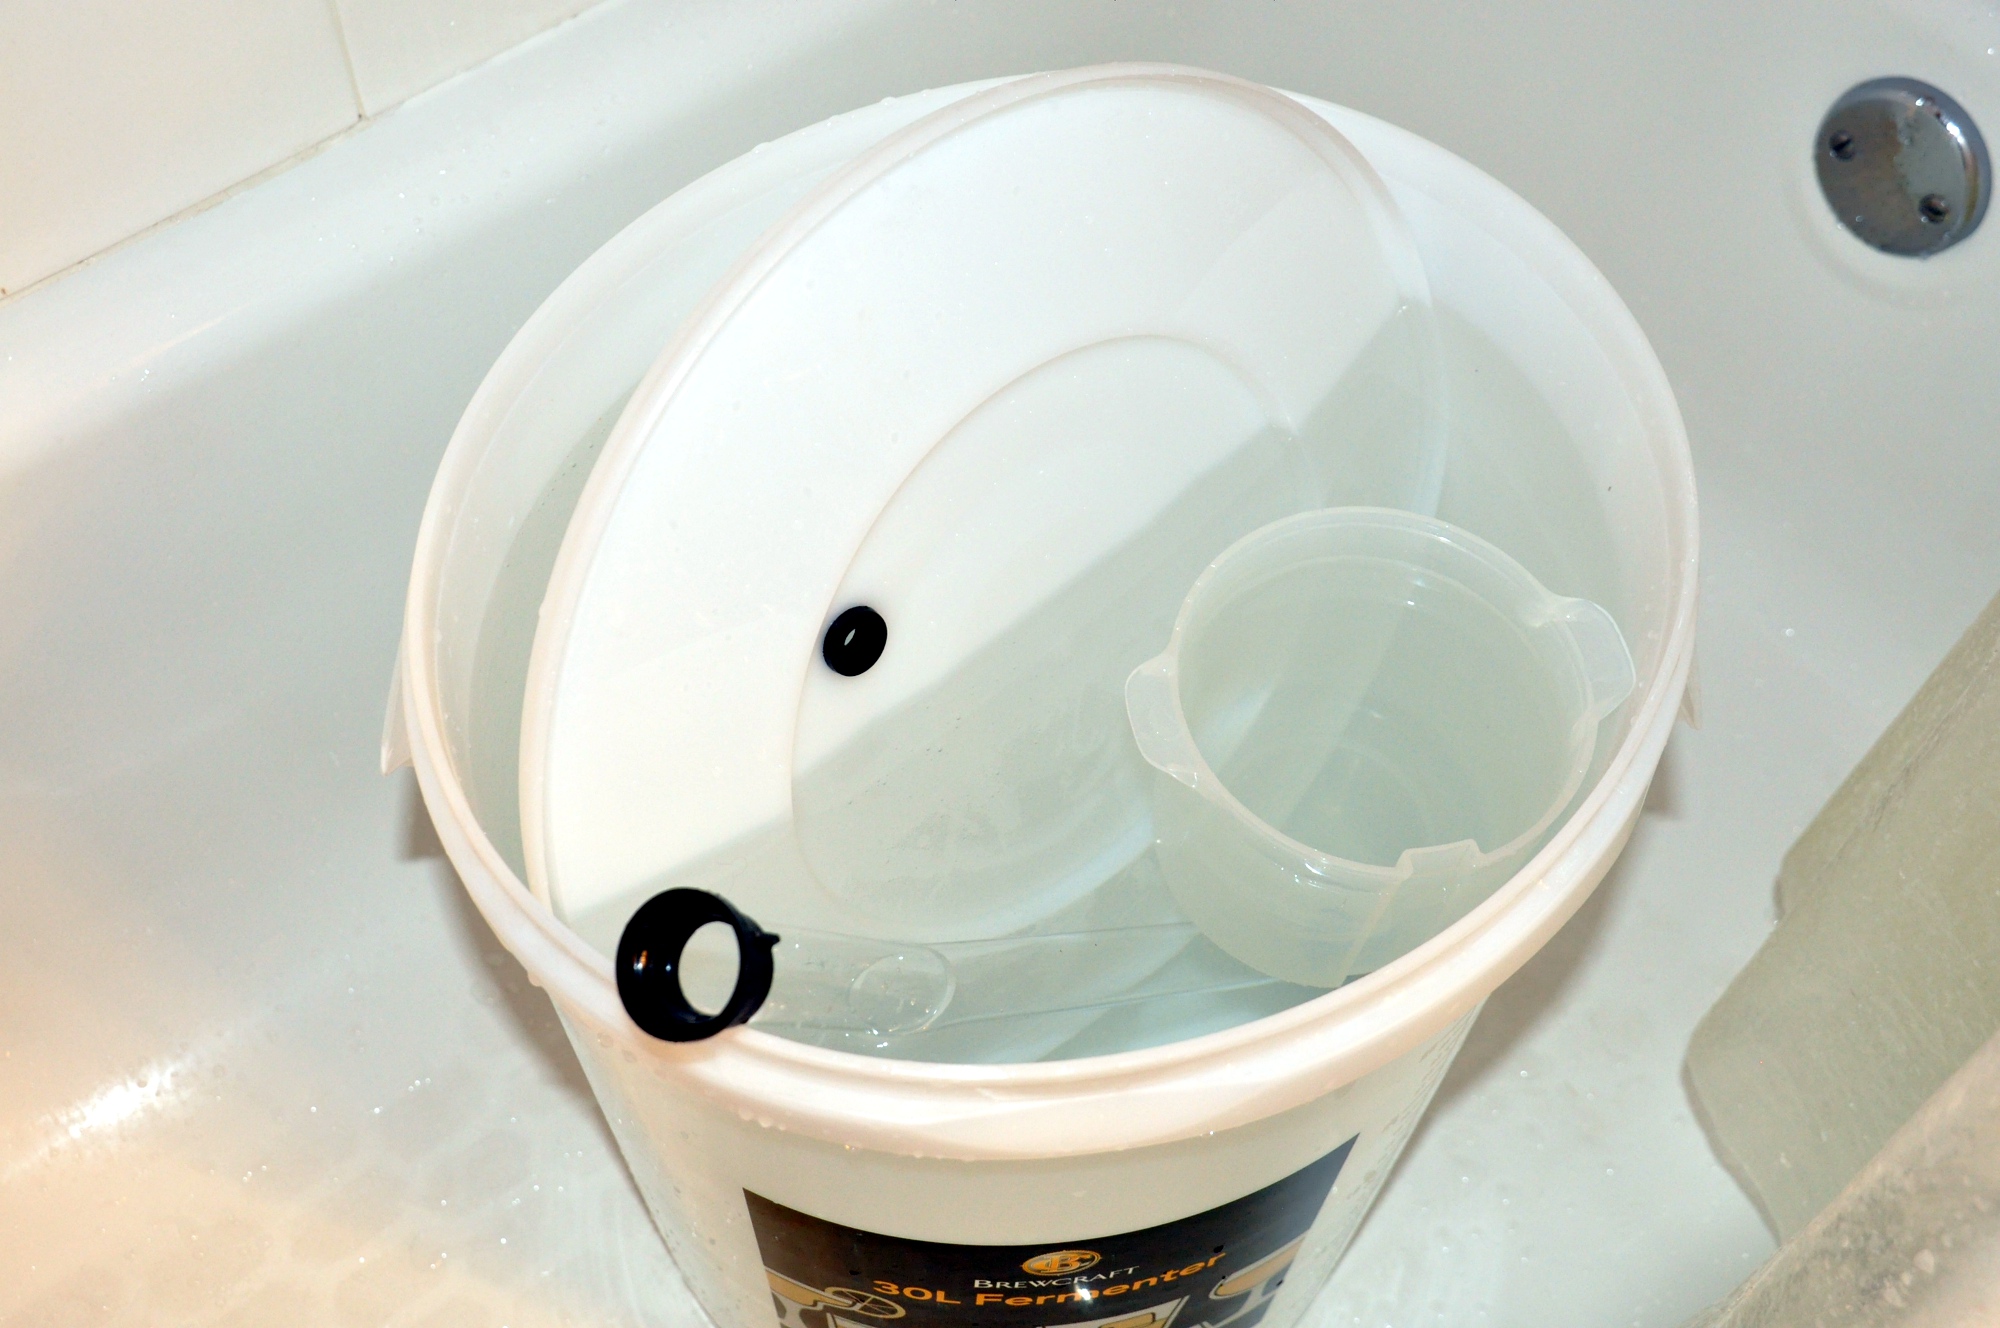
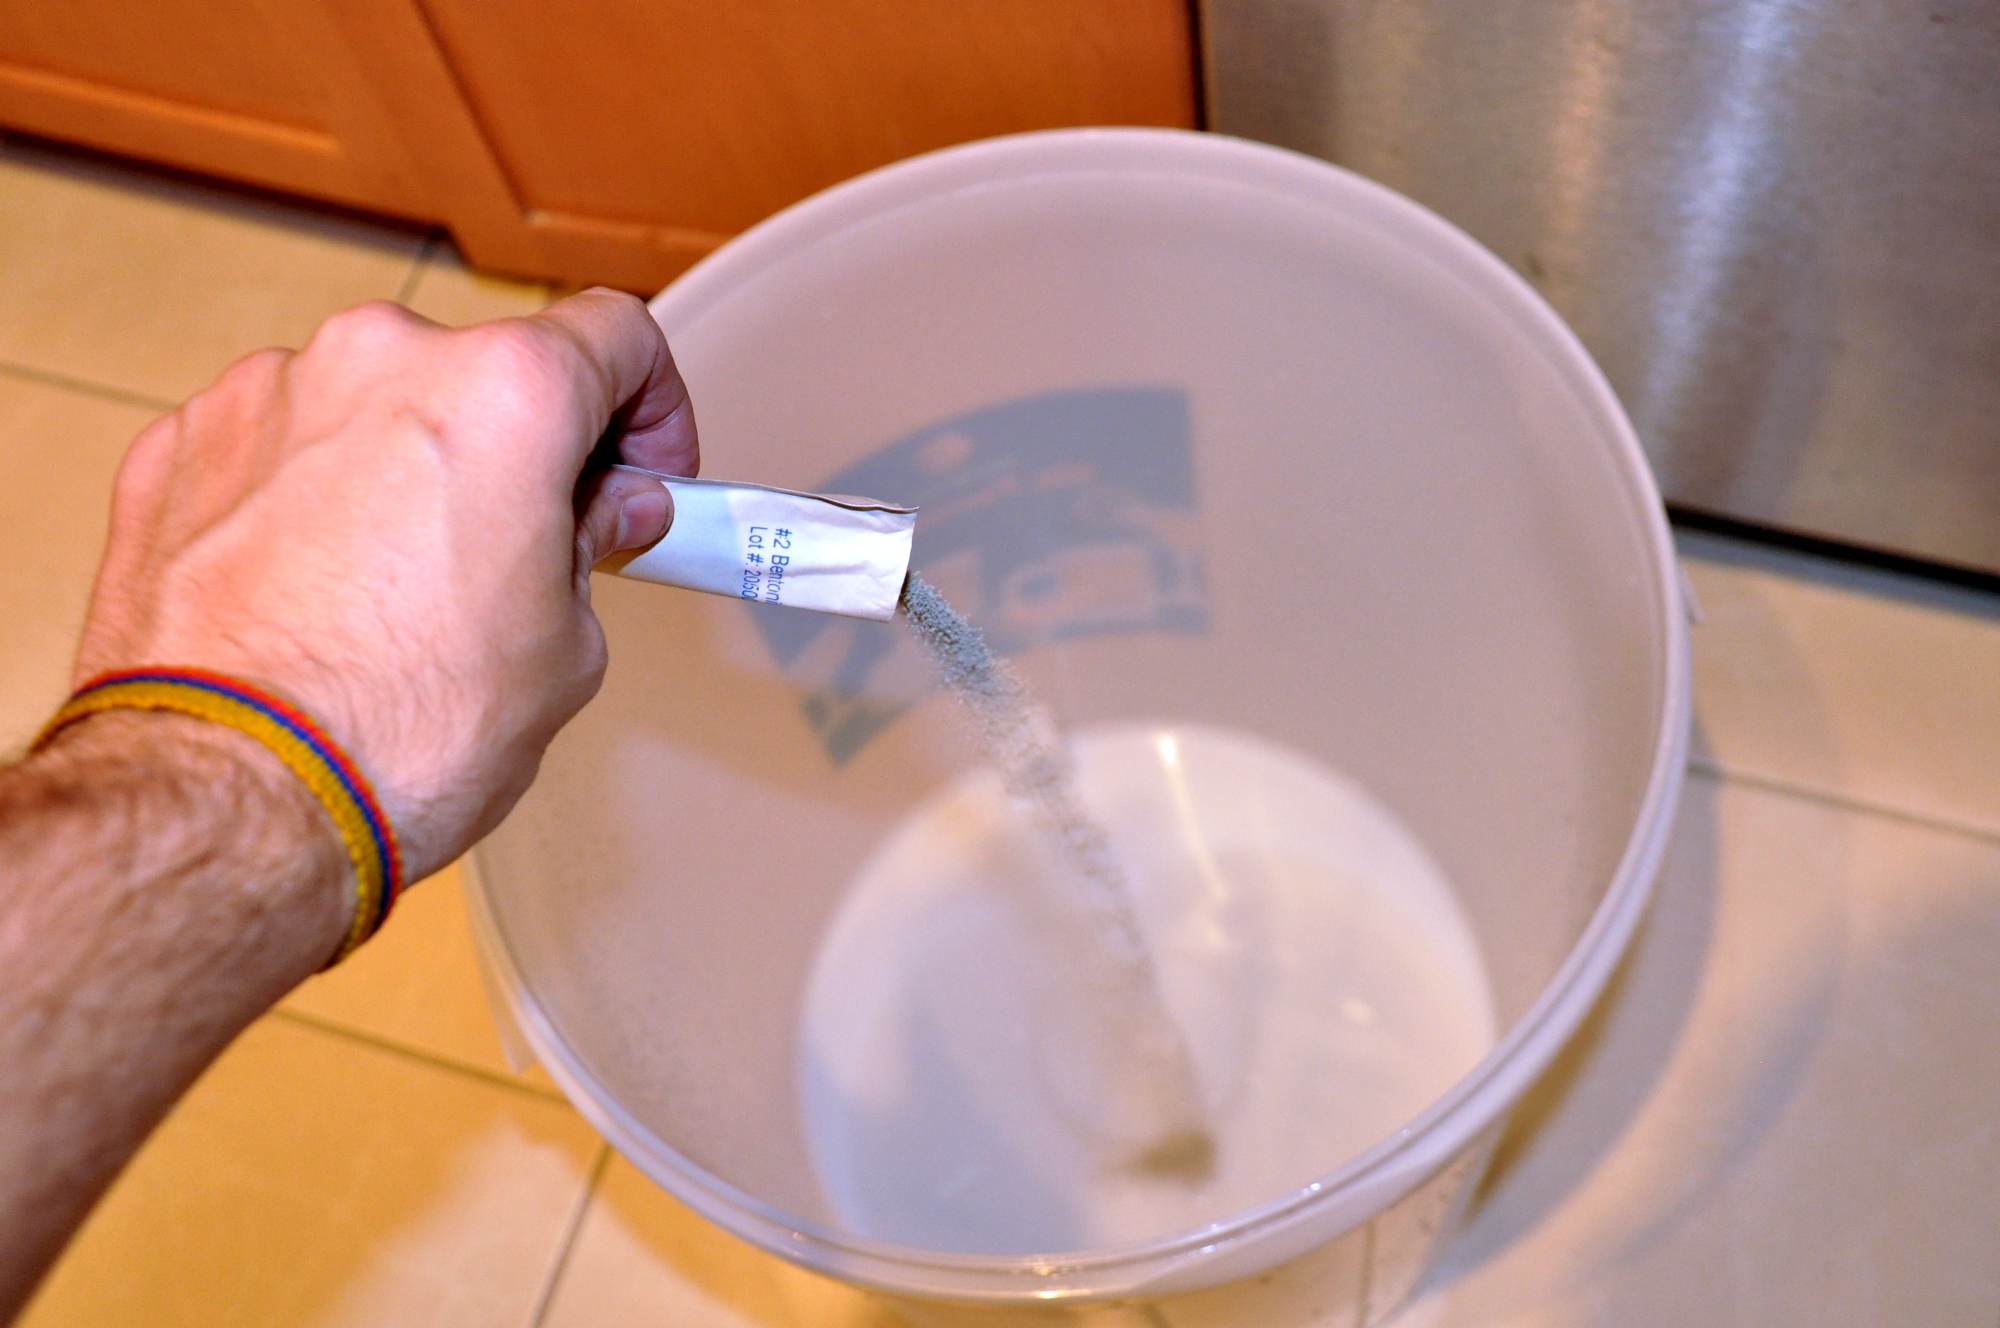
Just as in home brewing, it is very important to clean and sterilize everything that will come into contact with wine (this includes your hands and arms). The equipment kit came with a sterilization solution but I actually used household bleach. The first step was to add bentonite, type of a clay that is used to clarify wine.
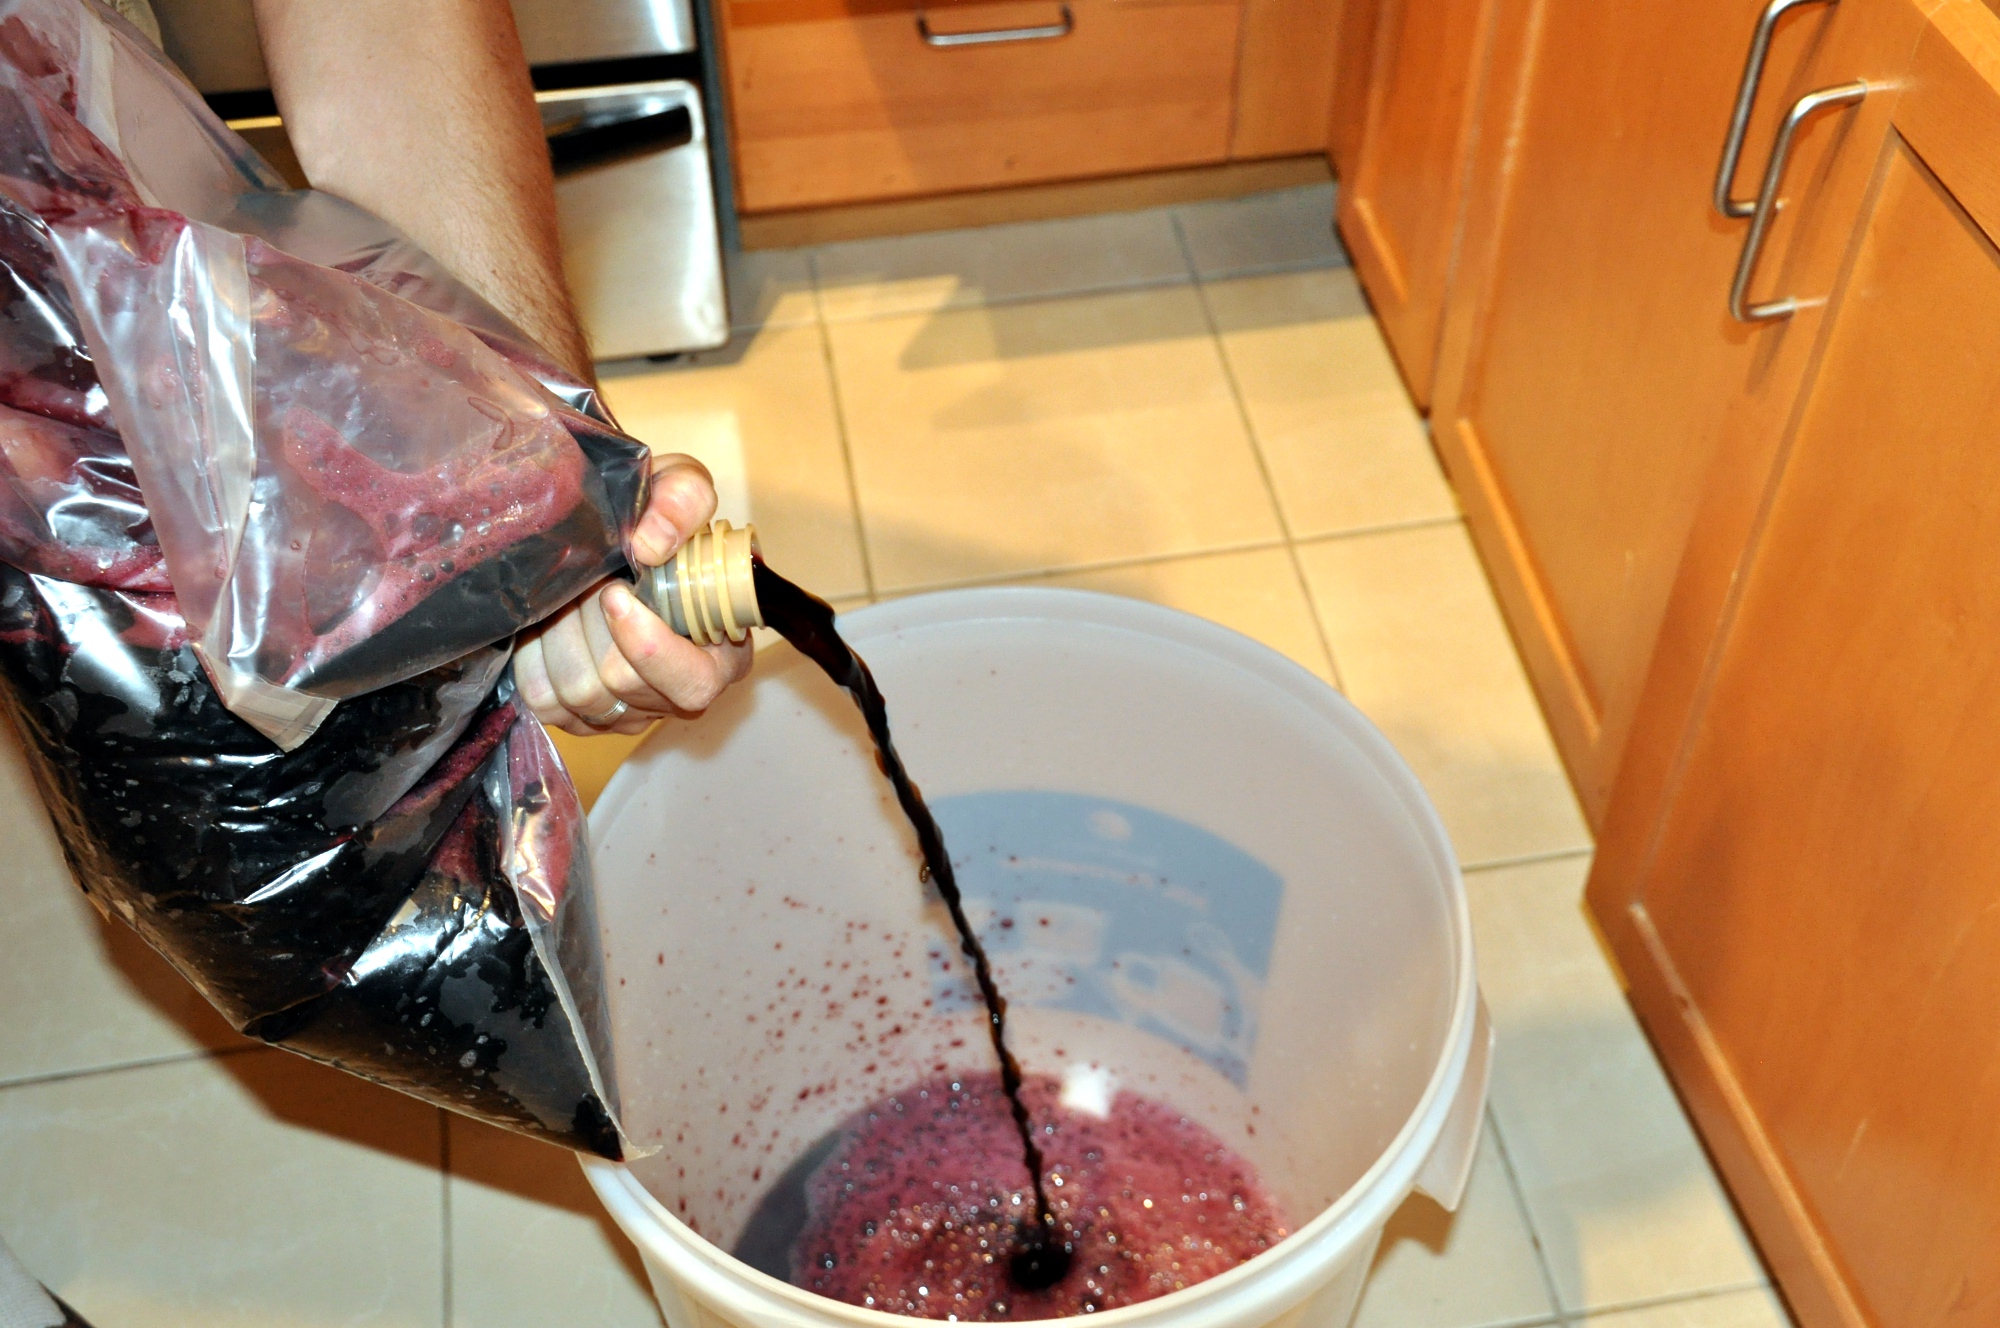

Now the fun begins. First pour in the contents of the juice bag. Then rinse the bag with hot water and pour in. Finally, pour in enough warm water until you get to the 23L marker line.
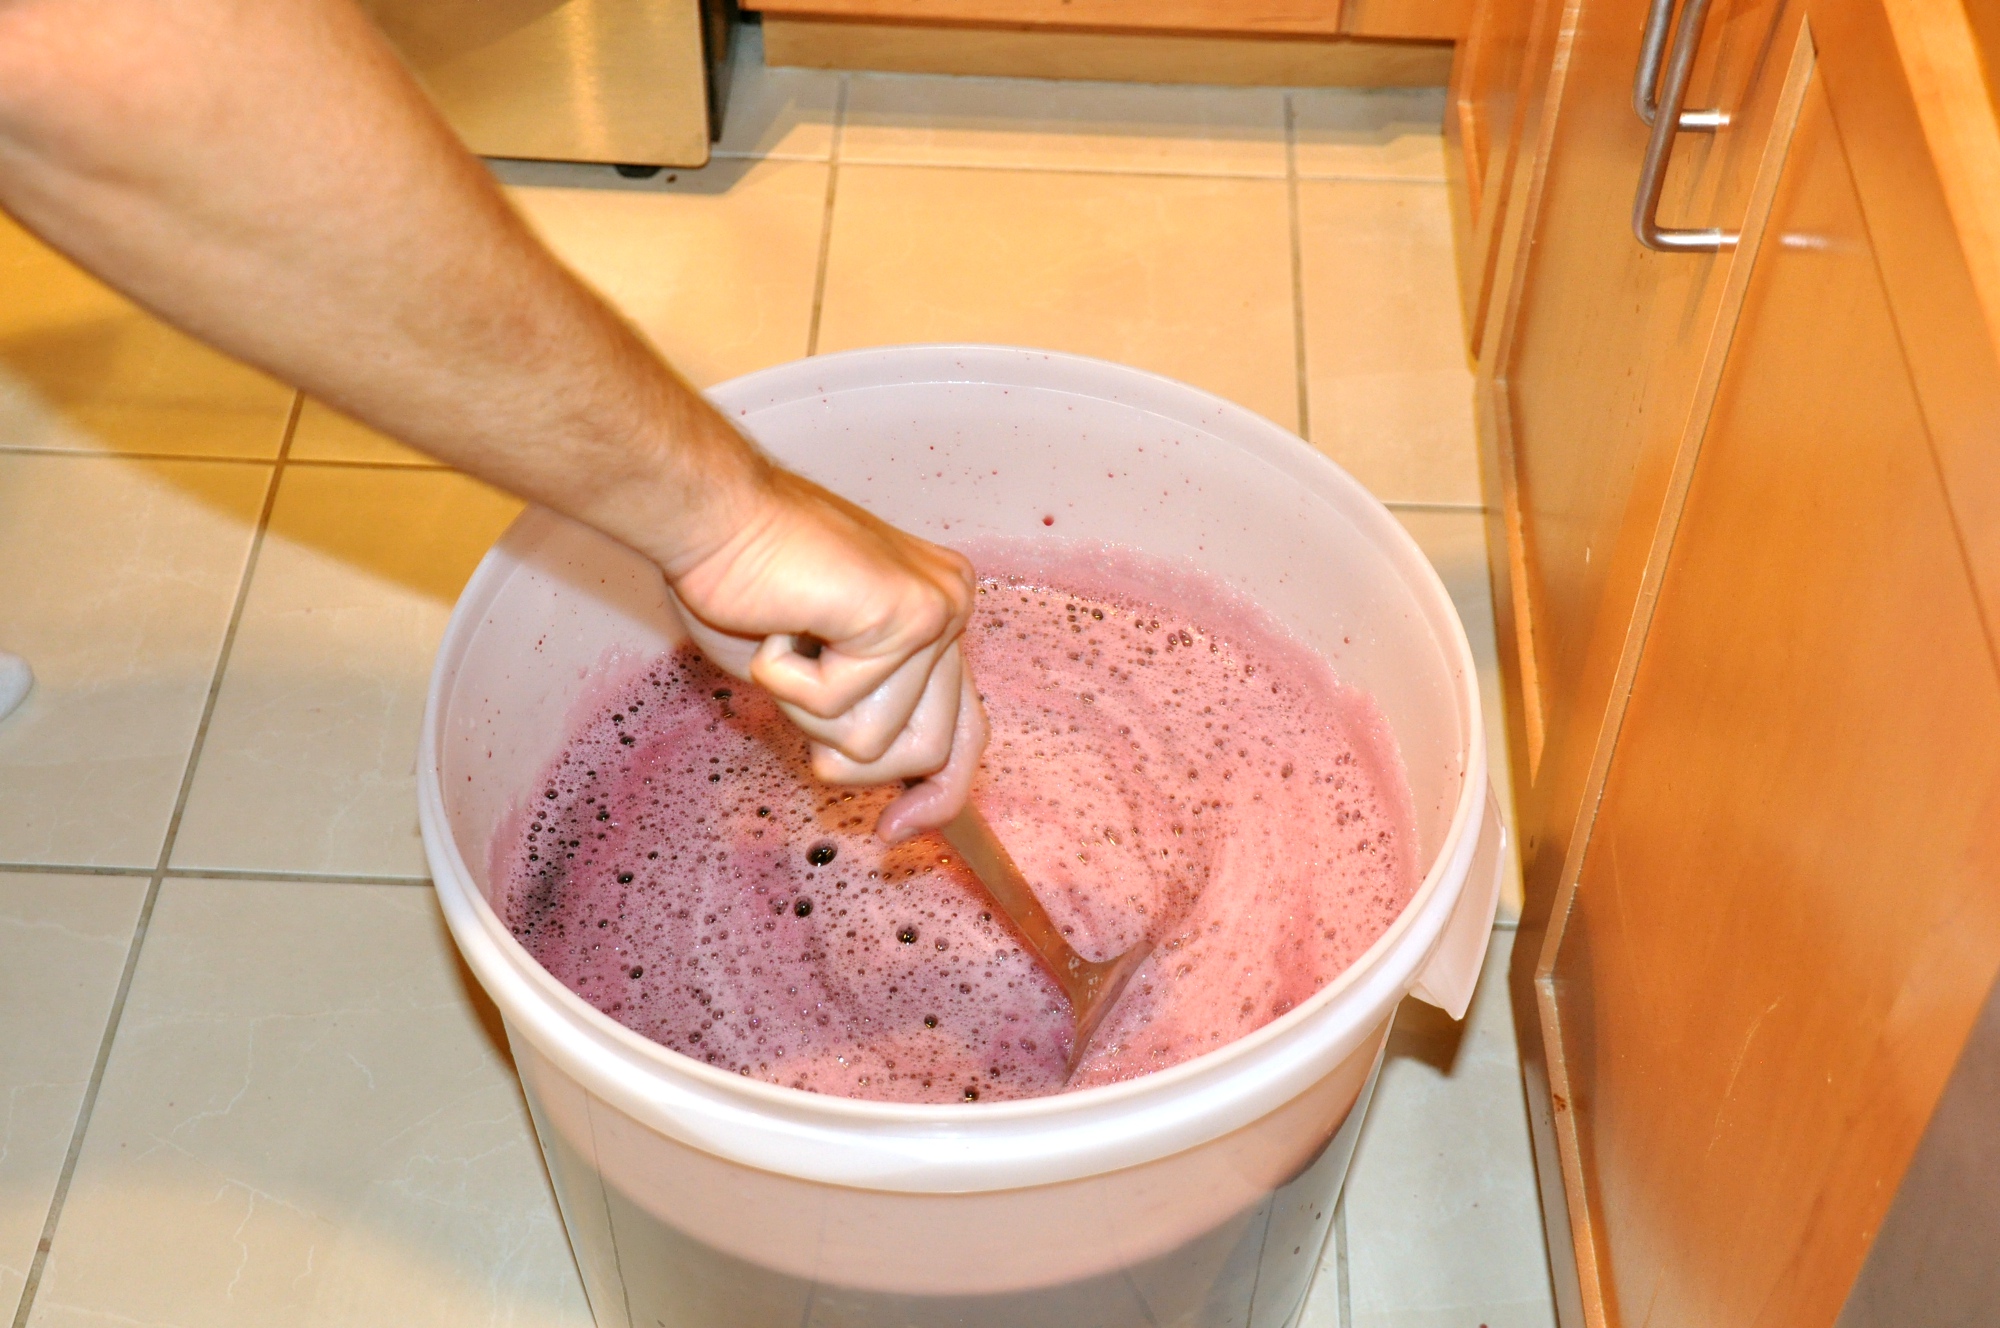
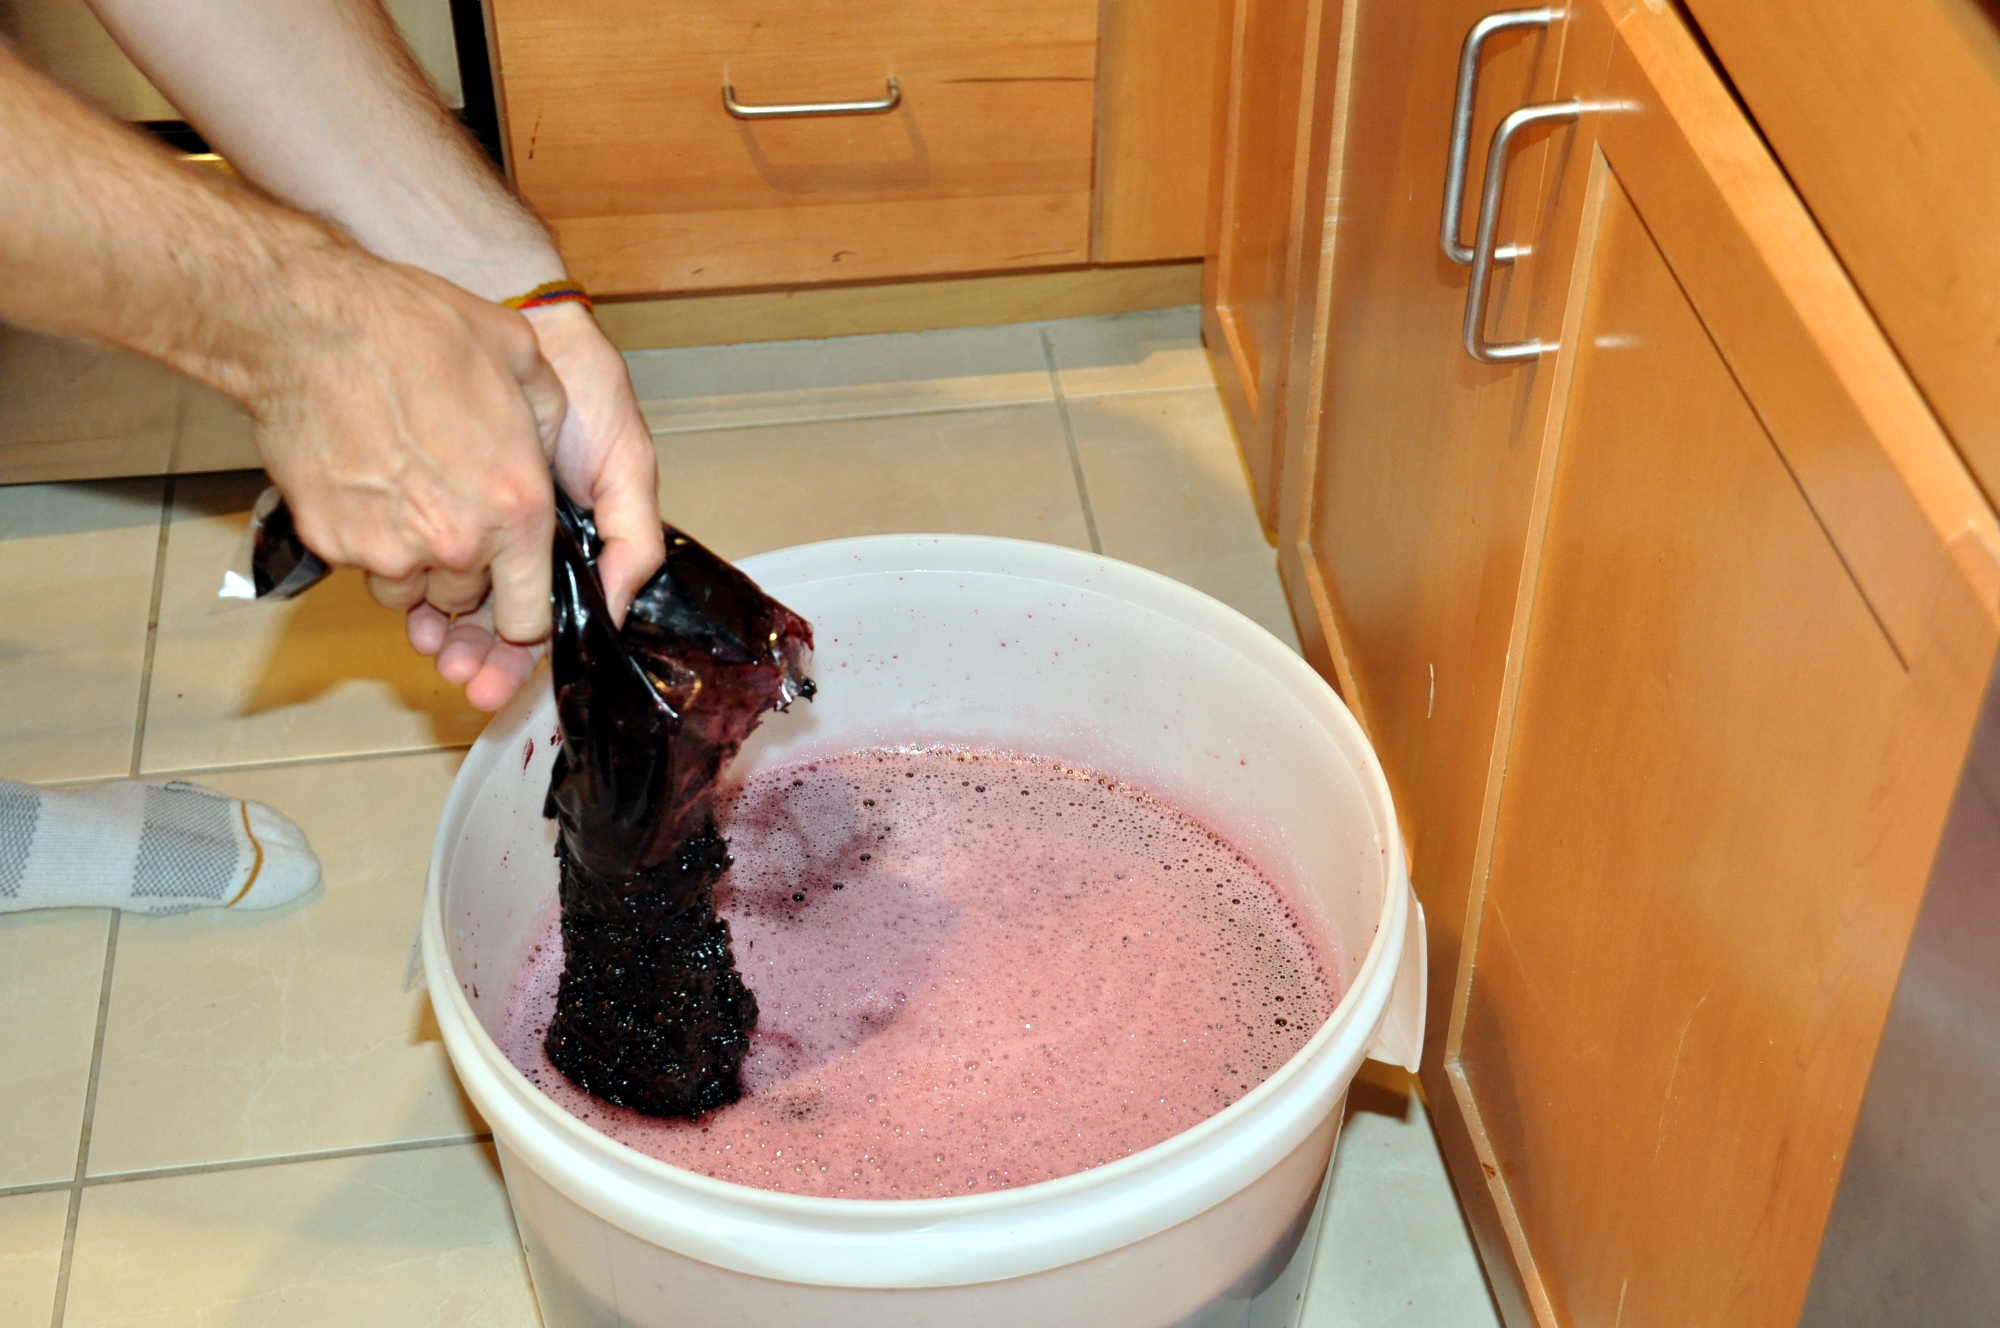
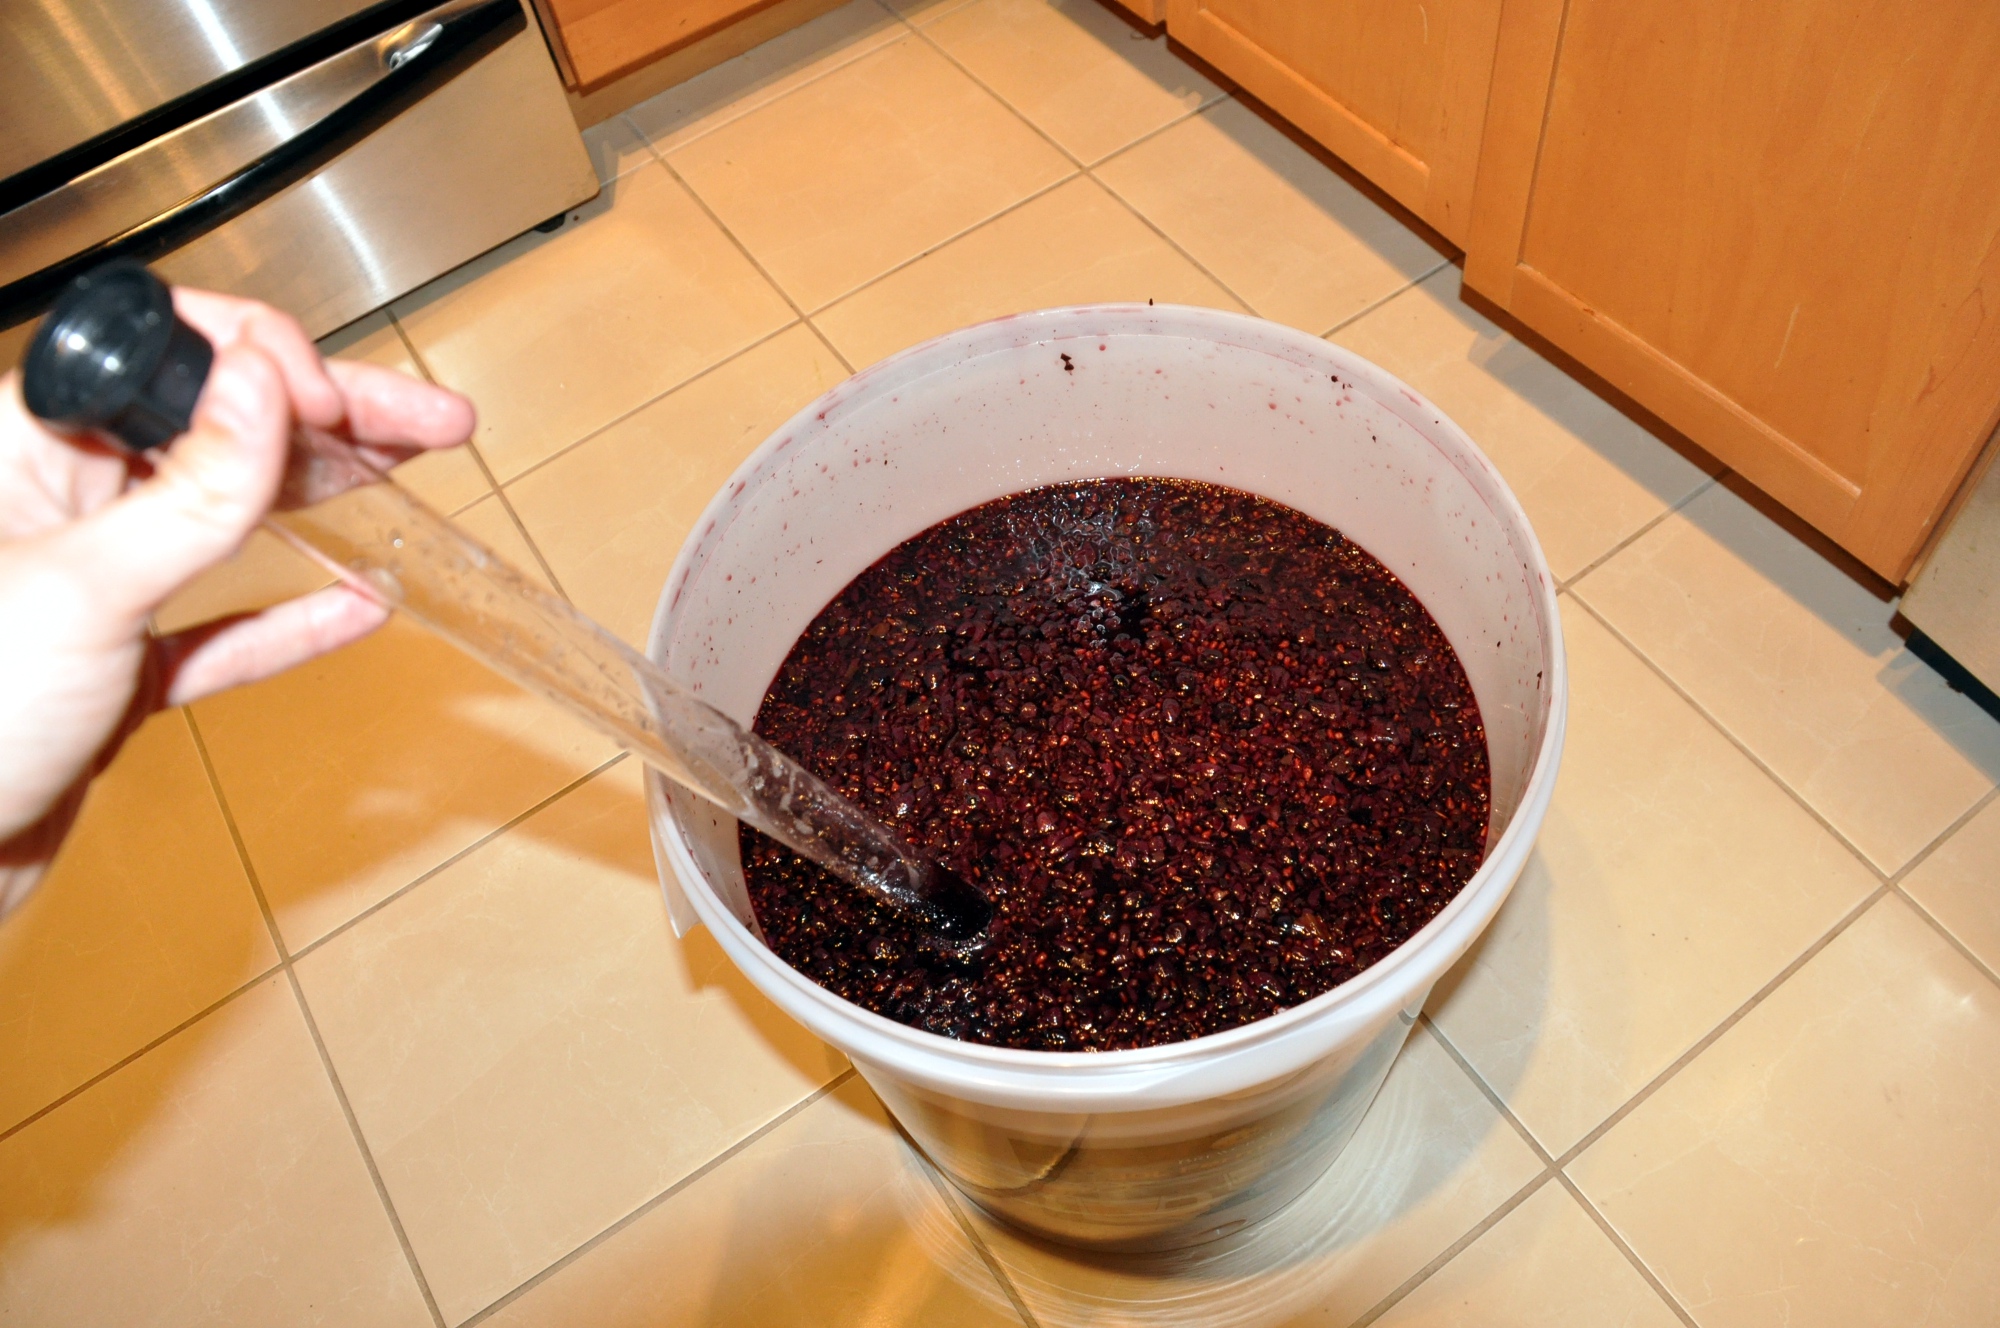
Stir well using a sanitized metal spatula. Then add the grape skins. The instructions suggested you can either pour these into a (supplied) mesh bag or dump them in directly to get a stronger taste. I went for the latter option.
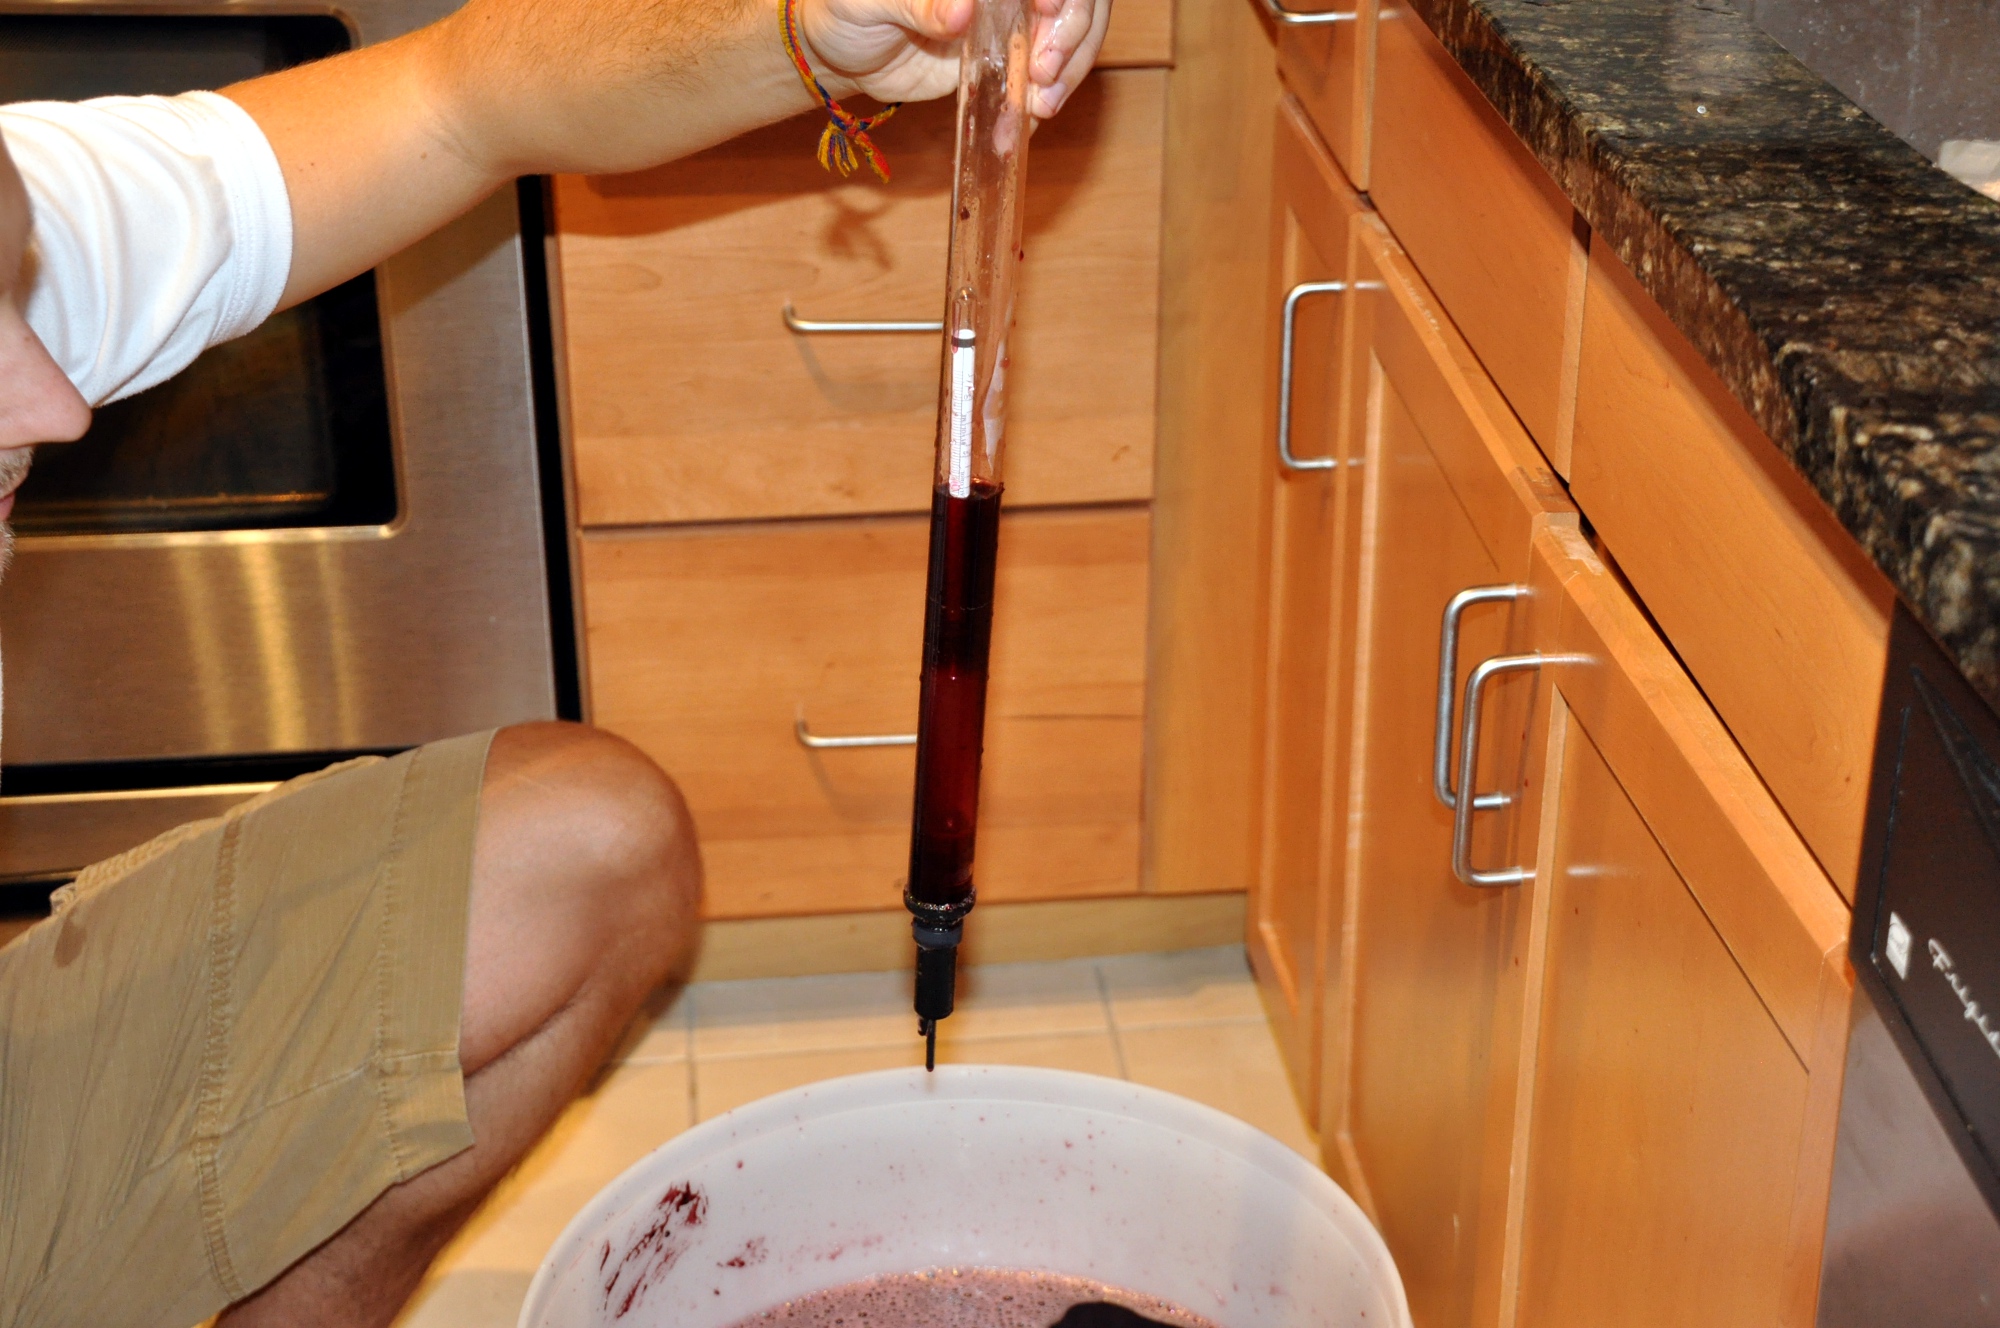
Again stir well. Then take your first hydrometer reading to obtain the initial specific gravity (density). Mine was 1.07. Comparing the final and initial density allows you to determine the alcohol content of the wine.
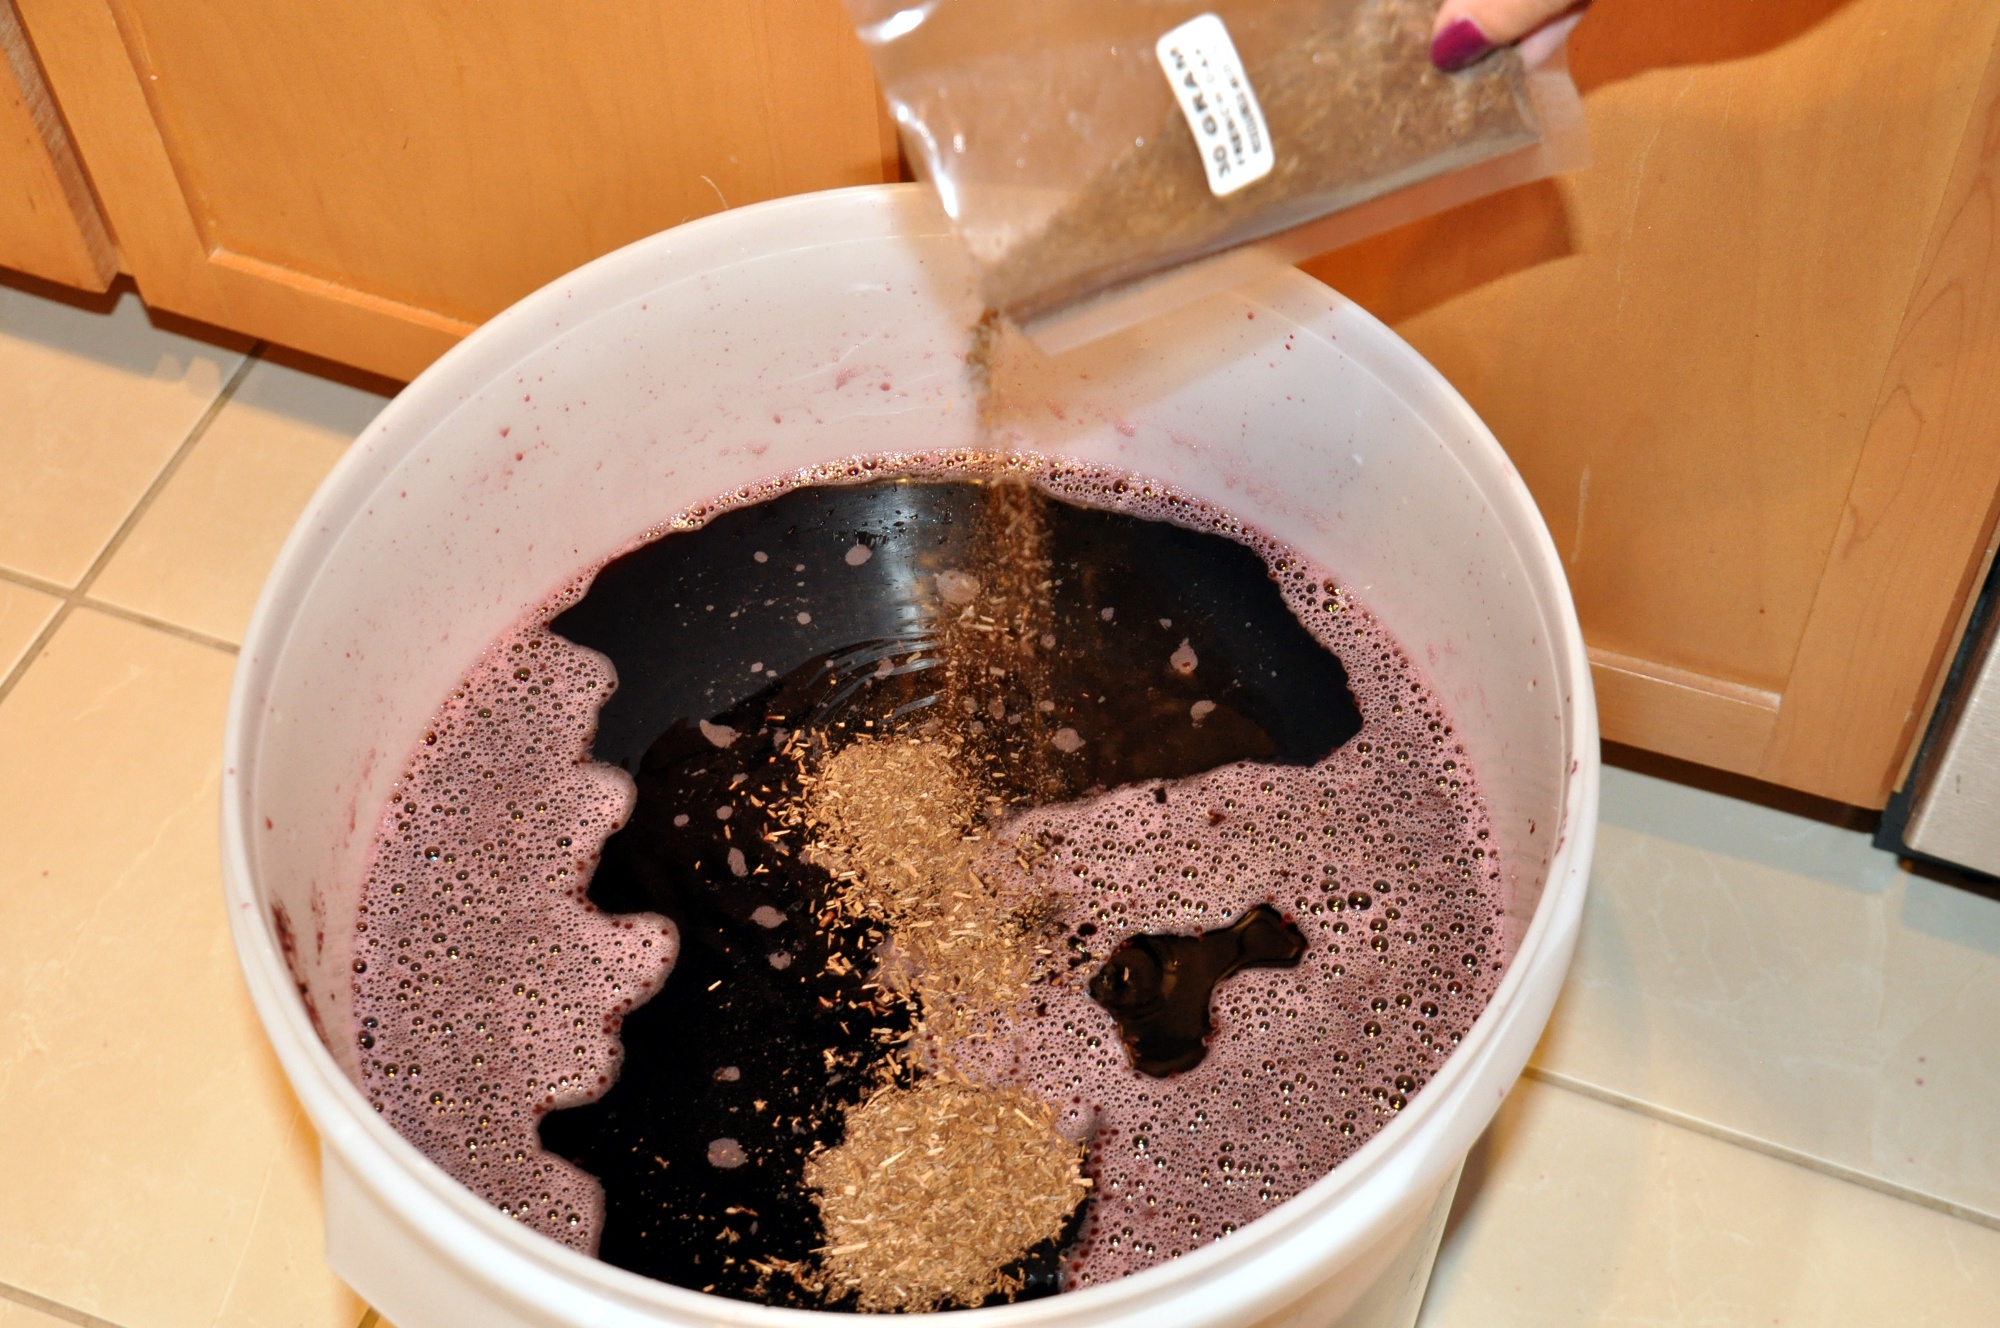
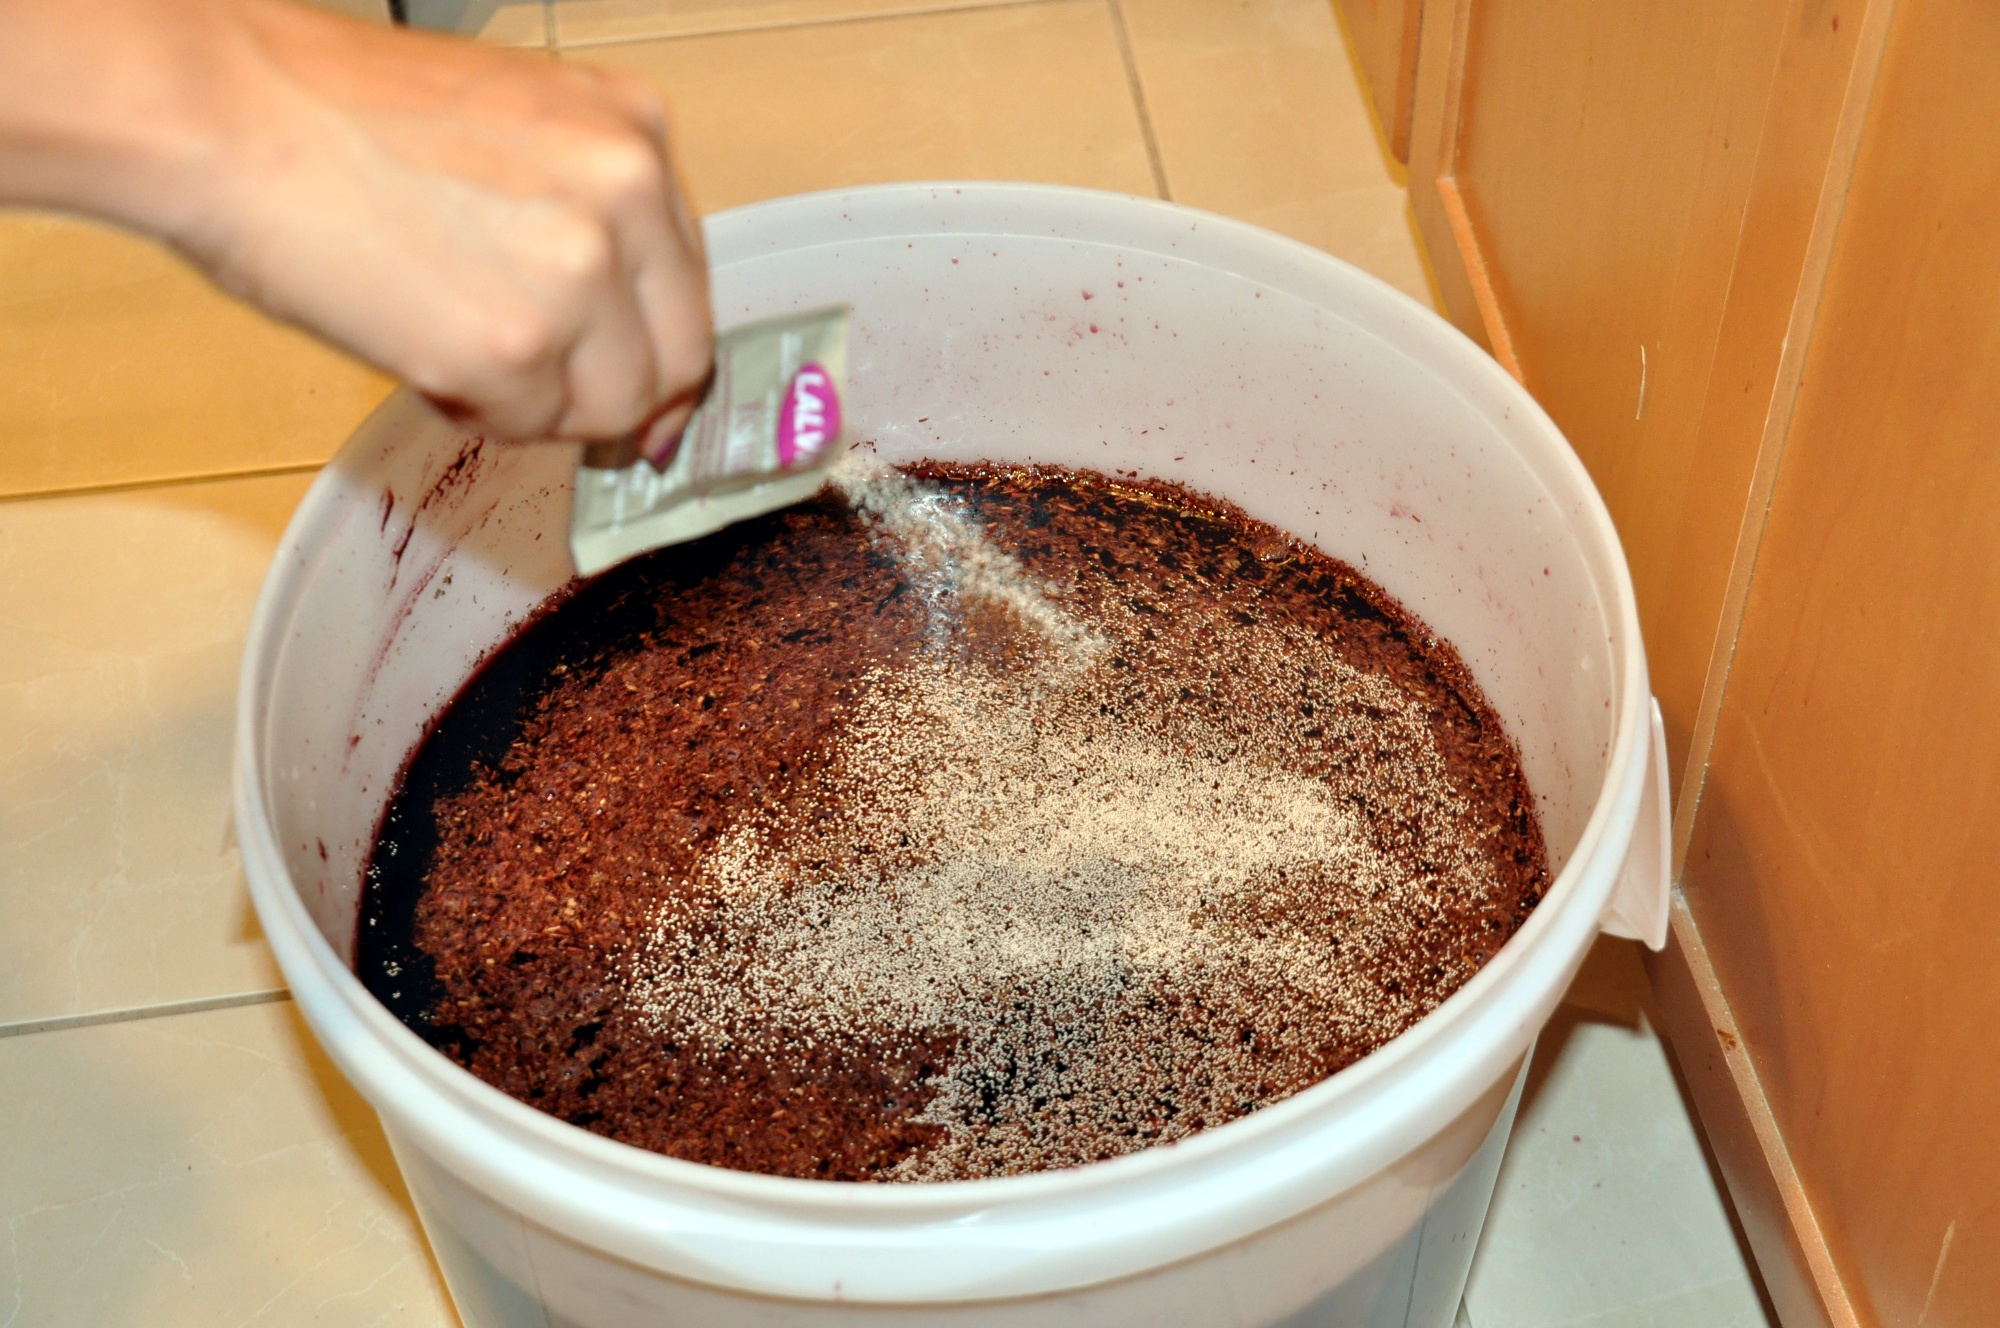
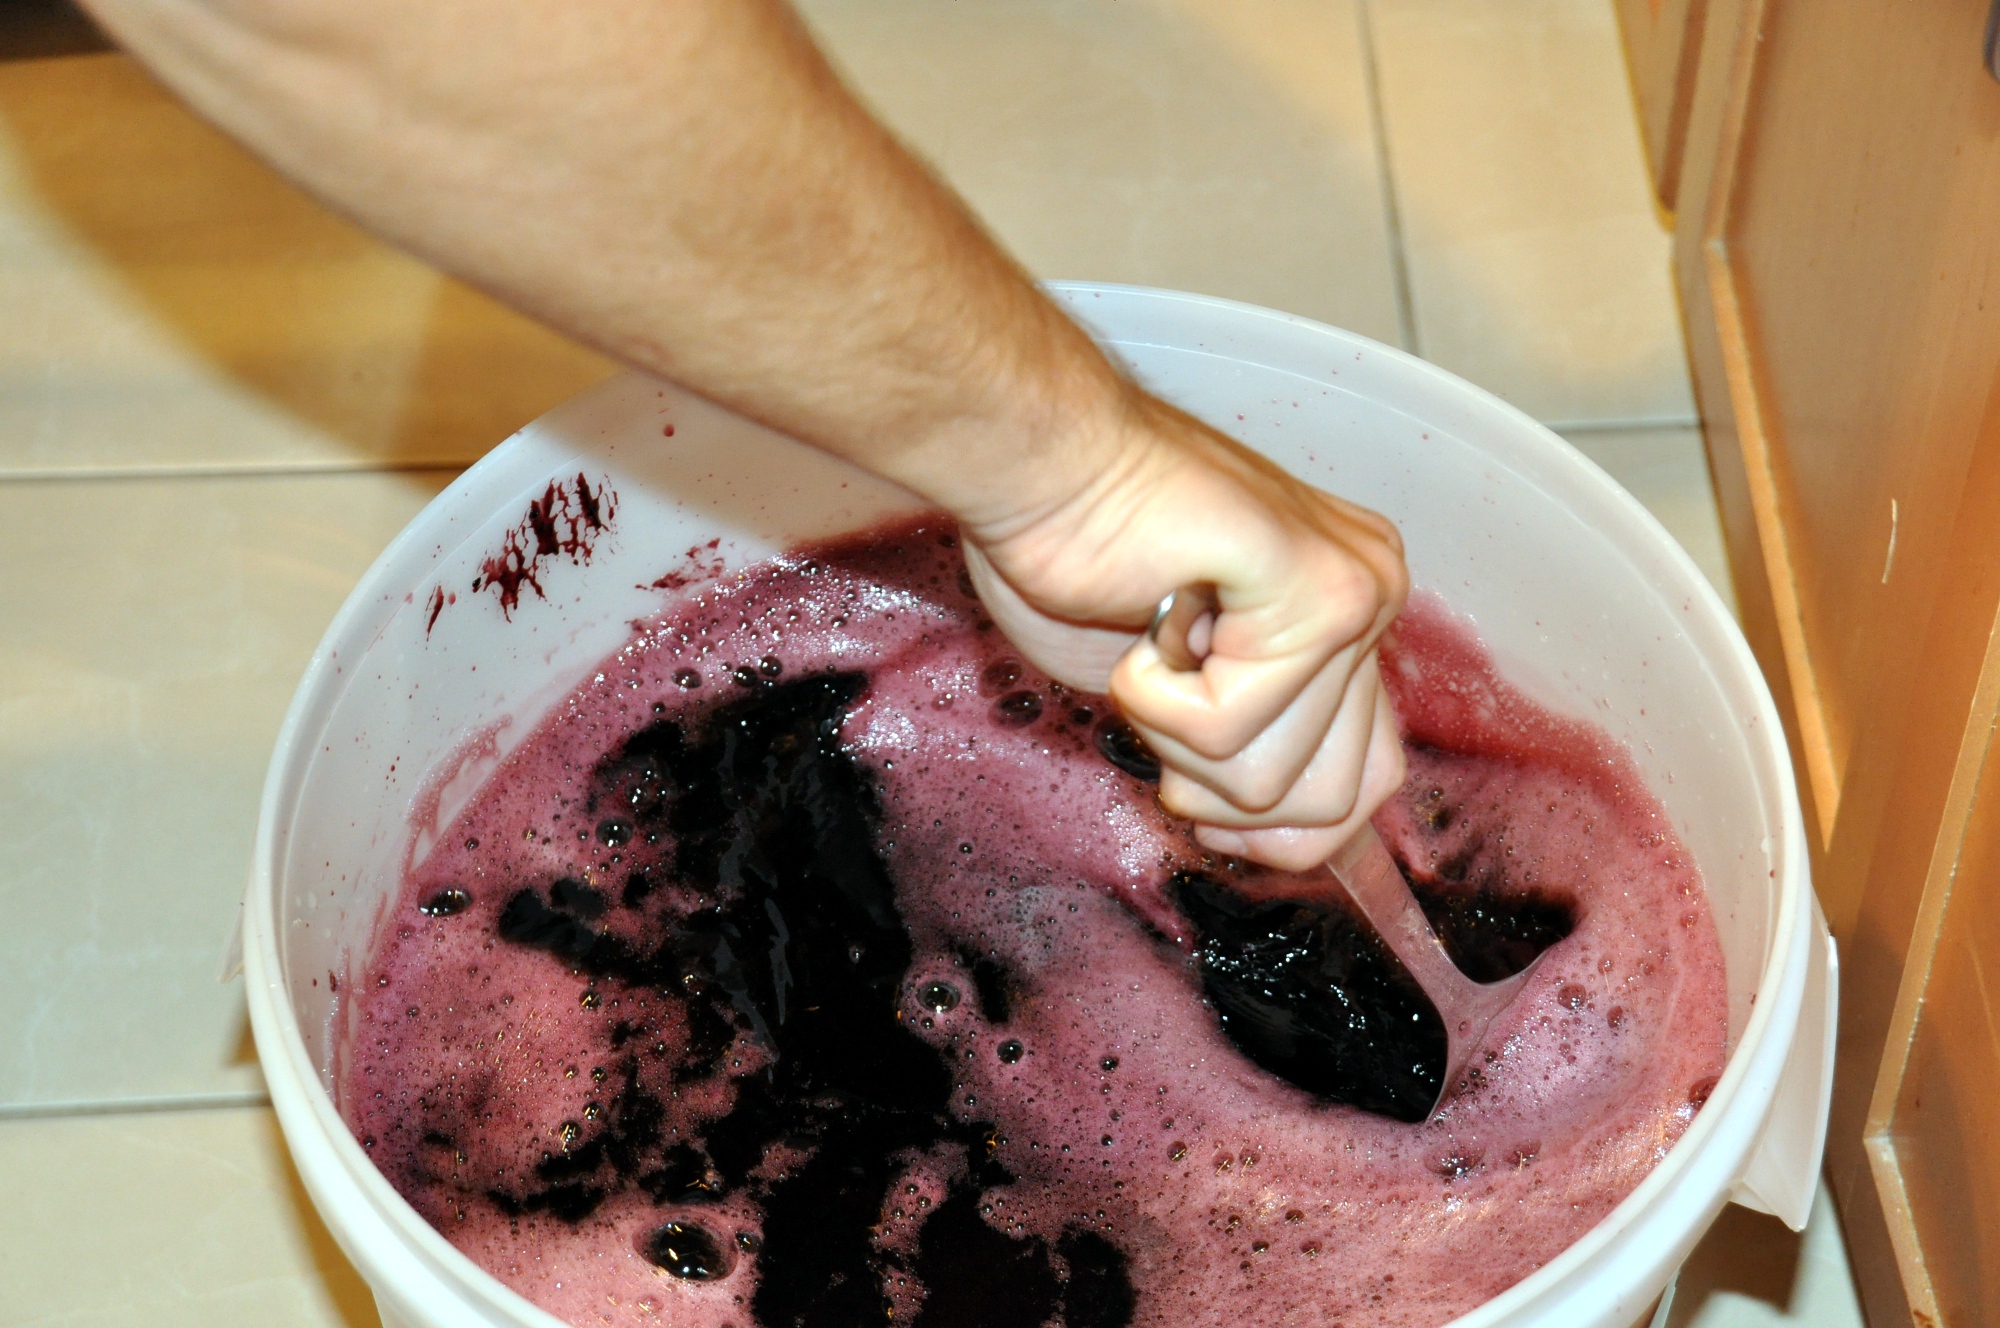
Add the oak shavings (hmm, oak!) and mix well. Then add the yeast. The instructions said to just leave the yeast floating on top without stirring so that’s what I did.

Then finally, place the lid over the bucket and insert the fermentation lock (filled with water). Then just place out of the sun in a place between 66F and 75F and leave for at least 10 days. However, shake the bucket lightly every day to make sure the crushed grapes stay fully submerged.
Day 11 (11/21/2012): Secondary Fermentation
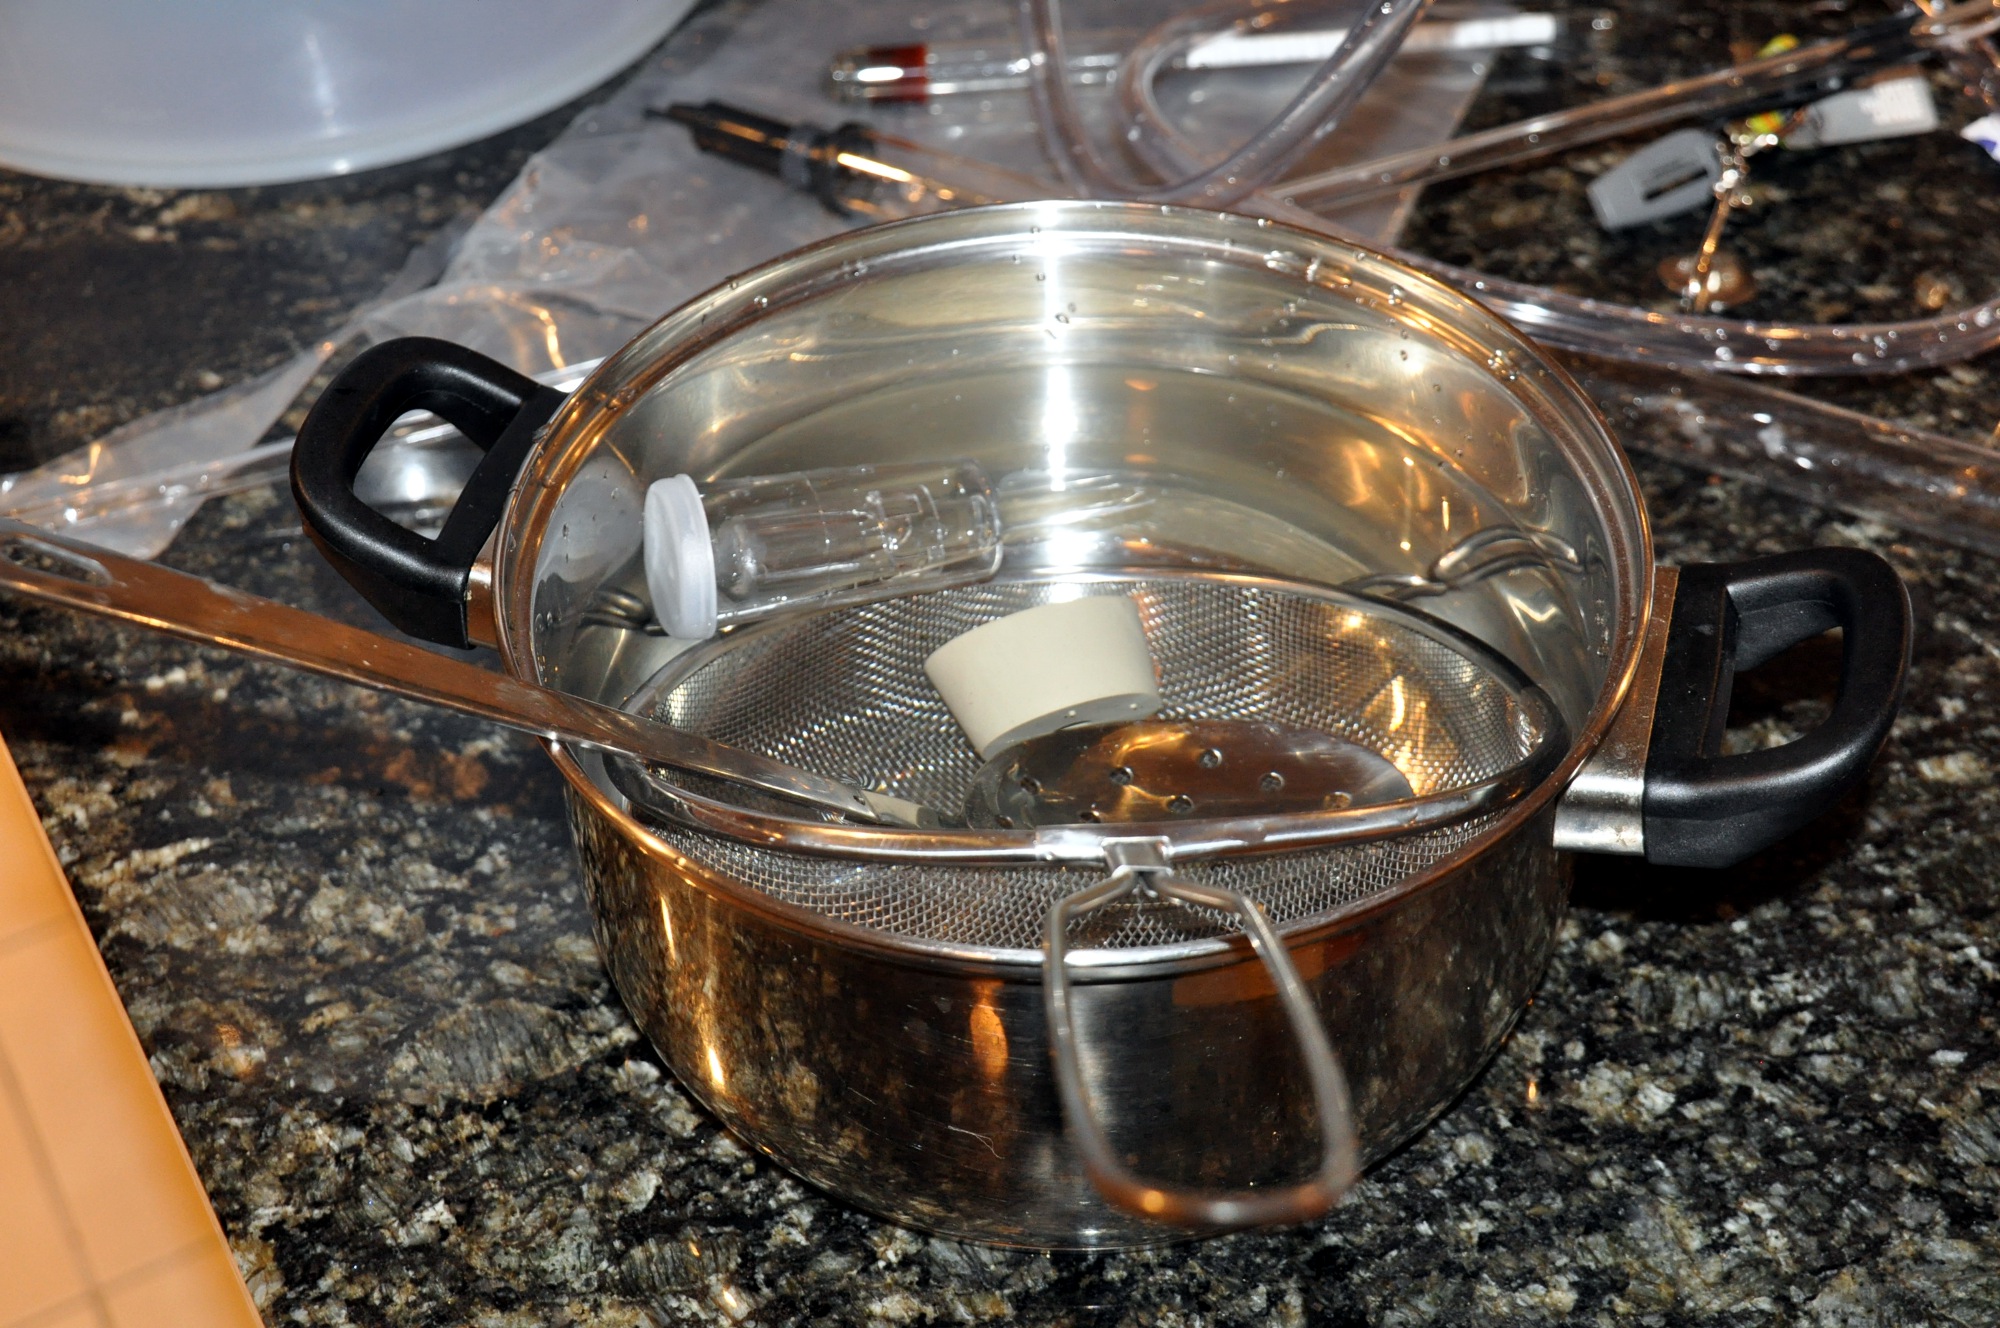
The wine will start fermenting quite rapidly on the second day or so and the fermentation will slowly decrease. By the 10th day, there shouldn’t be much bubbling at all. The first thing we do is again check the specific gravity. It should be below 1.0, mine was 0.999. Also, make sure to sterilize the fermentation lock, carboy, and racking tubes.
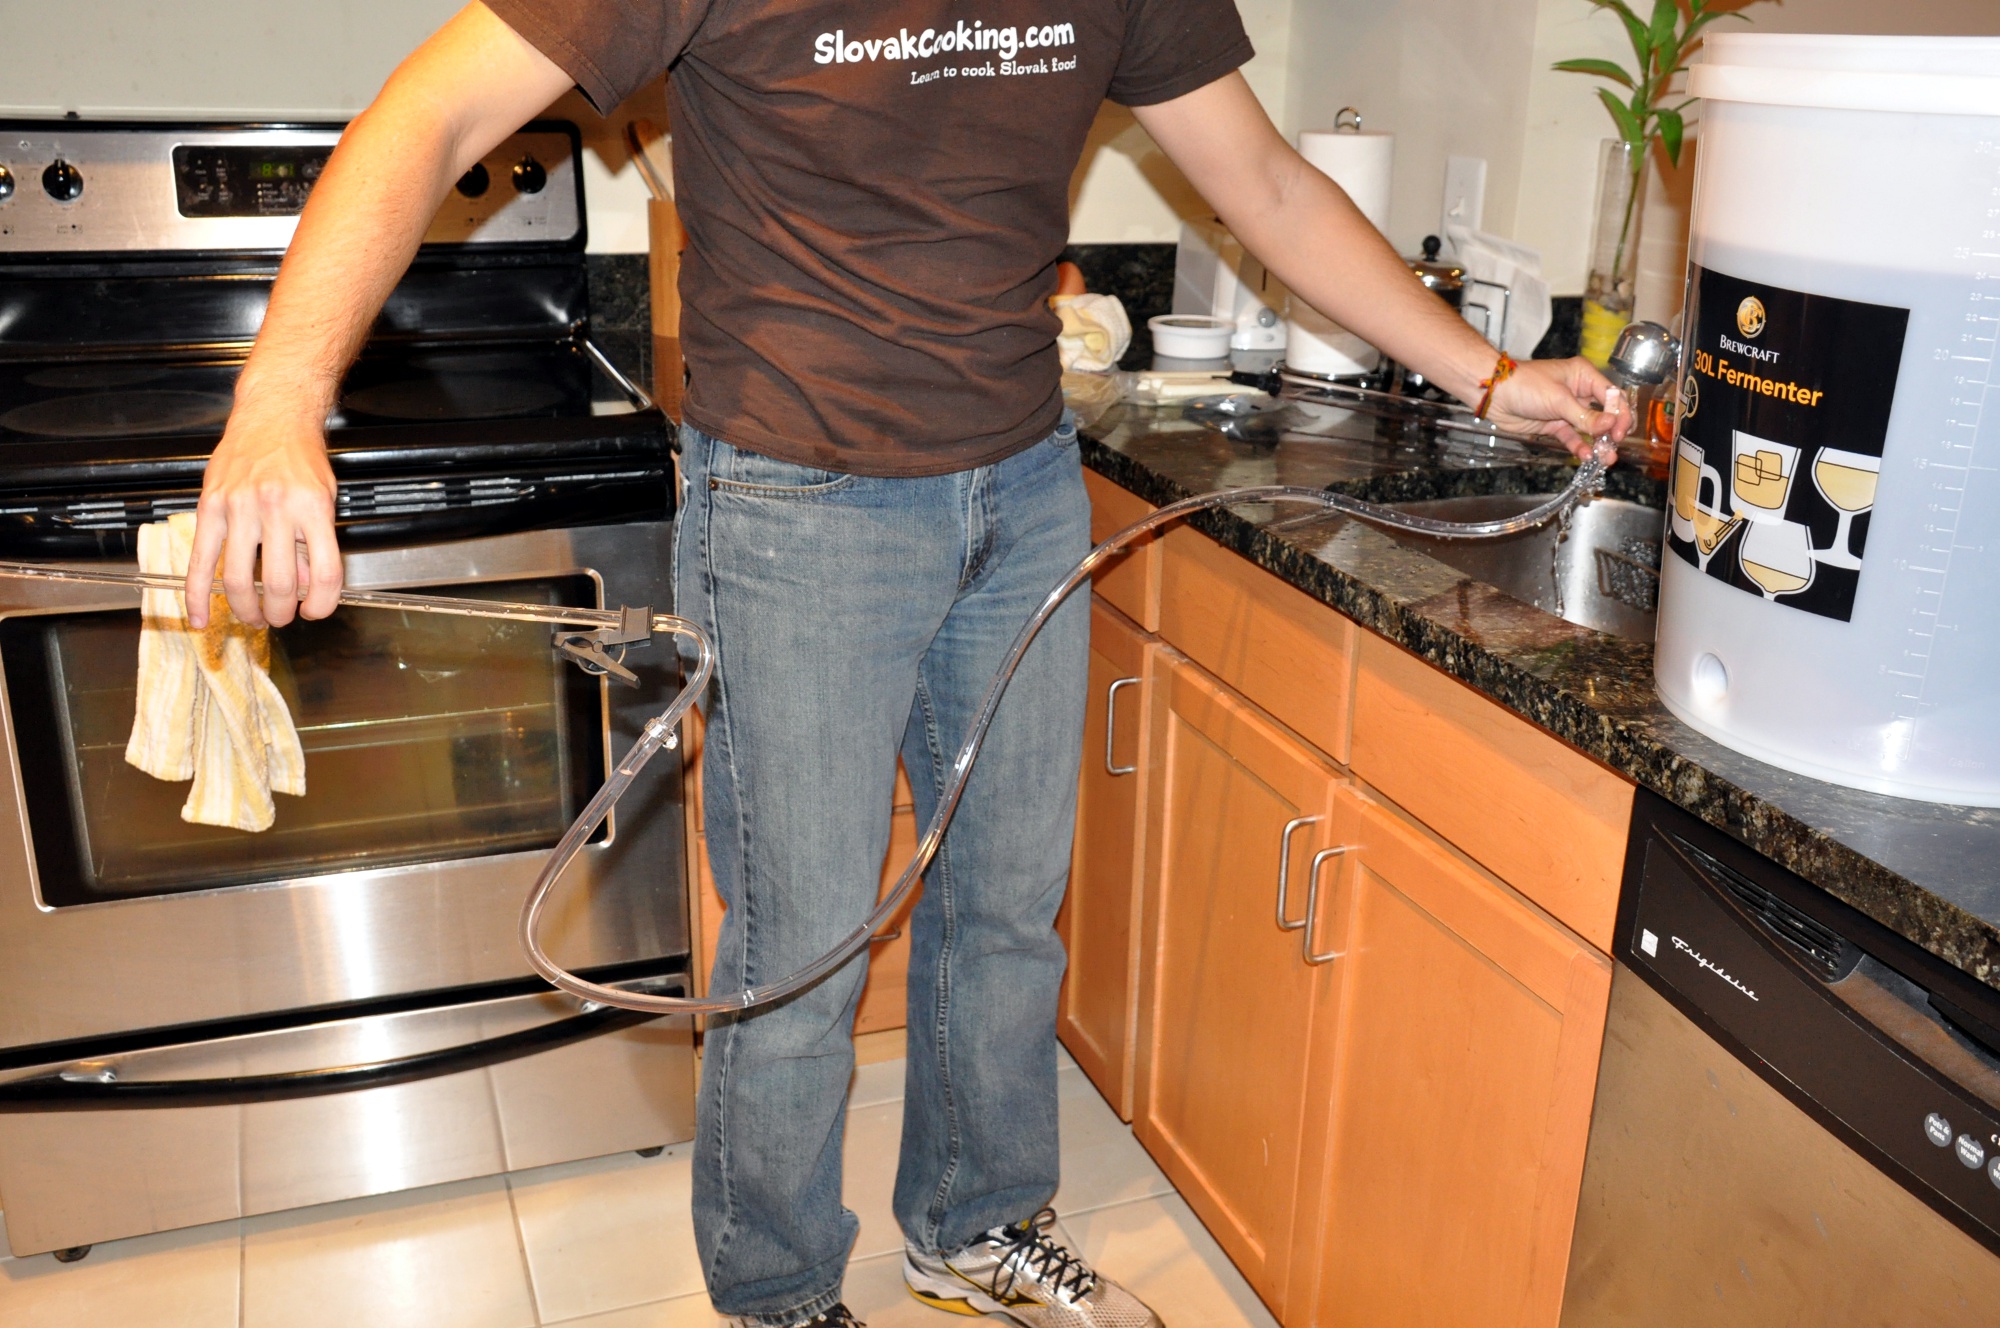
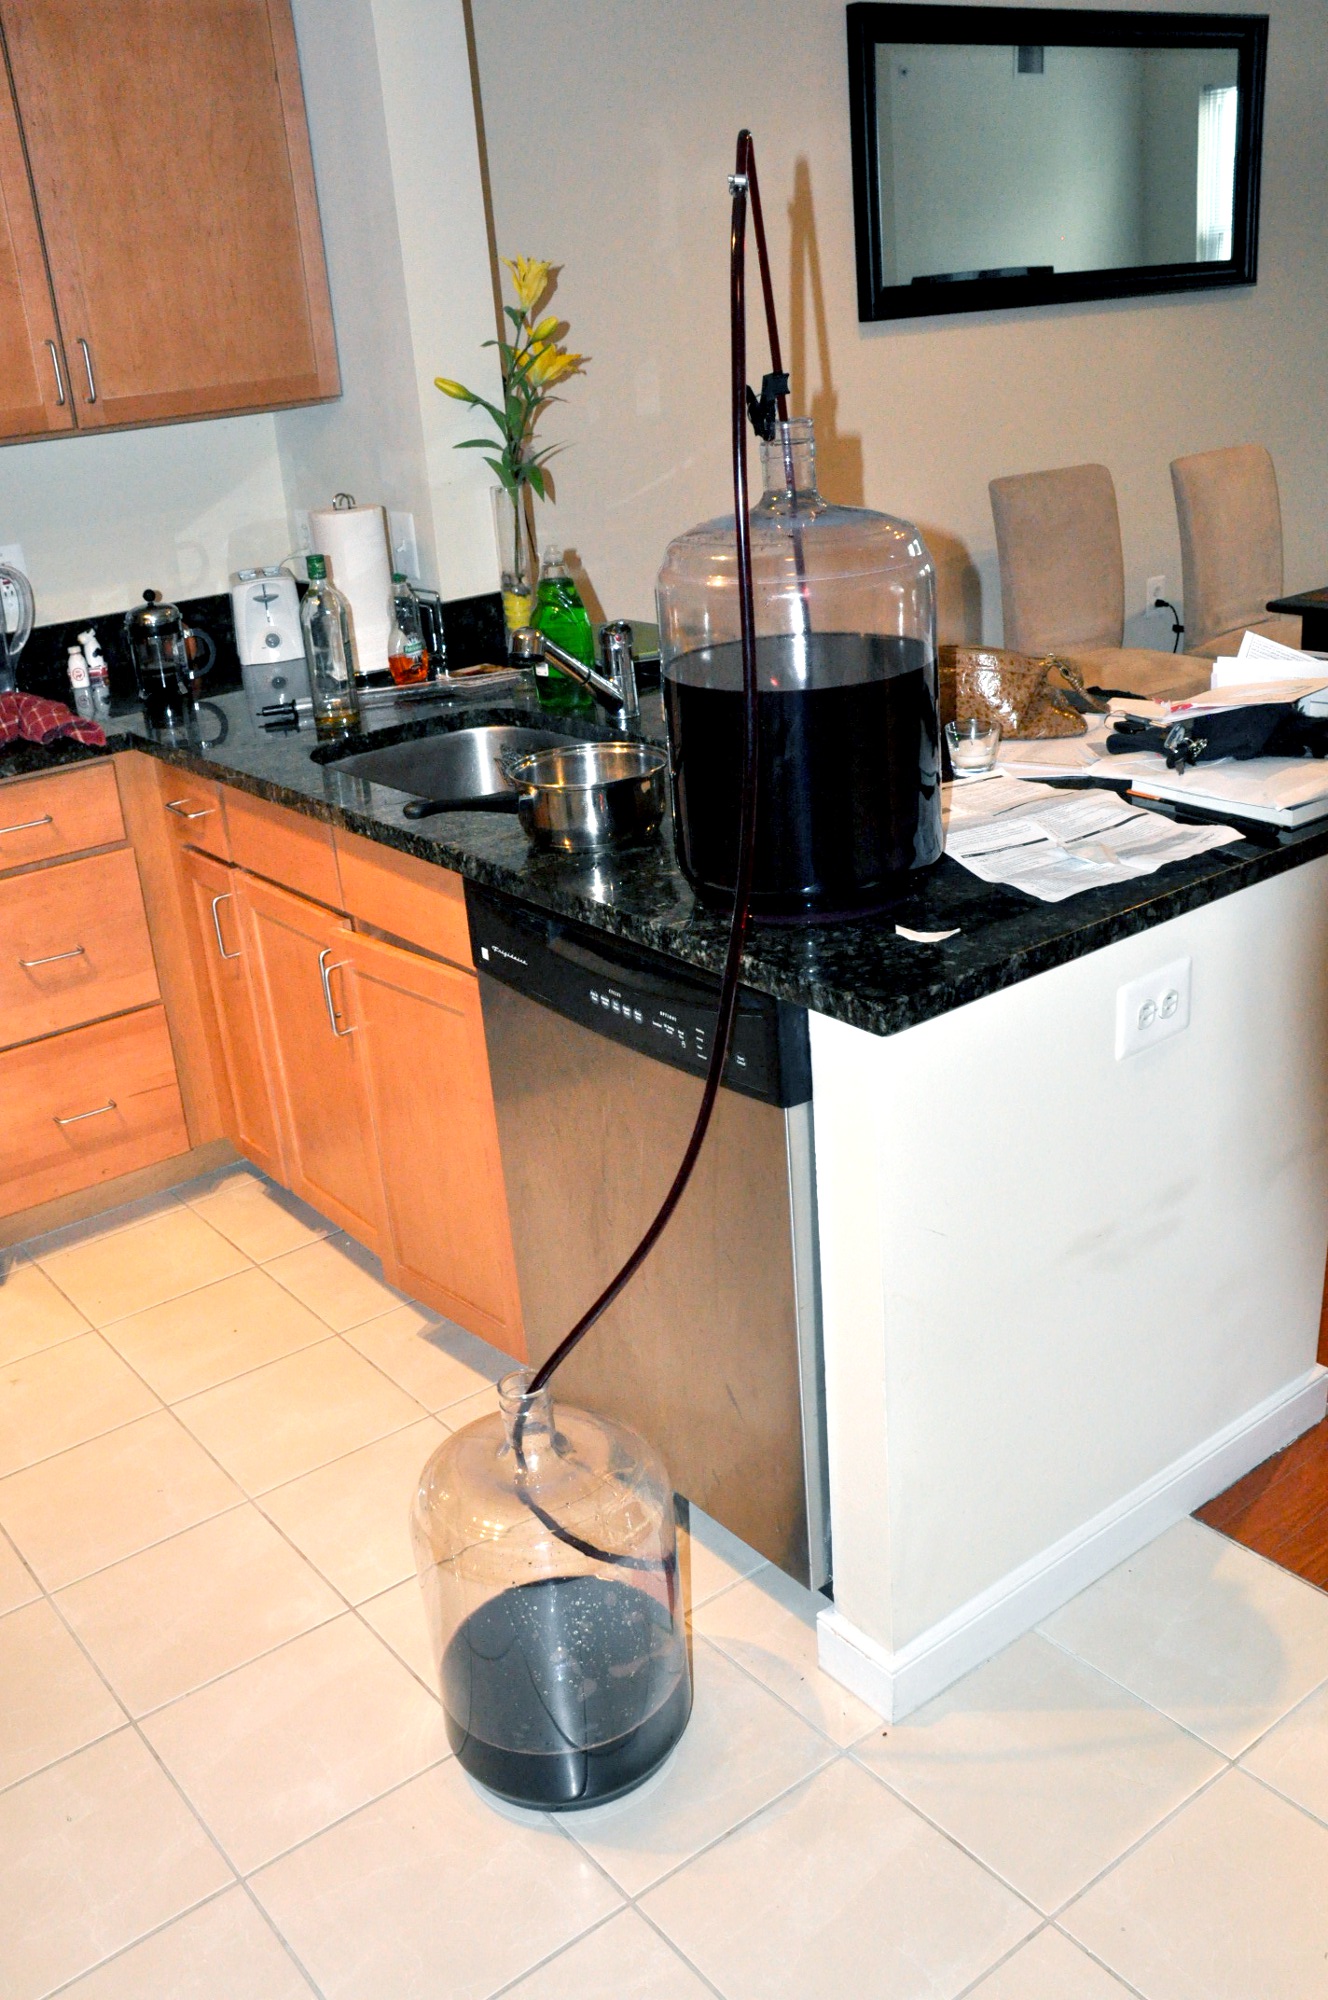
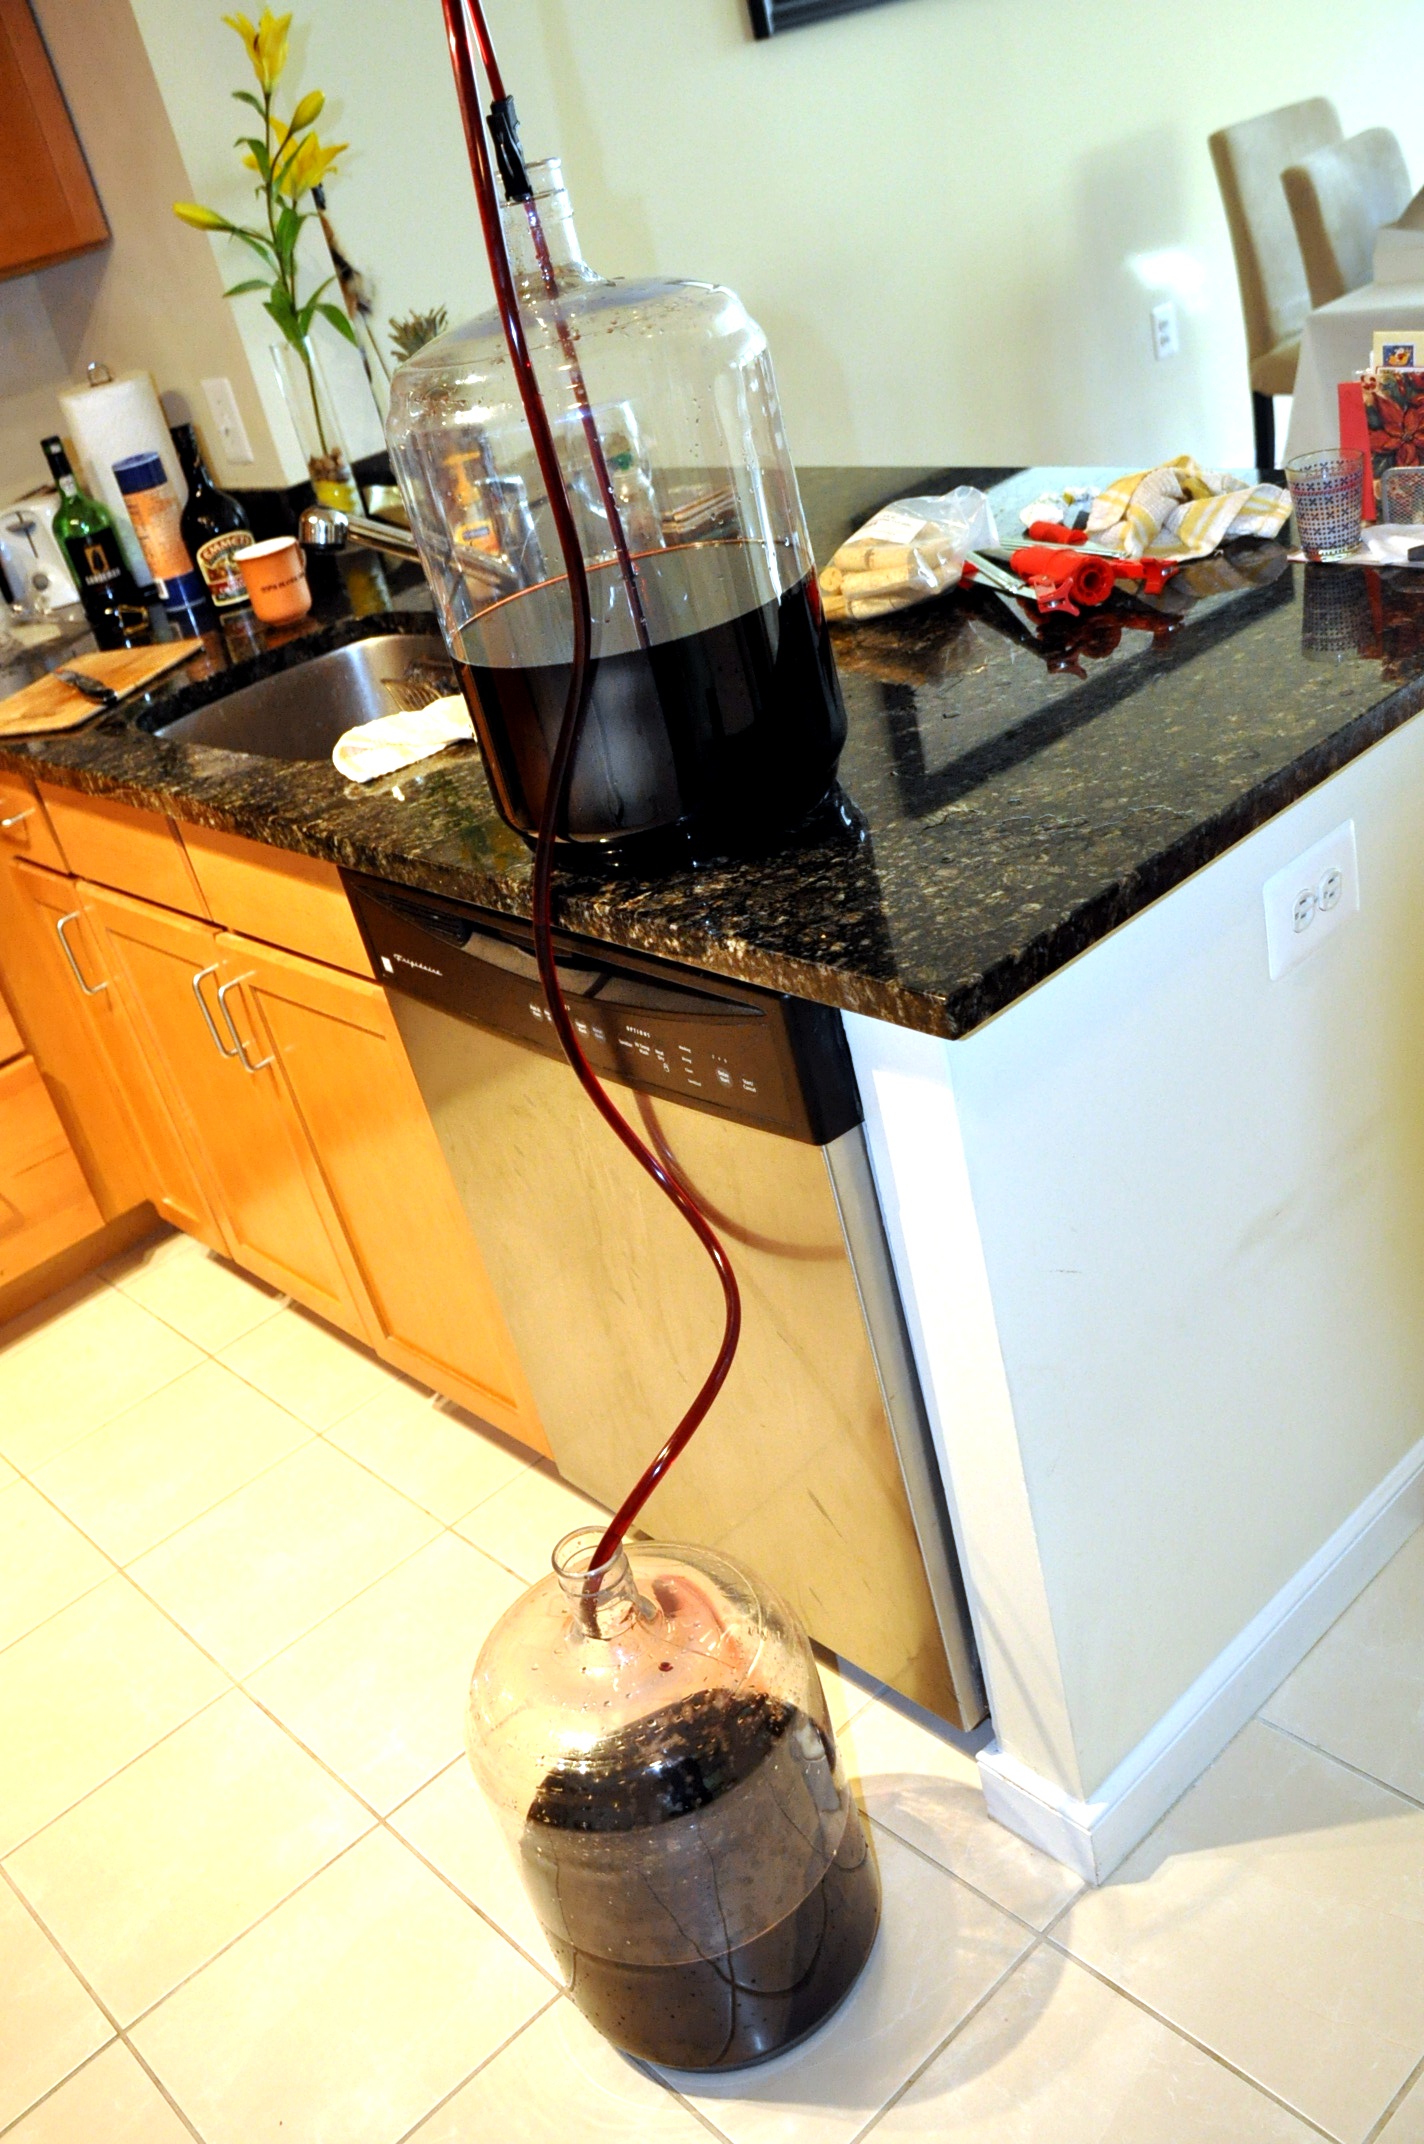
The primary purpose of this step is to transfer the wine from the first bucket to a new carboy where it will continue fermenting. In the process, we also help “filter out” the wine, since there will be bunch of nasty swampy stuff left at the bottom of the bucket. Now, if you added your grape skins in a mesh beg, your job would be much easier. I instead had to use a sterilized strainer to remove some of the skins from the top. I then started the racking process. One way you can get the siphon going if you don’t want to suck on it with your mouth is to fill the tube with water and then let that first drain out to some small pot. Once wine is flowing, you move the tube from the pot to the carboy. If you use your mouth, make sure to sterilize first – the old fashioned way is by taking a swig of some hard alcohol (more than 100 proof).
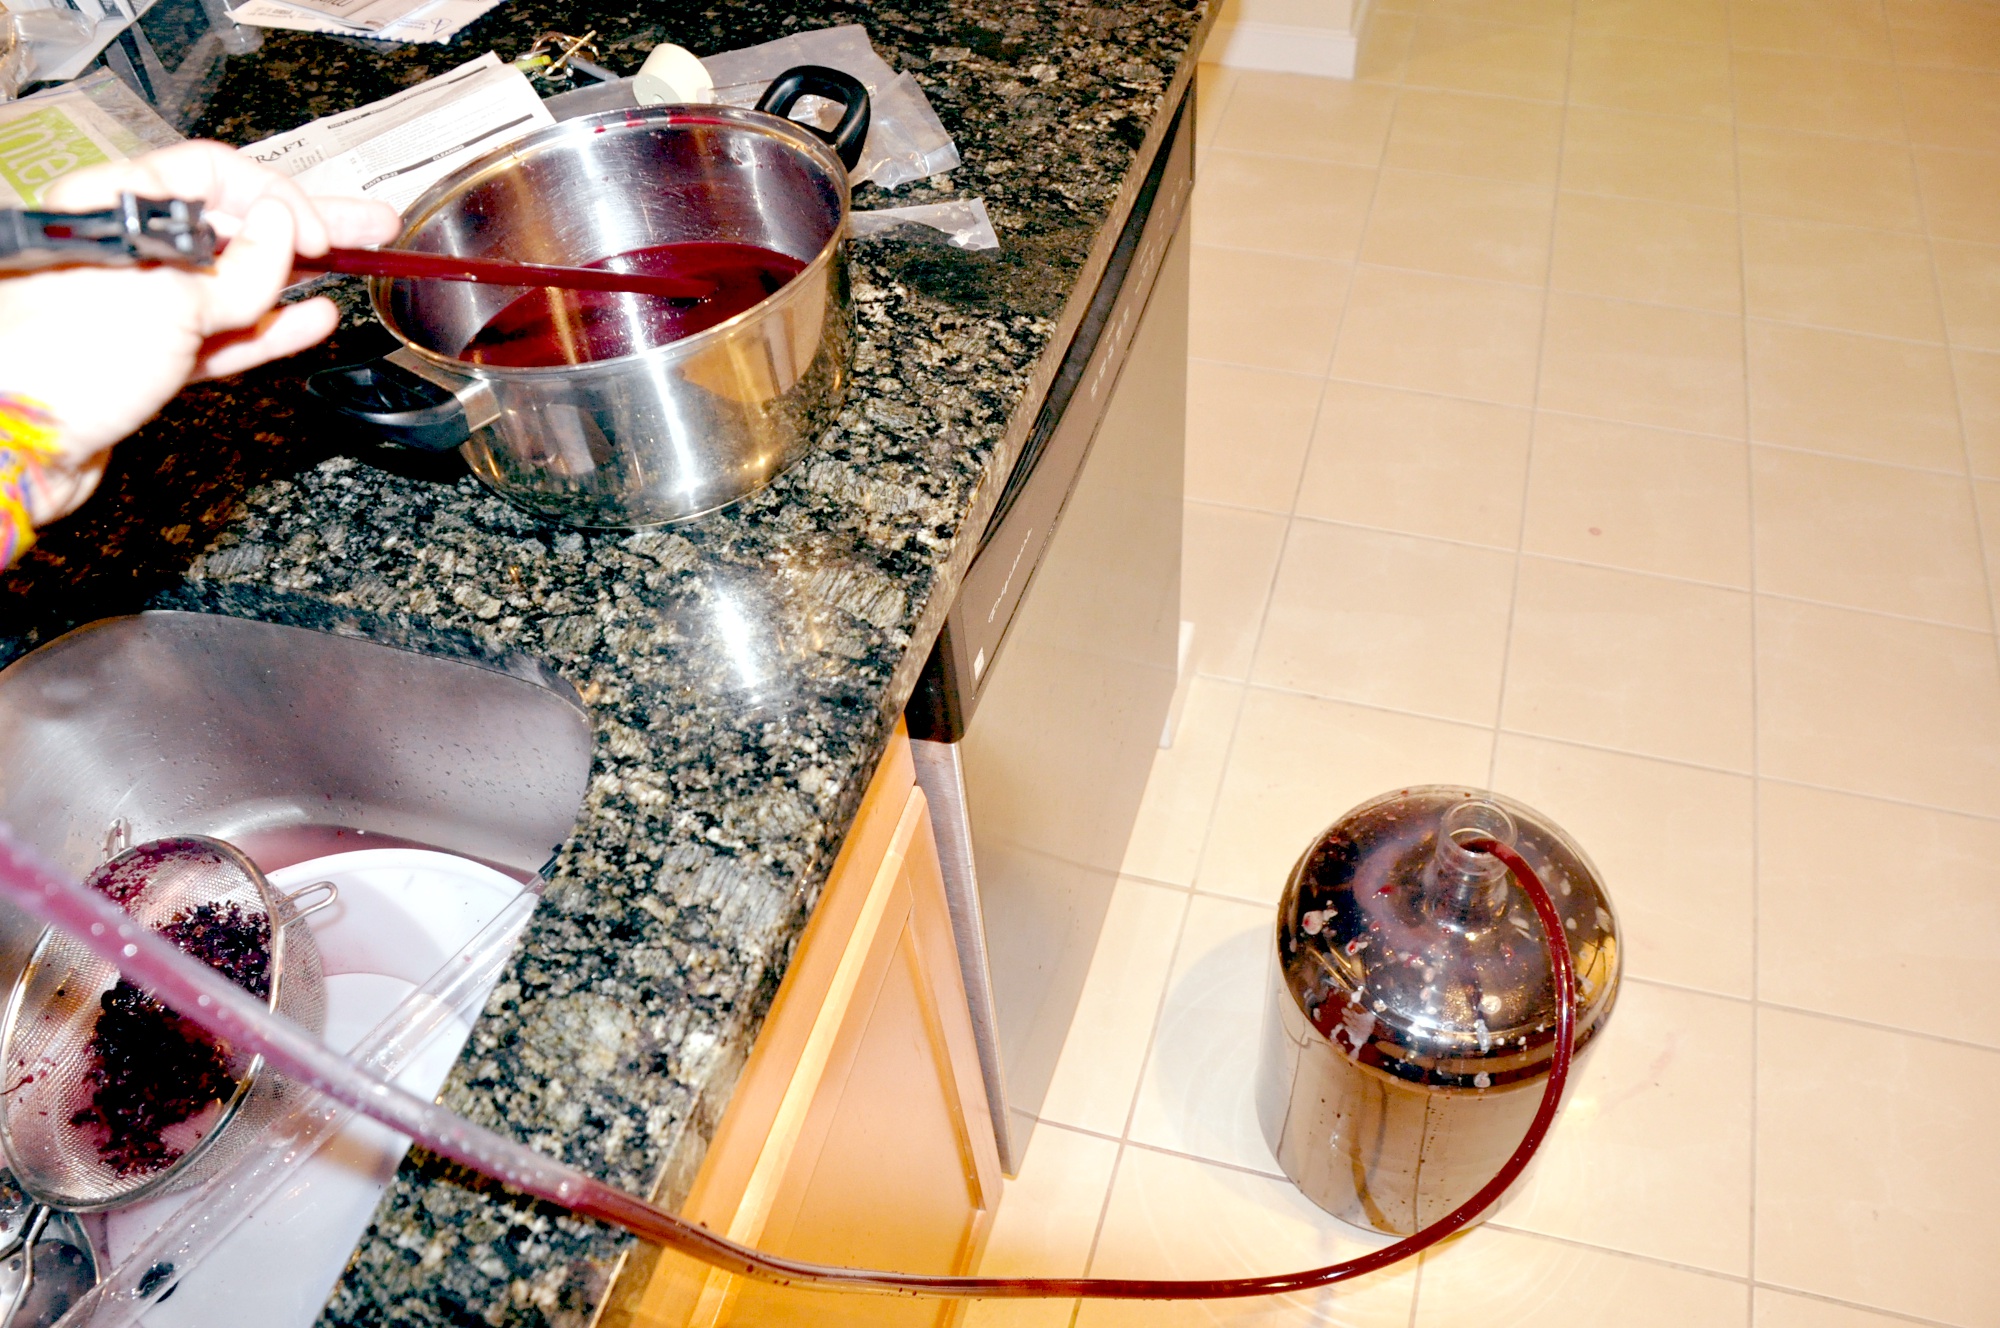
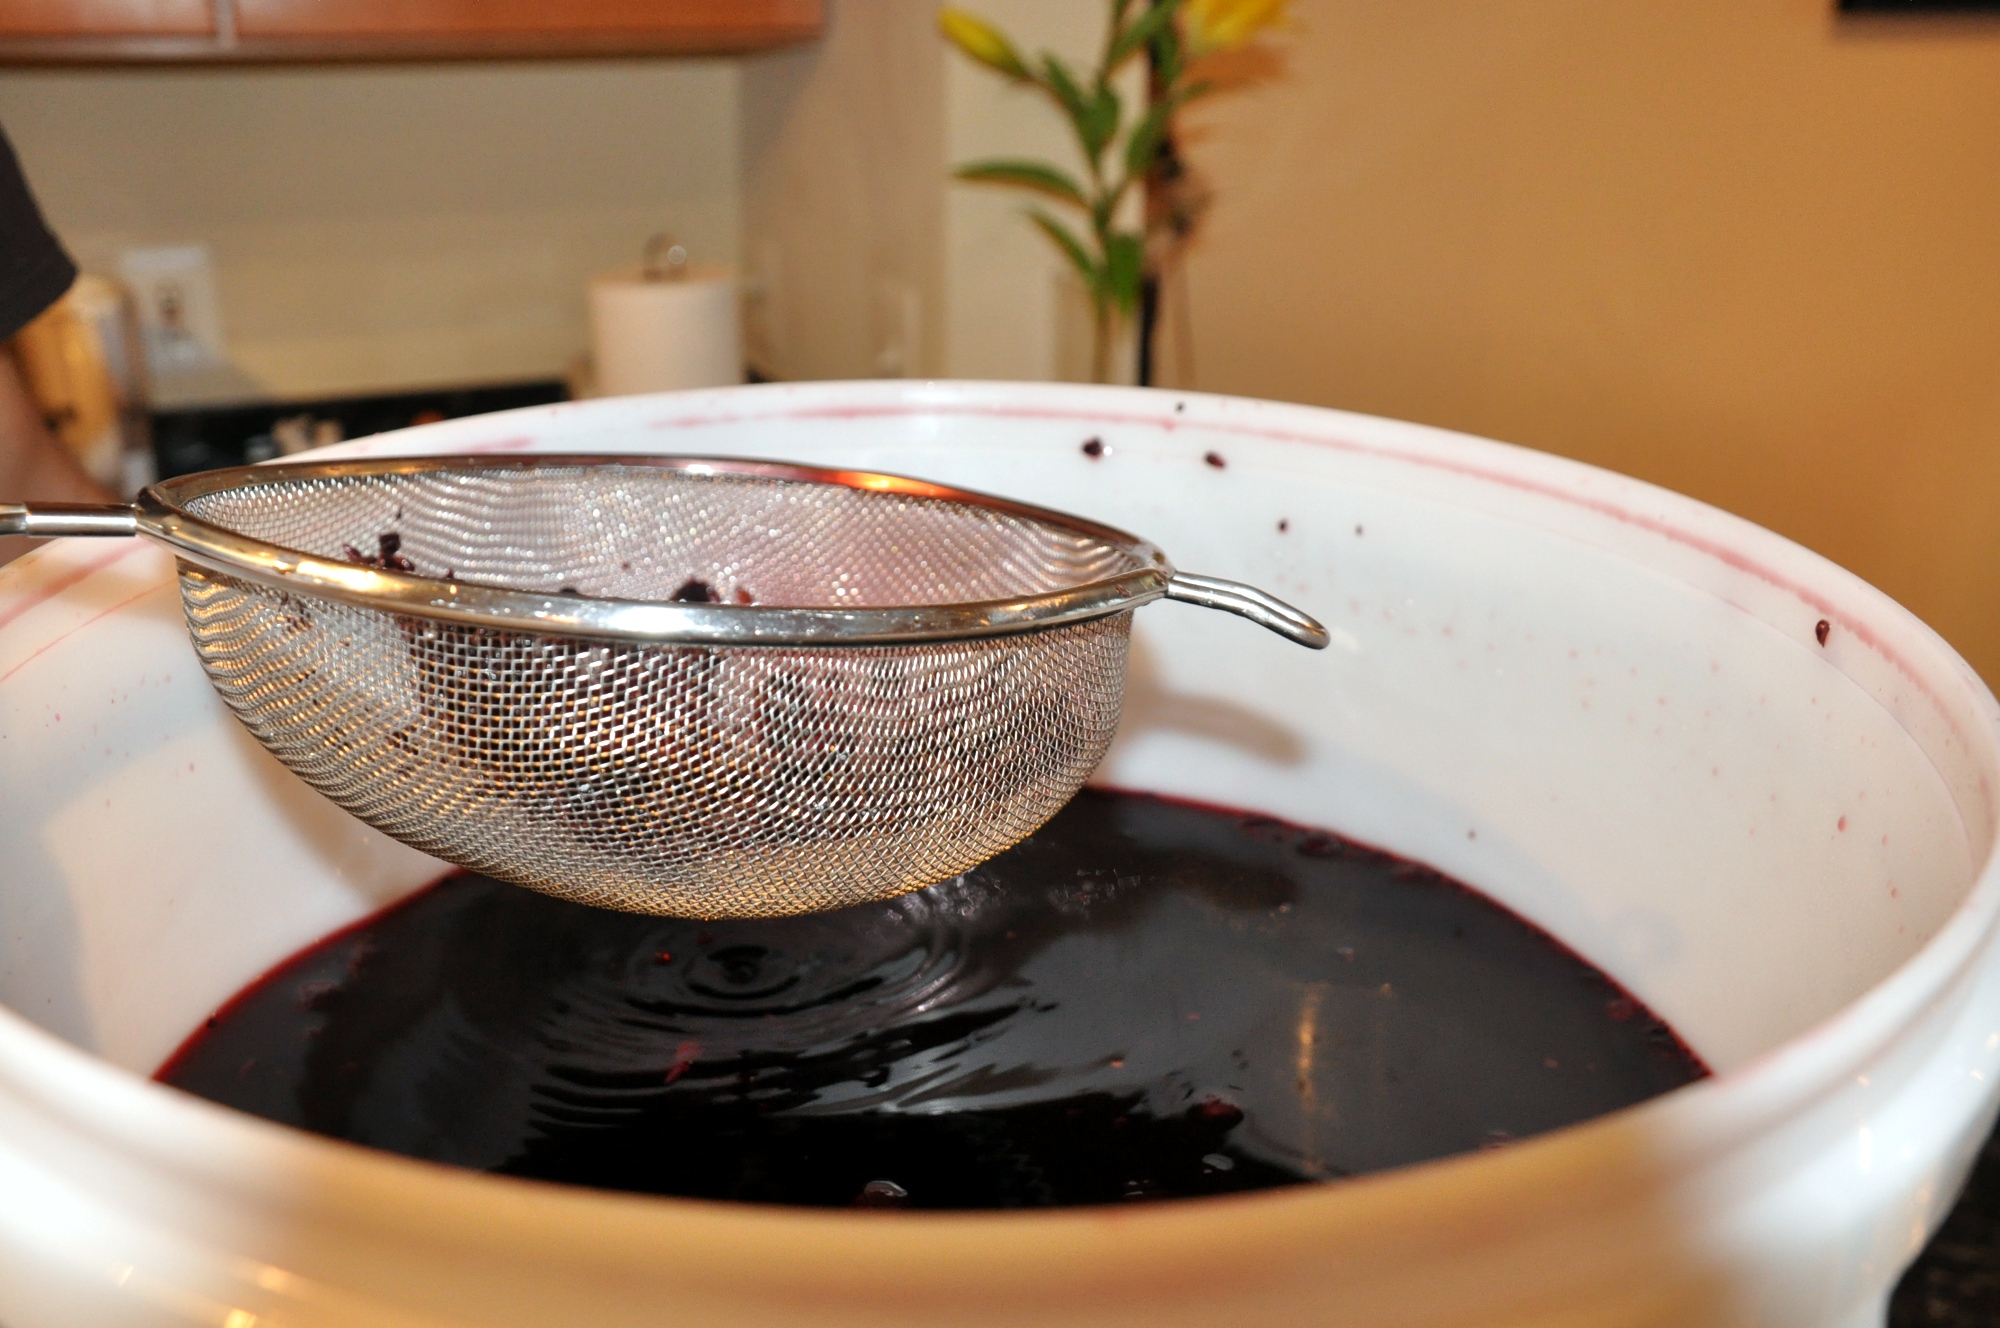
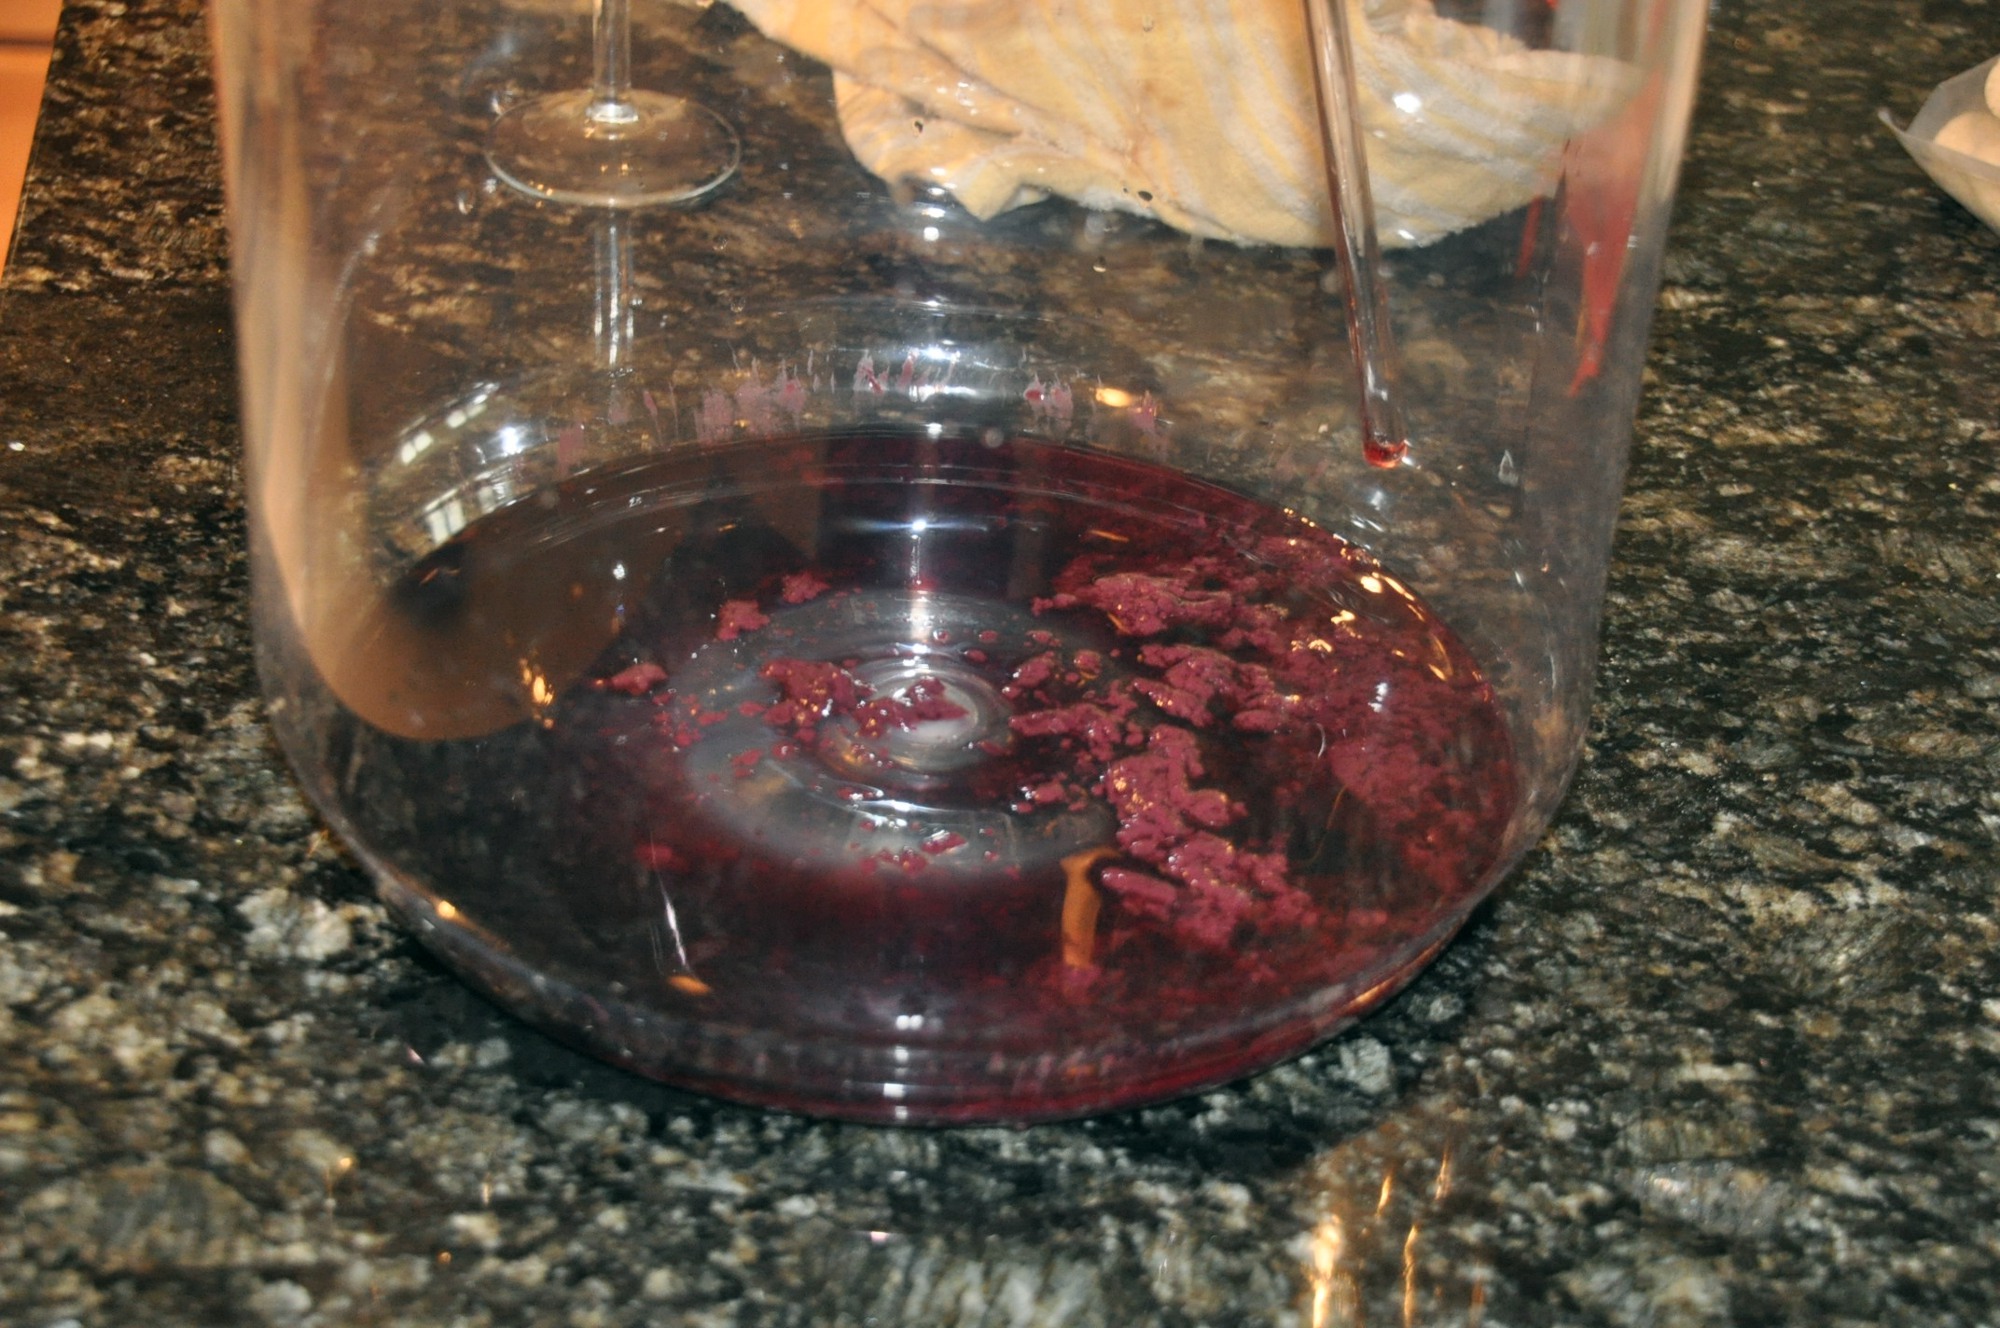
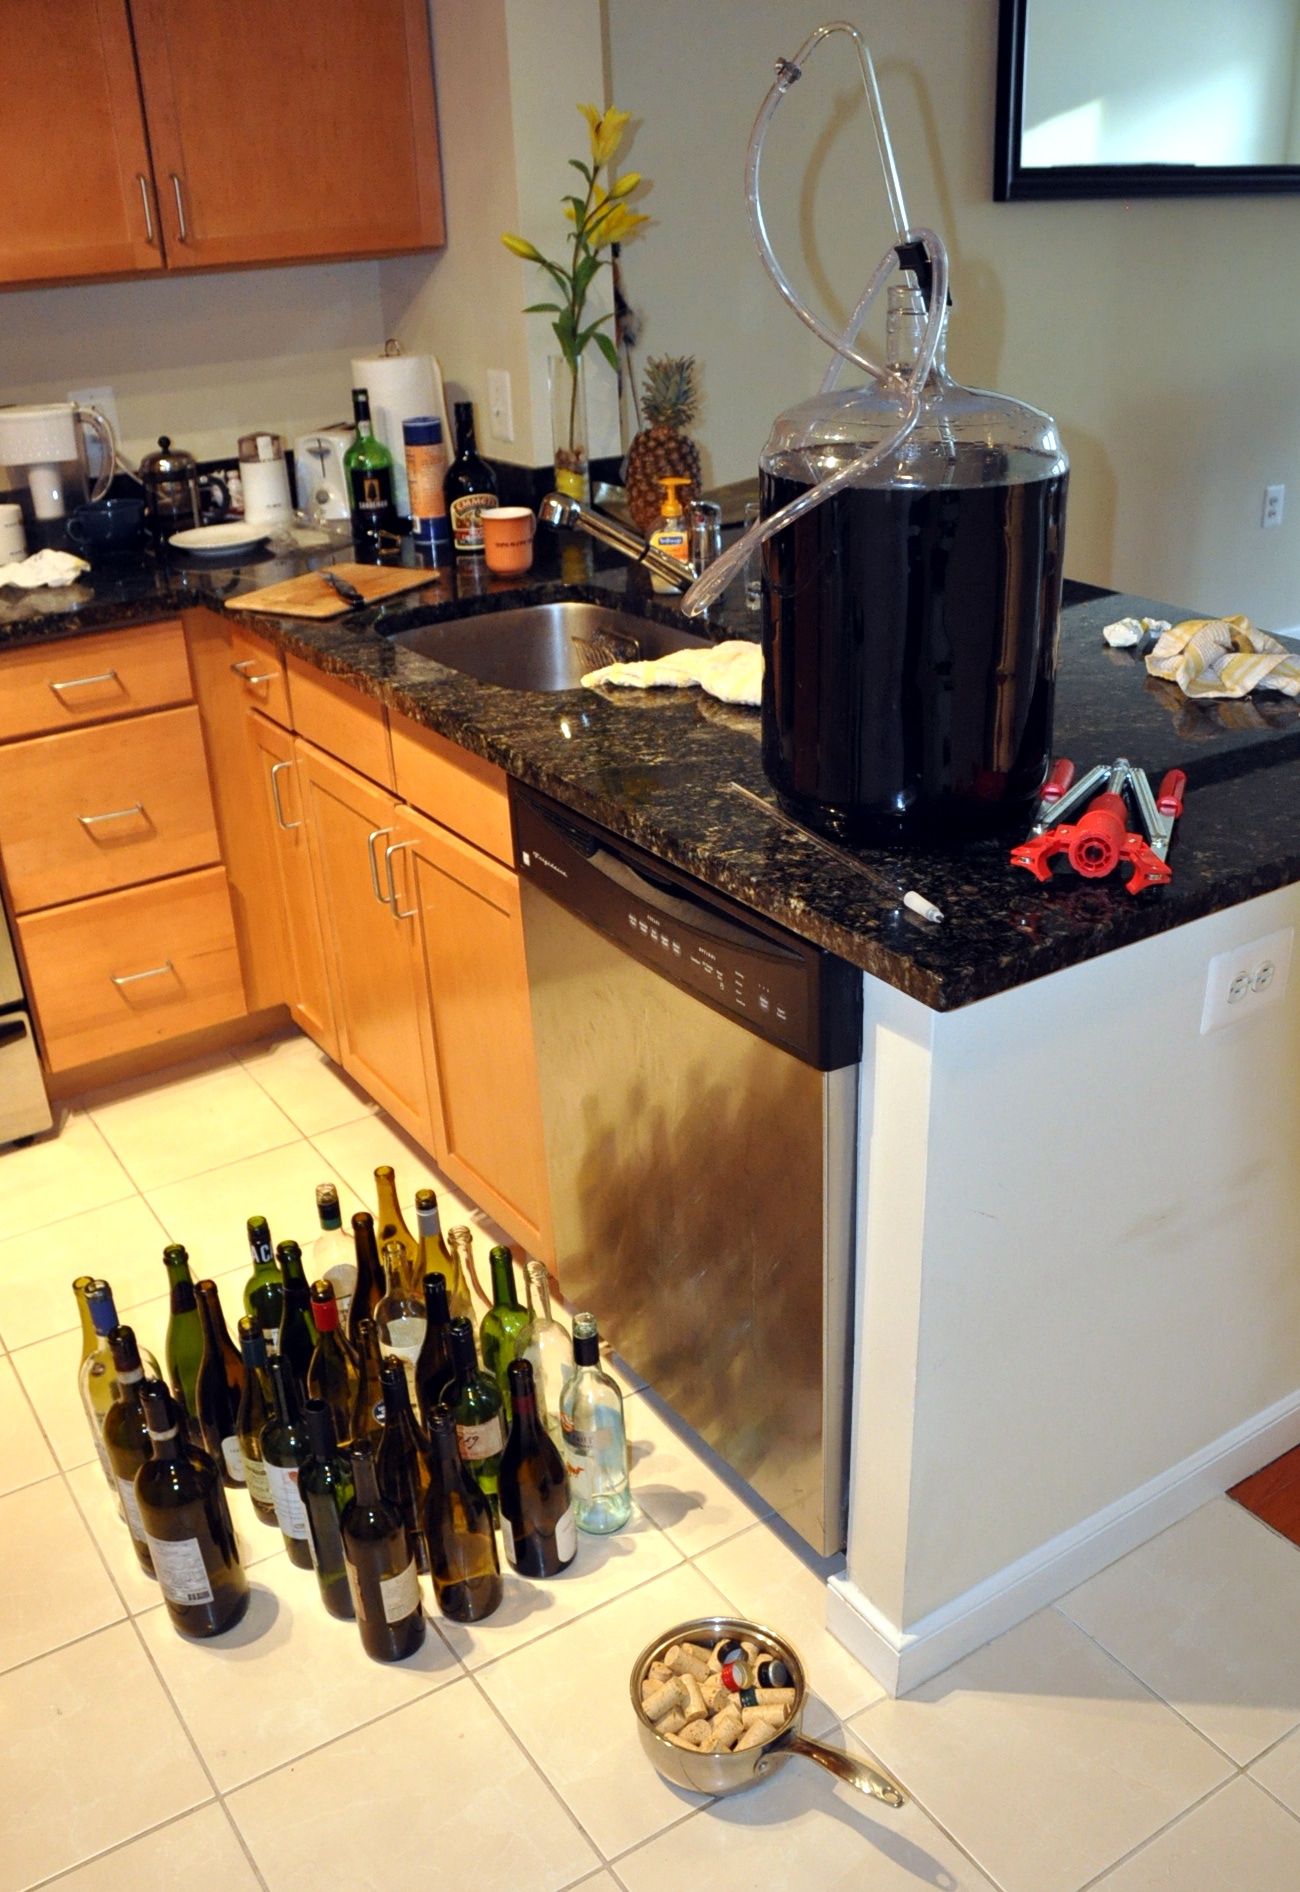
I kept having a really hard time with this first racking. The remaining grape skins kept getting stuck in the racking tube and stopping the flow. I was able to get only about a half of the bucket transferred before I gave up and switched to plan B. I used a strainer to strain the wine into a large pot. This worked much better! You can see all the skins in the strainer in the sink.
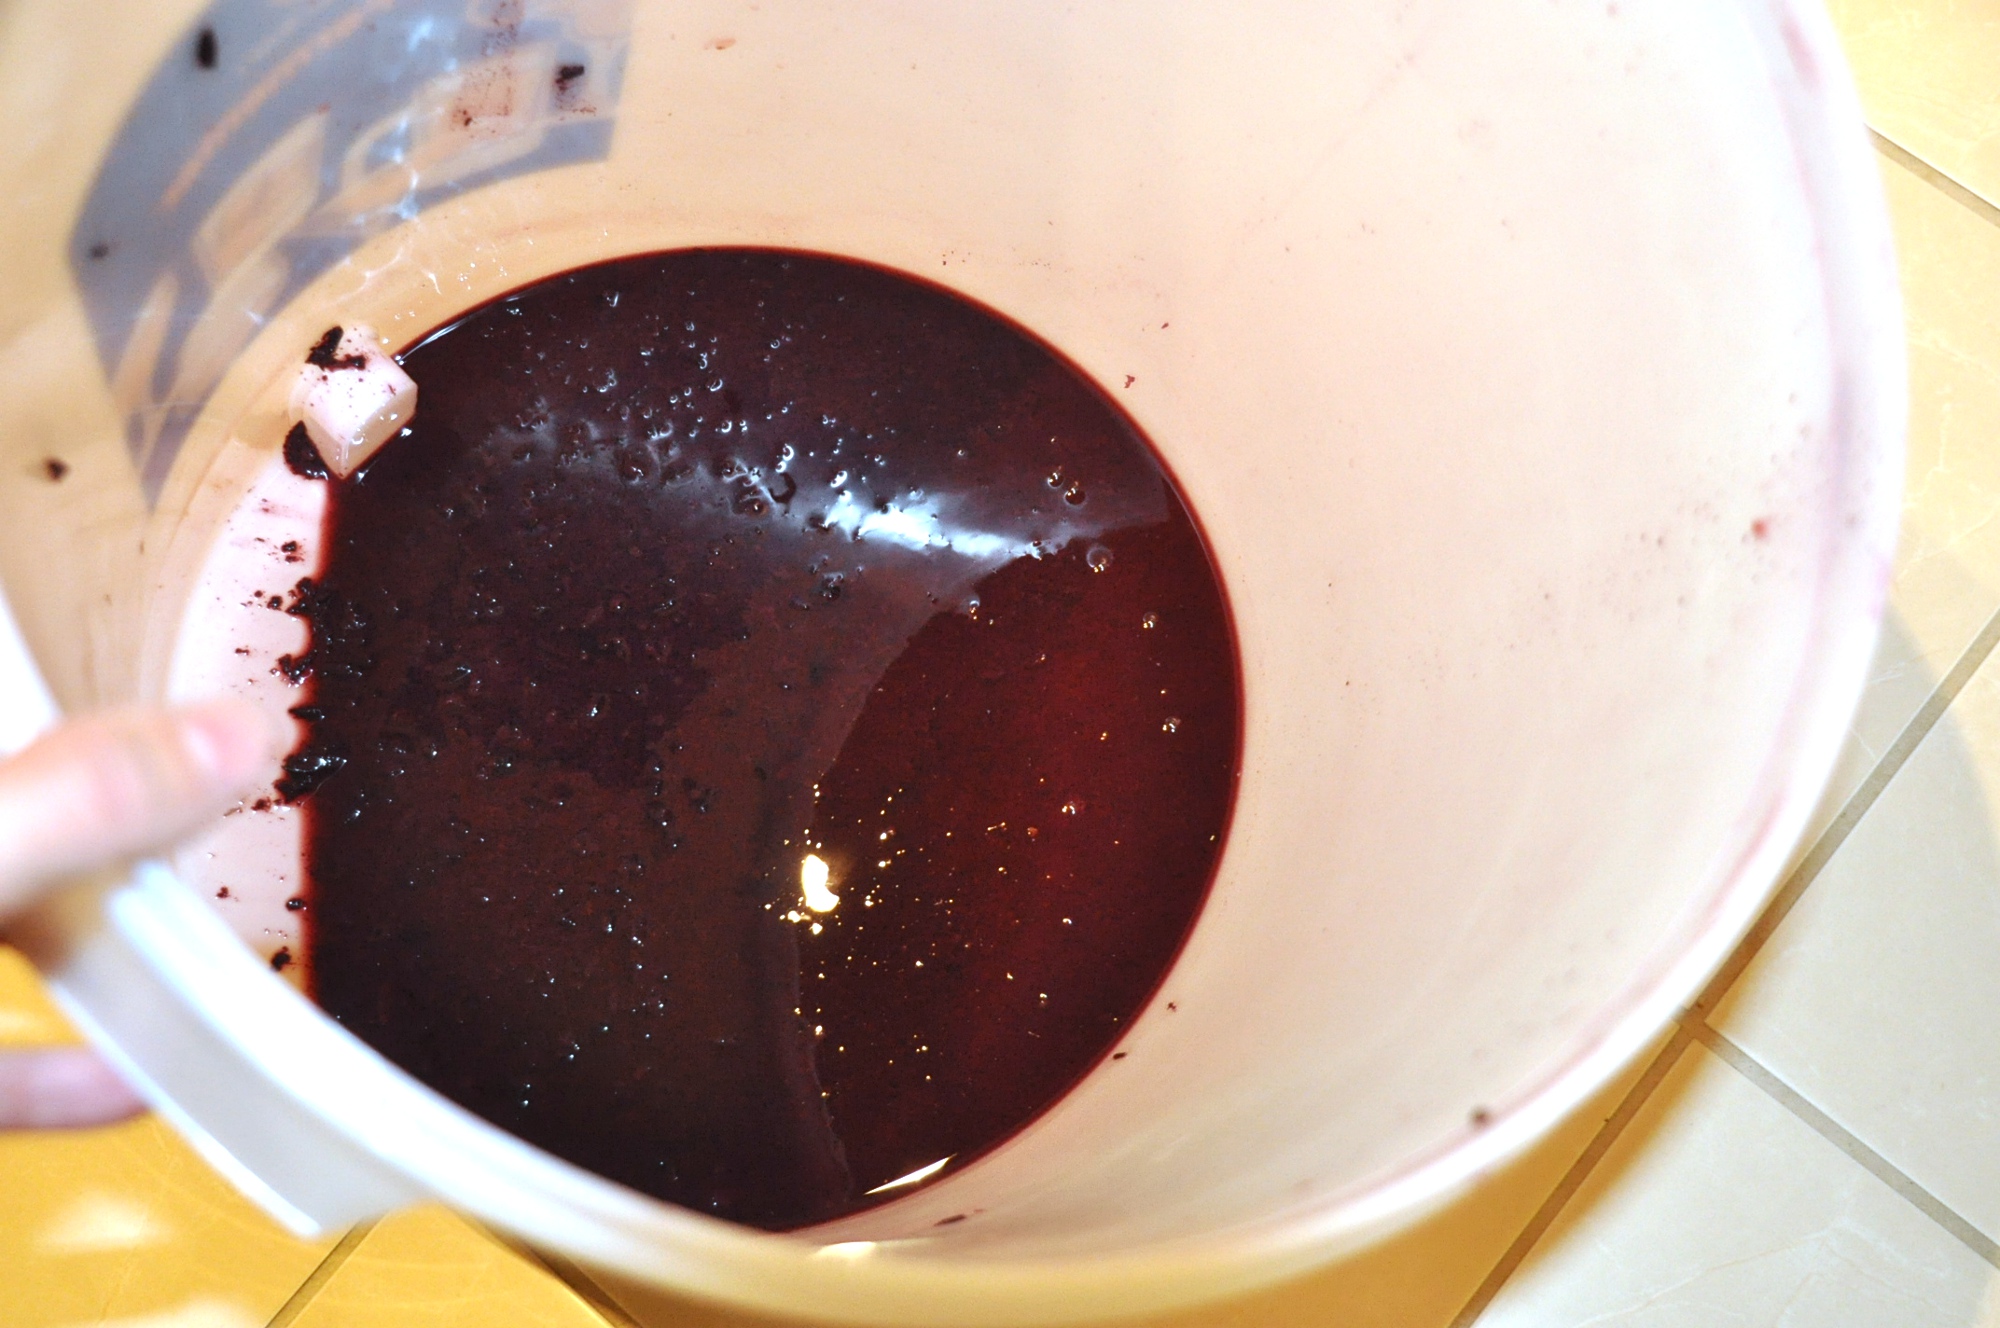
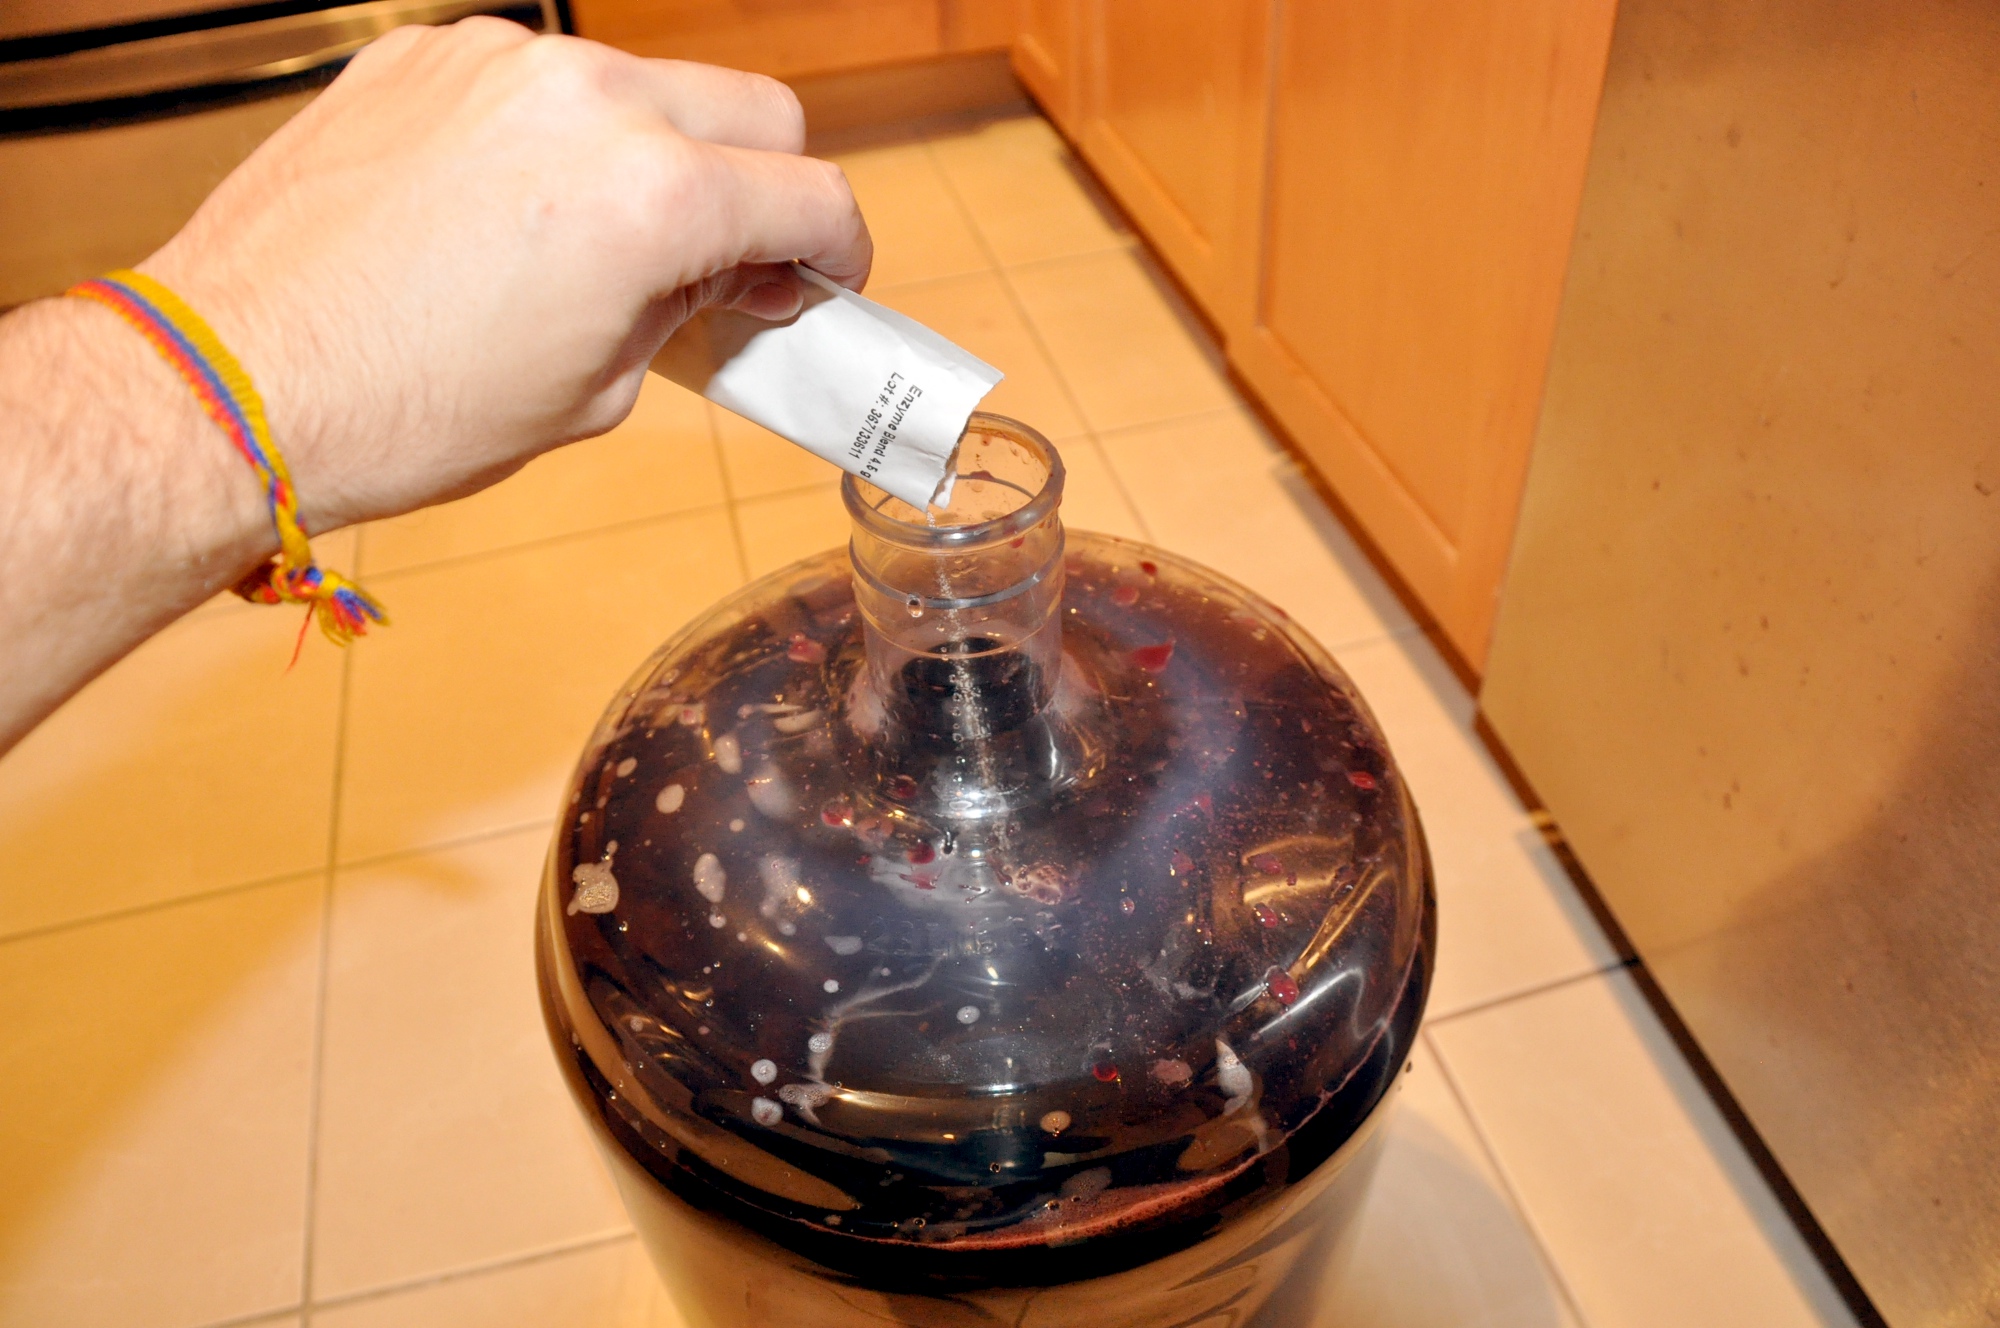
You can see even more of the gunk in the first picture. This stuff is quite thick. I just dumped it down the sink but that’s probably not recommended. My garbage disposal was having a really hard time with the stuff! Getting back to the wine, add your enzyme pack and gently stir.
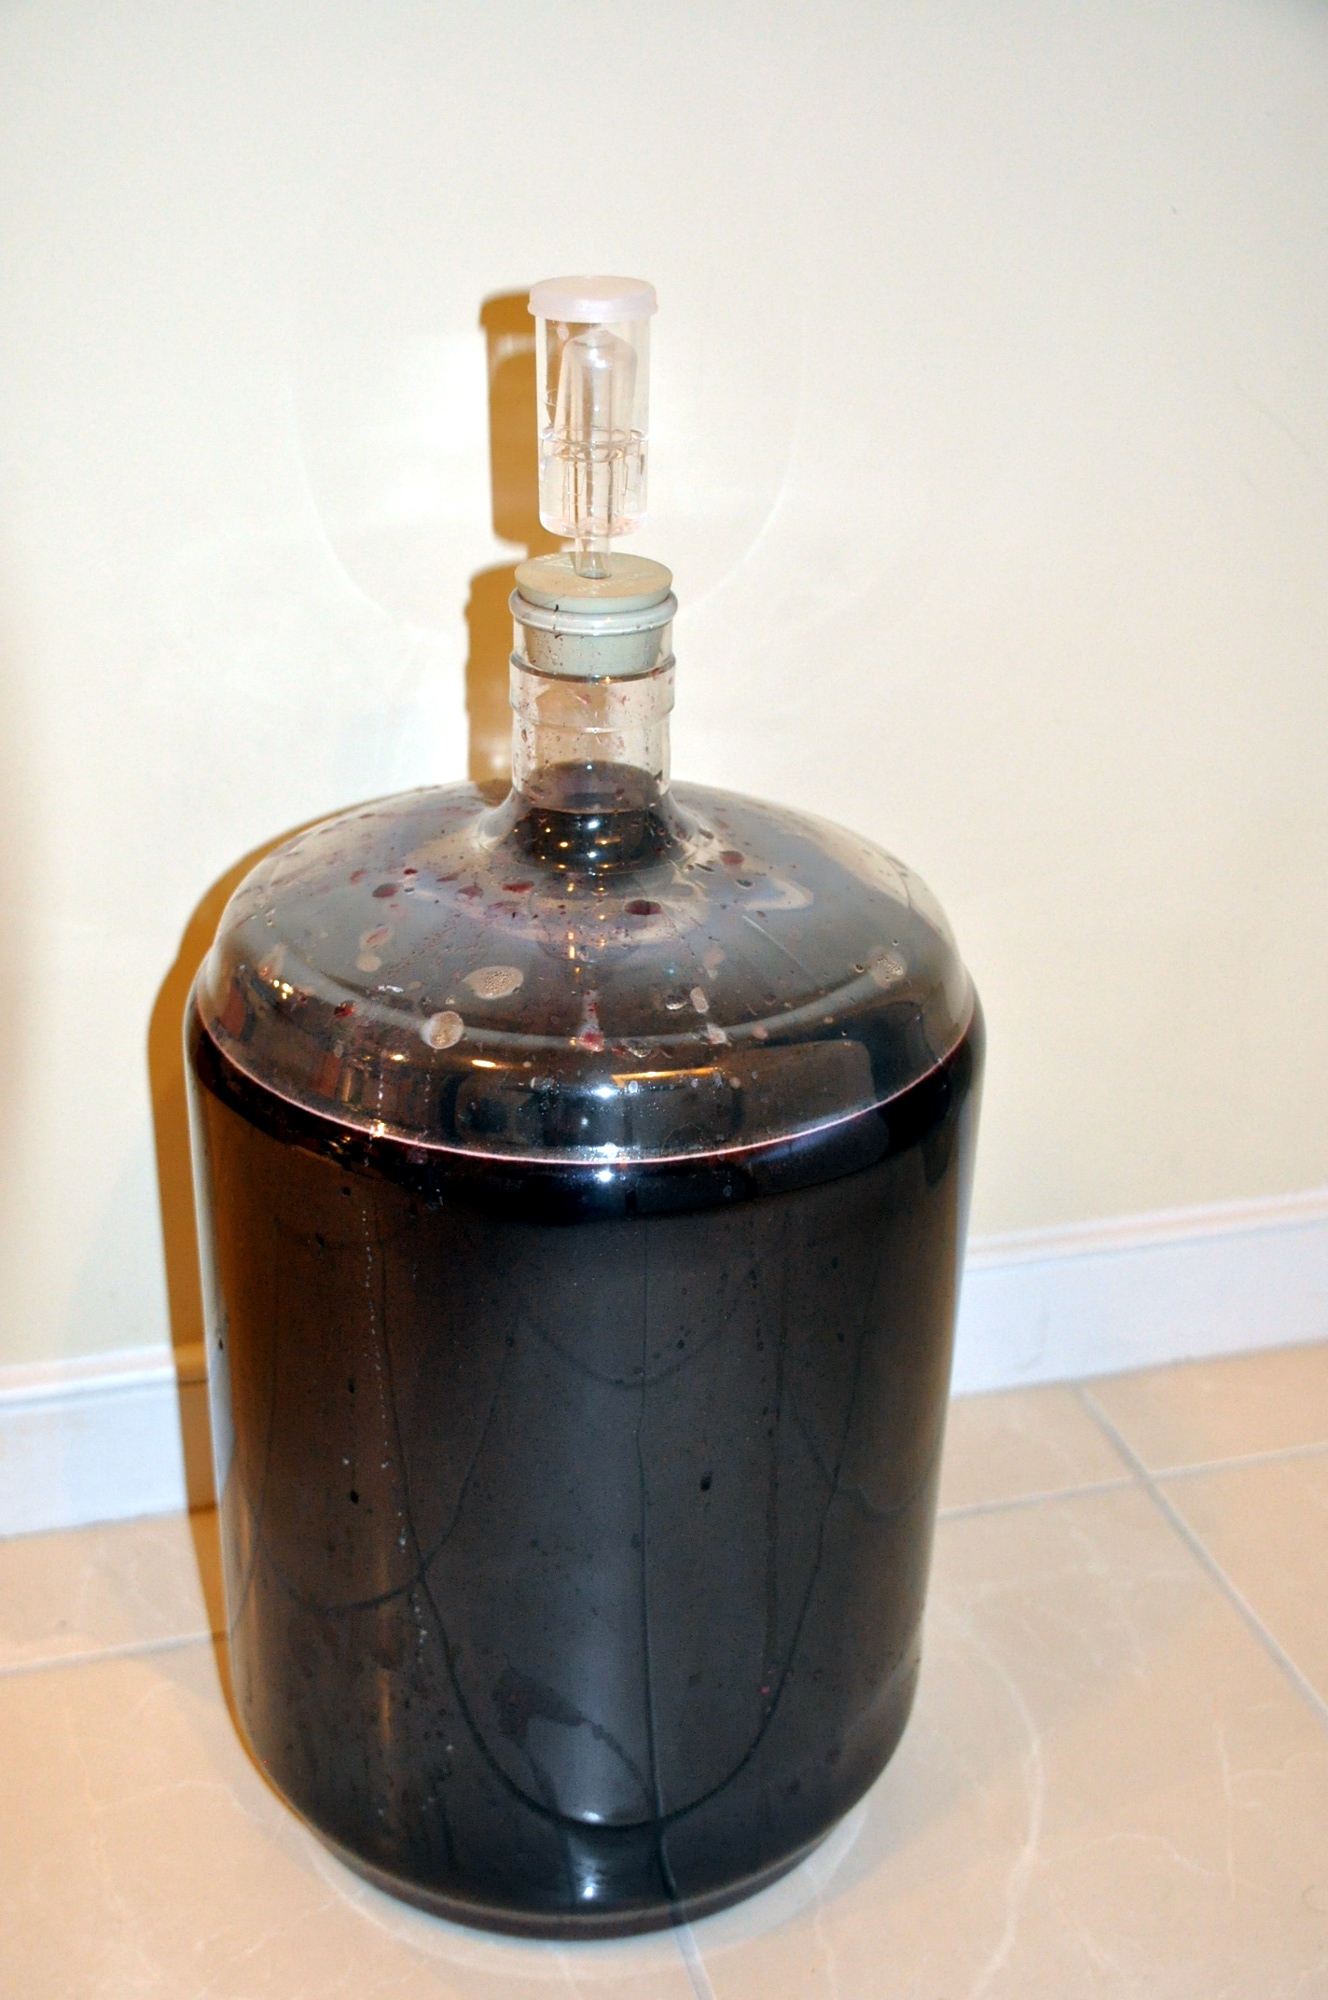
Replace the air lock and let sit in a place between 66F and 75F. You can now take a break for few weeks.
Day 28 (12/8/12): Clearing
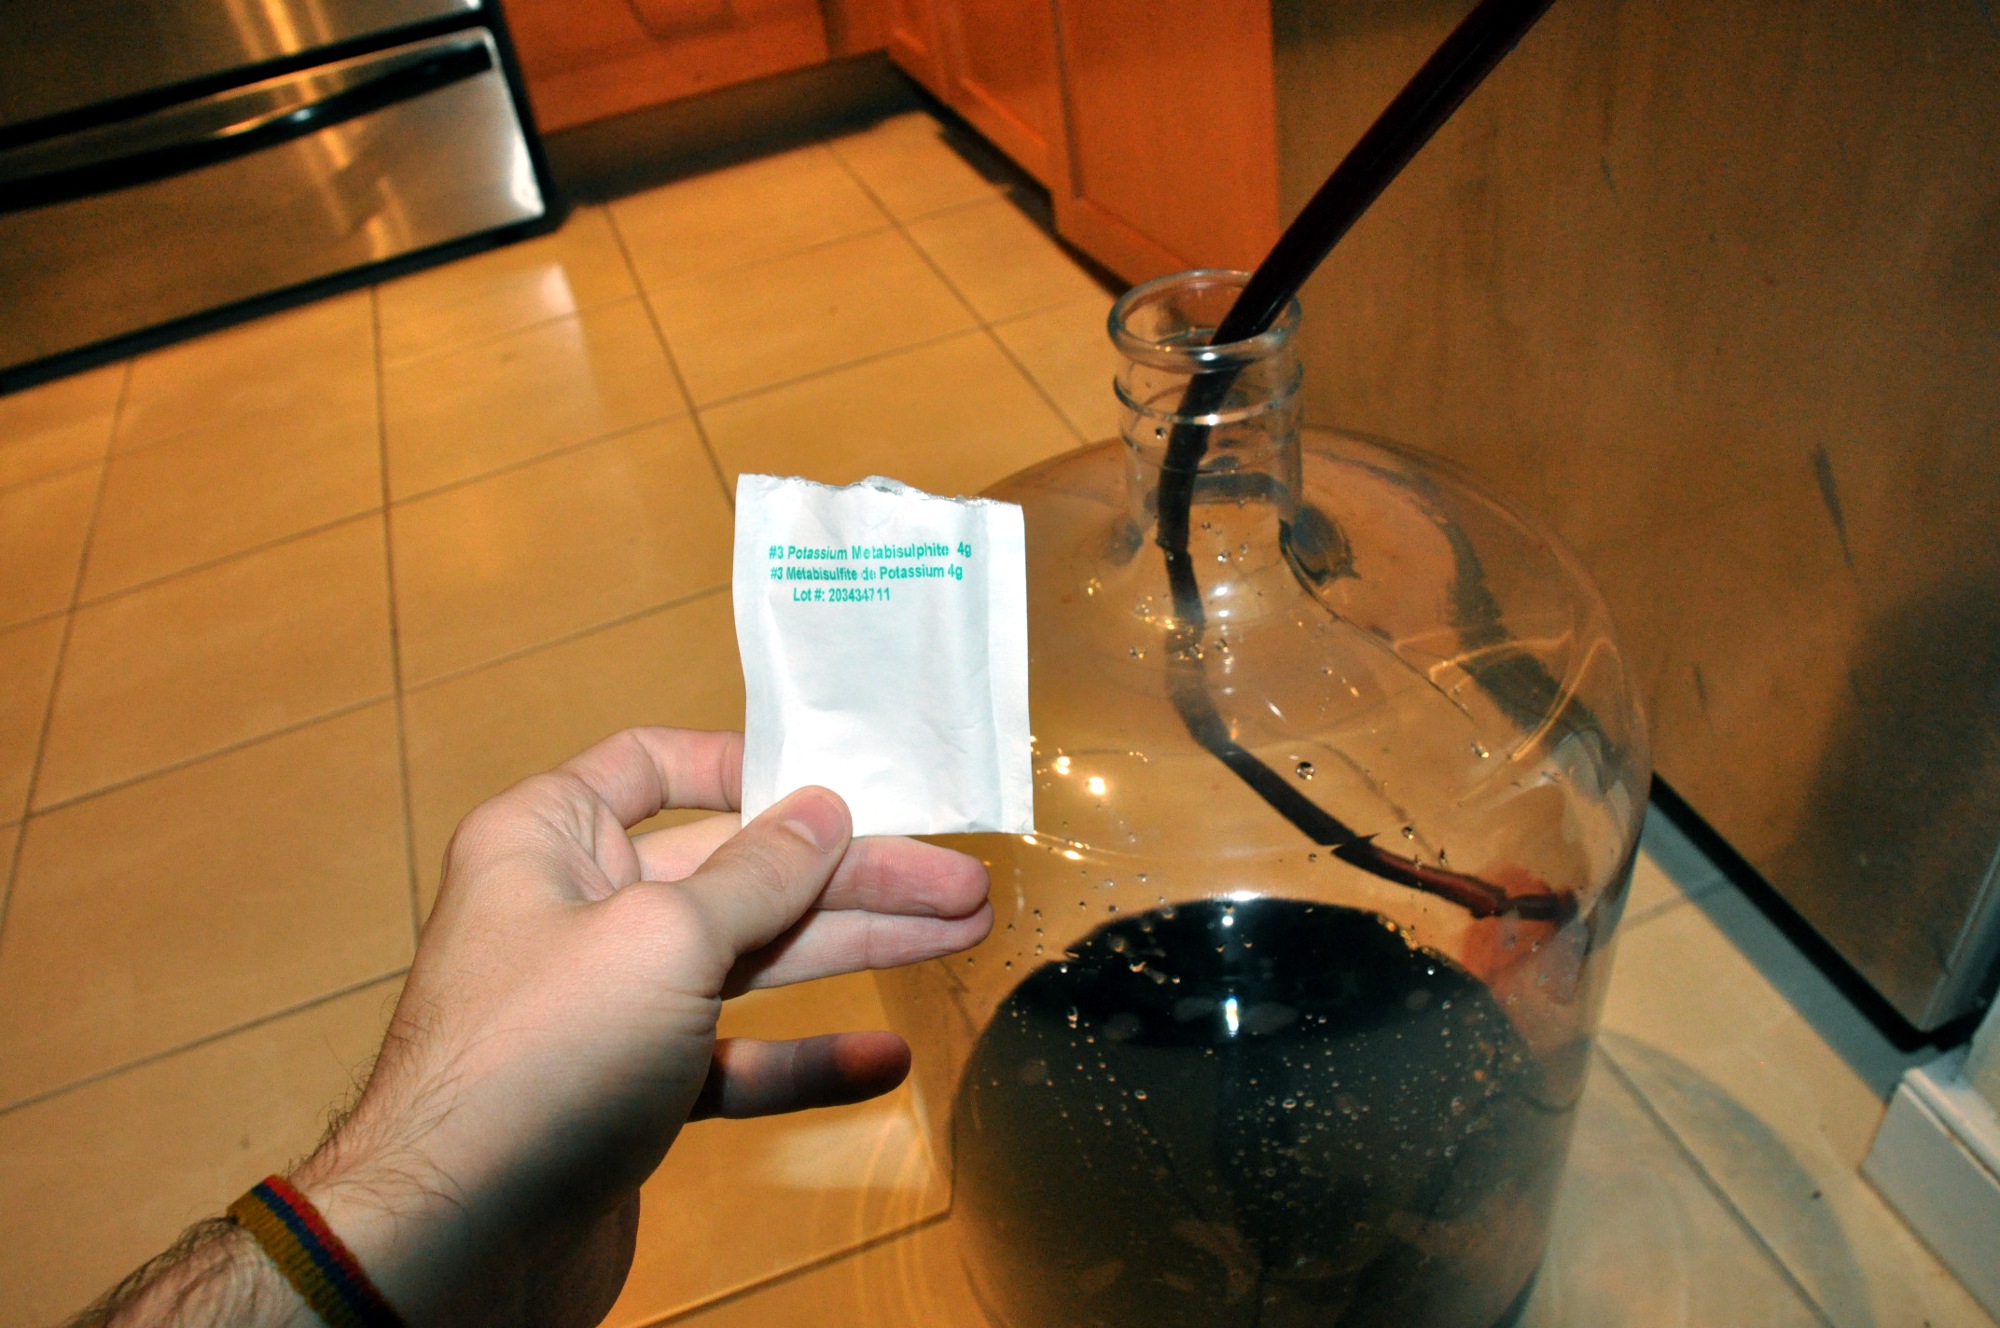
The next step is to help clear the wine and stop the fermentation so that it doesn’t turn into champagne. I waited an extra week than what the instructions said, but this this is totally fine as it helps insure the fermentation is complete. First, check the gravity. It should be less than 0.998, mine was 0.995. Although the instructions didn’t call for this, I decided to transfer the wine once again to filter out more gunk. Then add potassium metabisulphite. This additive reacts with the wine and forms sulfur dioxide gas which both kills off any remaining yeast and other wild organisms, and also acts as an antioxidant, helping protect the flavor of the wine. Stir vigorously for 2 minutes to release the gas.

Then add potassium sorbate, another agent used to kill off yeast. Stir for 2 minutes to allow to dissolve.
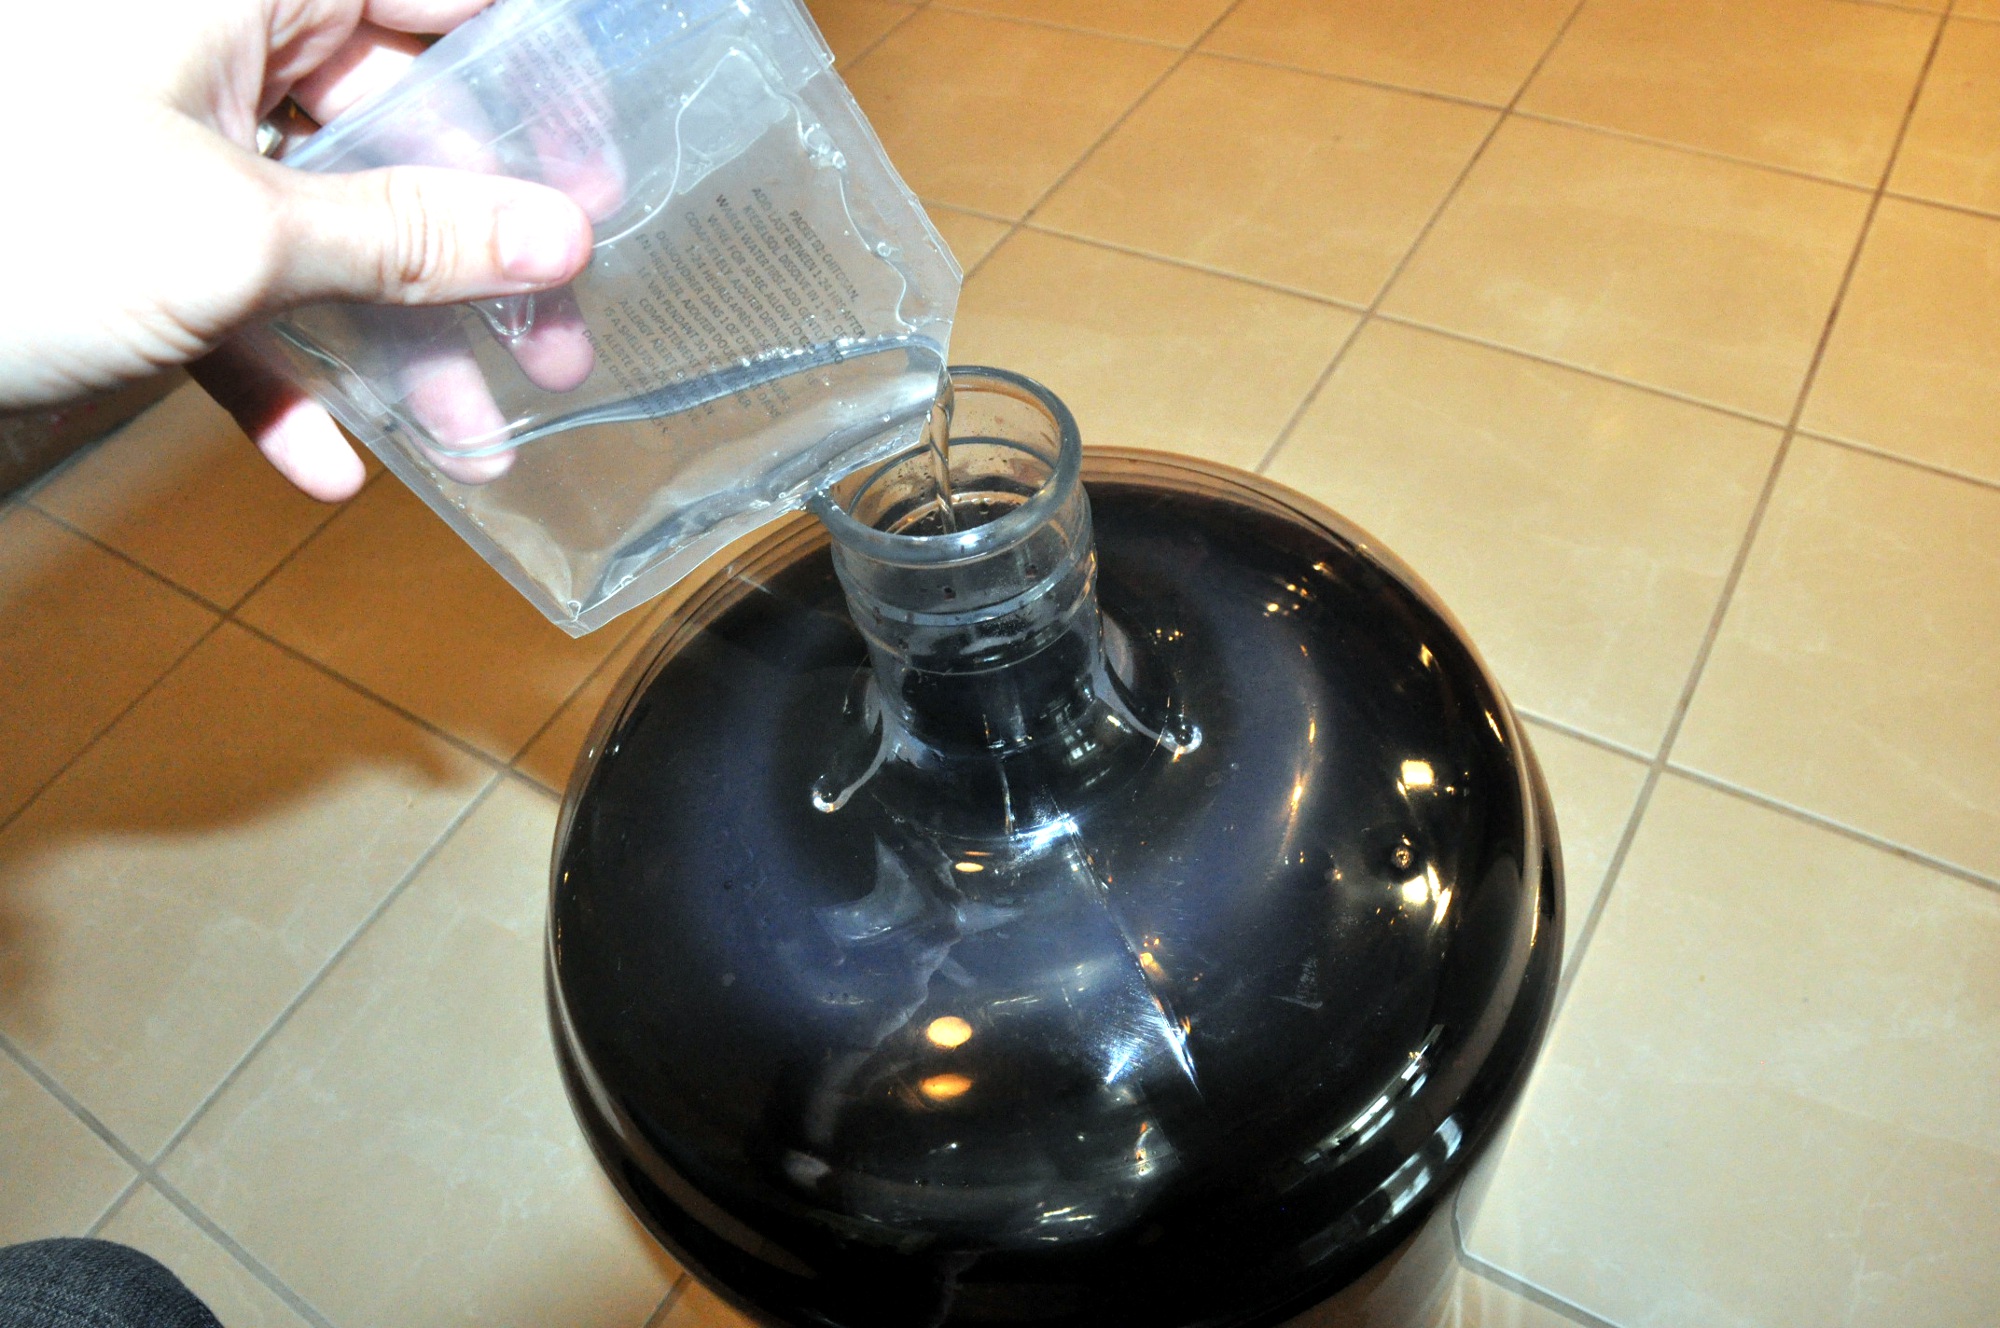
Next, add the pouch containing kieselsol. Stir for one hour and then wait for one hour. Then add the other pouch containing chitosan. Stir again for one minute. Together, these two chemicals lump up the yeast into bigger chunks that will settle out to the bottom more easily. This helps create the clarity in the wine you wouldn’t get with bunch of microorganisms swimming about. Refit the airlock and let sit for another 2 weeks.
Day 45 (12/25/2012): Bottling
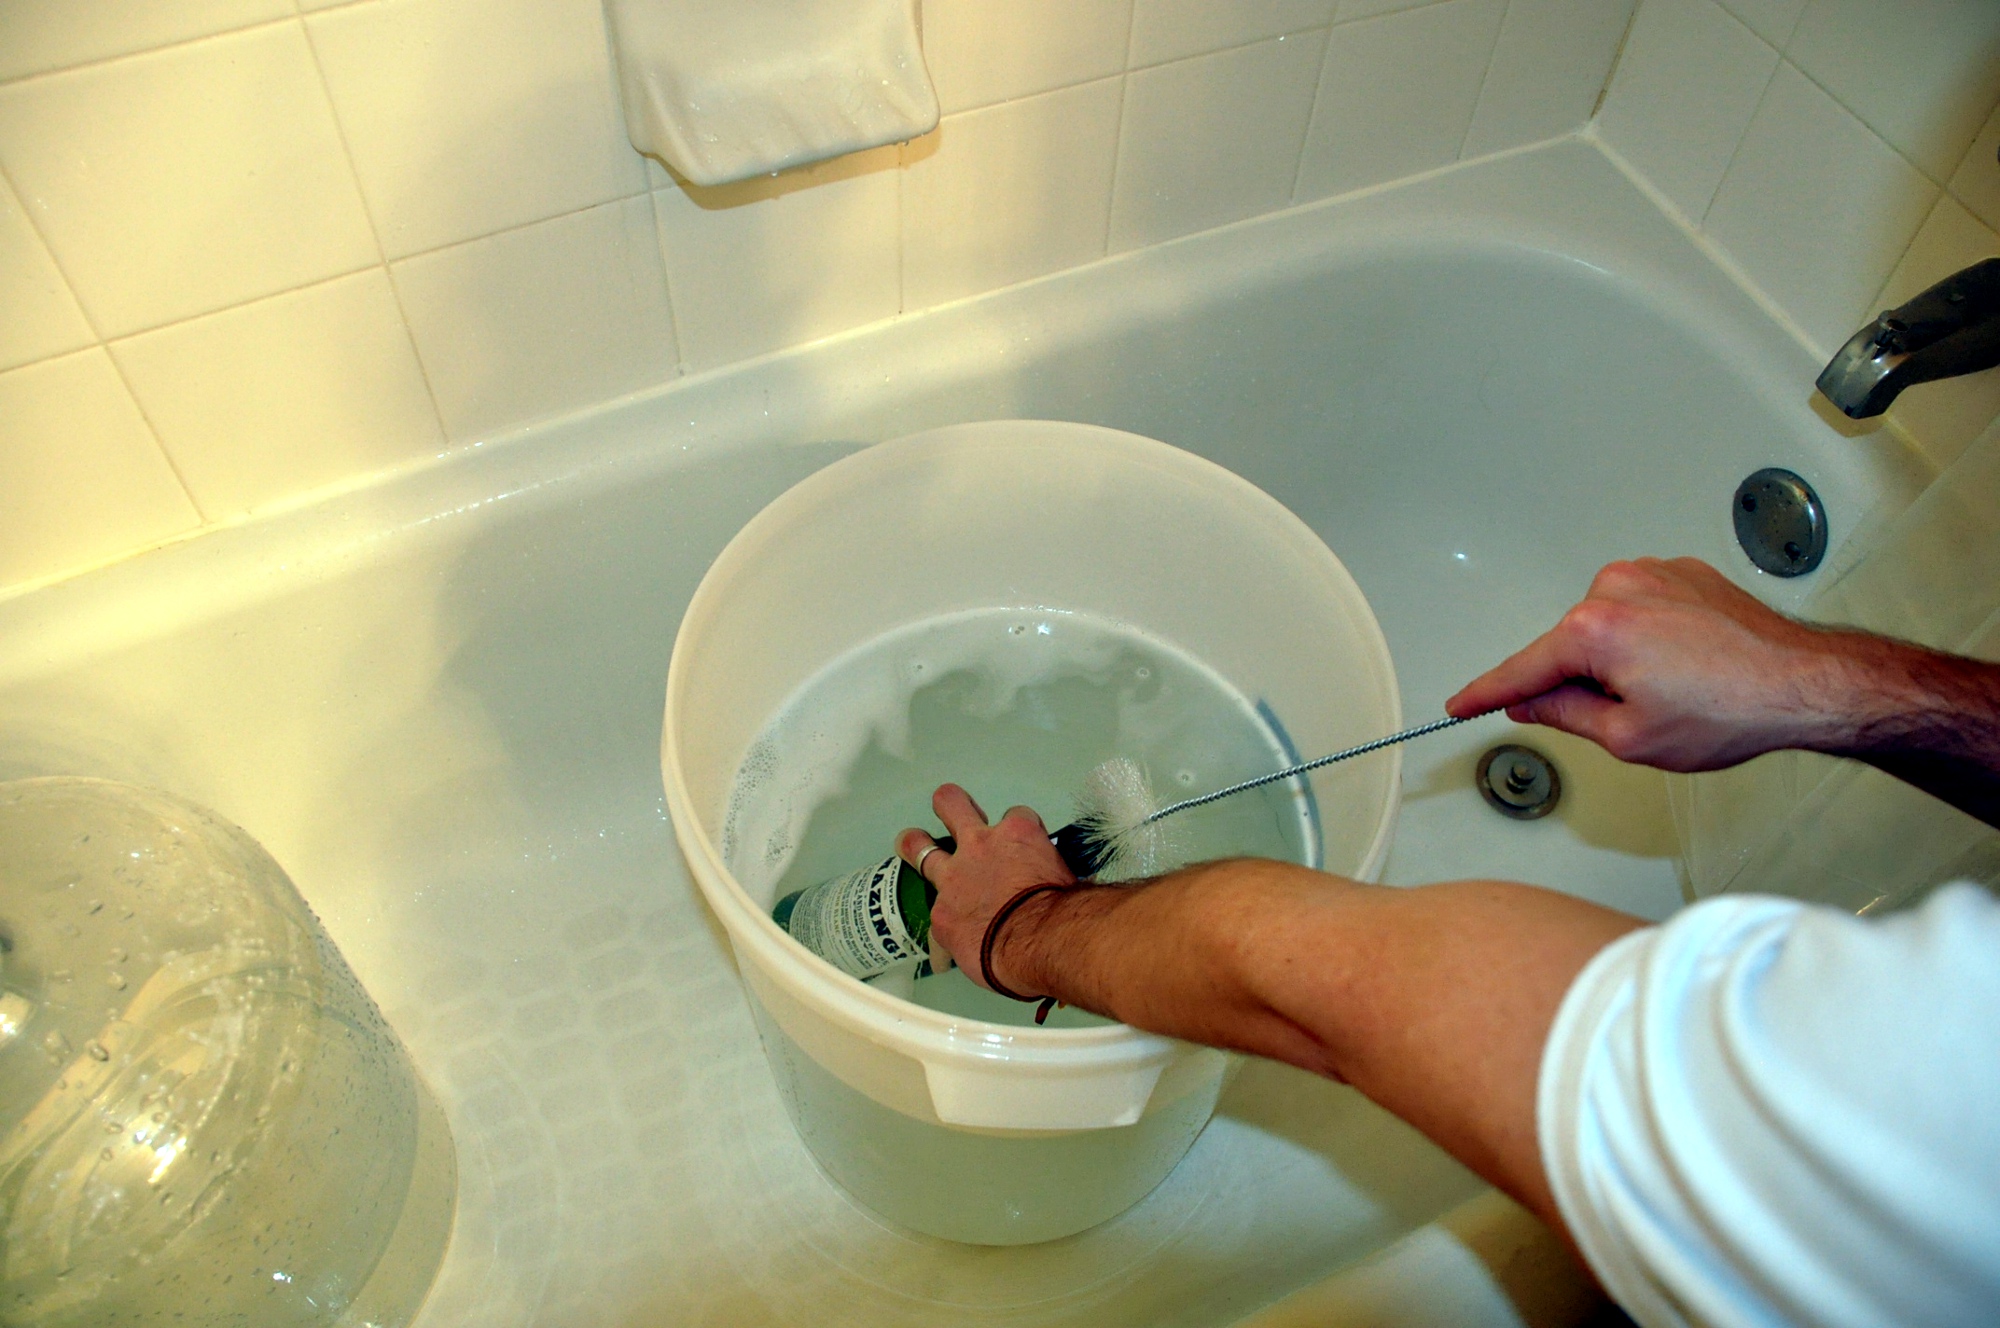
While the wine is sitting, I was quite busy collecting empty wine bottles. Luckily, we were making the wine right before the holidays so I was able to get bottles at the various Christmas parties we attended. There is also a wine shop nearby our apartment that does wine tasting every weekend and they were quite happy to unload their empty bottles on me. Make sure to wash and scrub the bottles using the brewery wash supplied with the kit. Also sanitize them. Also clean and sterilize the racking tubes, the bottling carboy, and the corks.
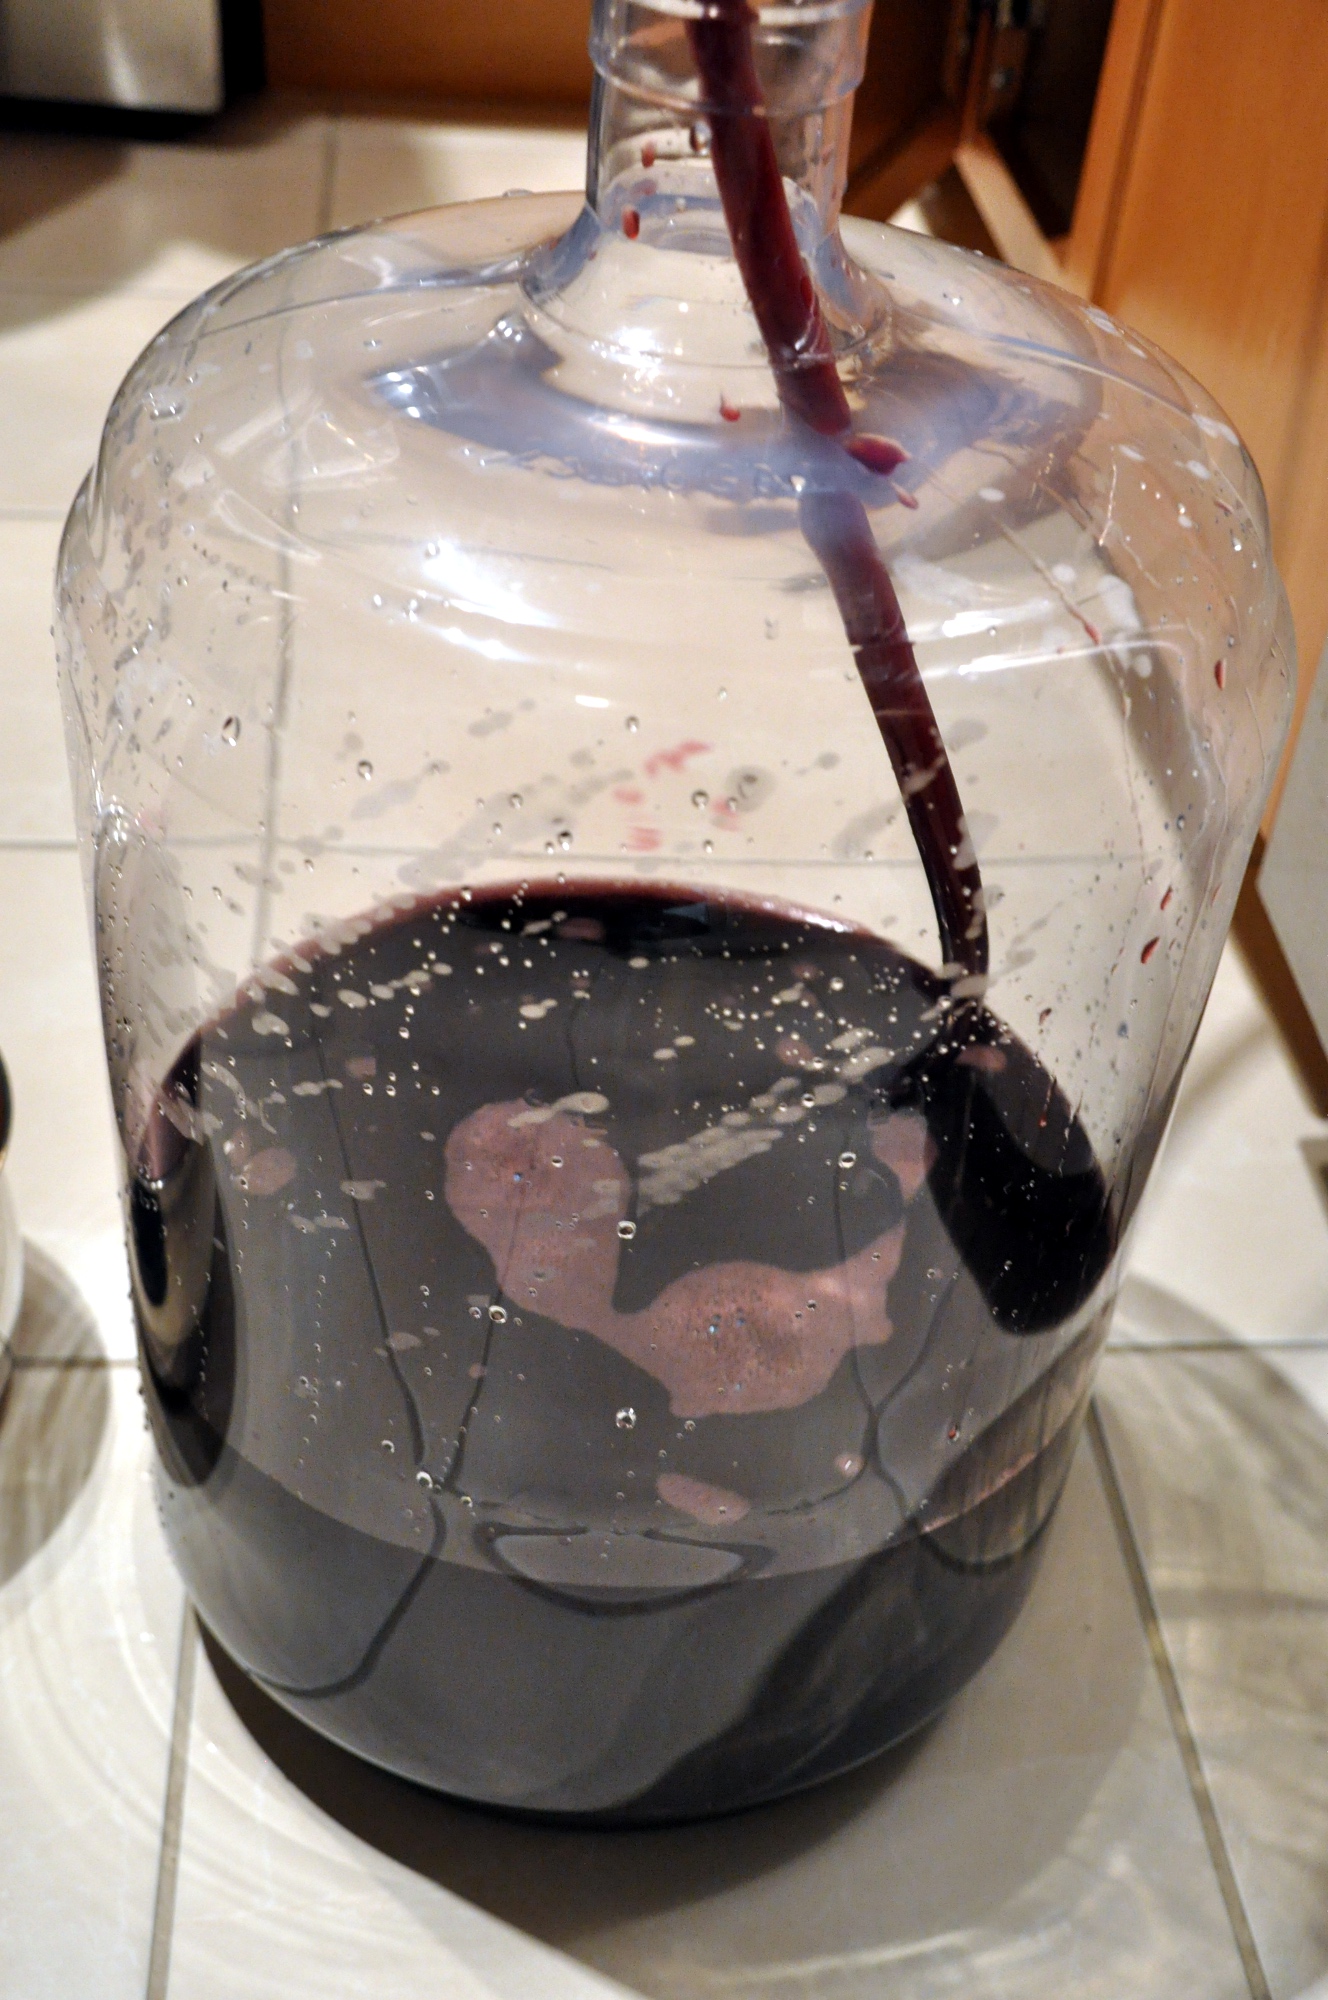
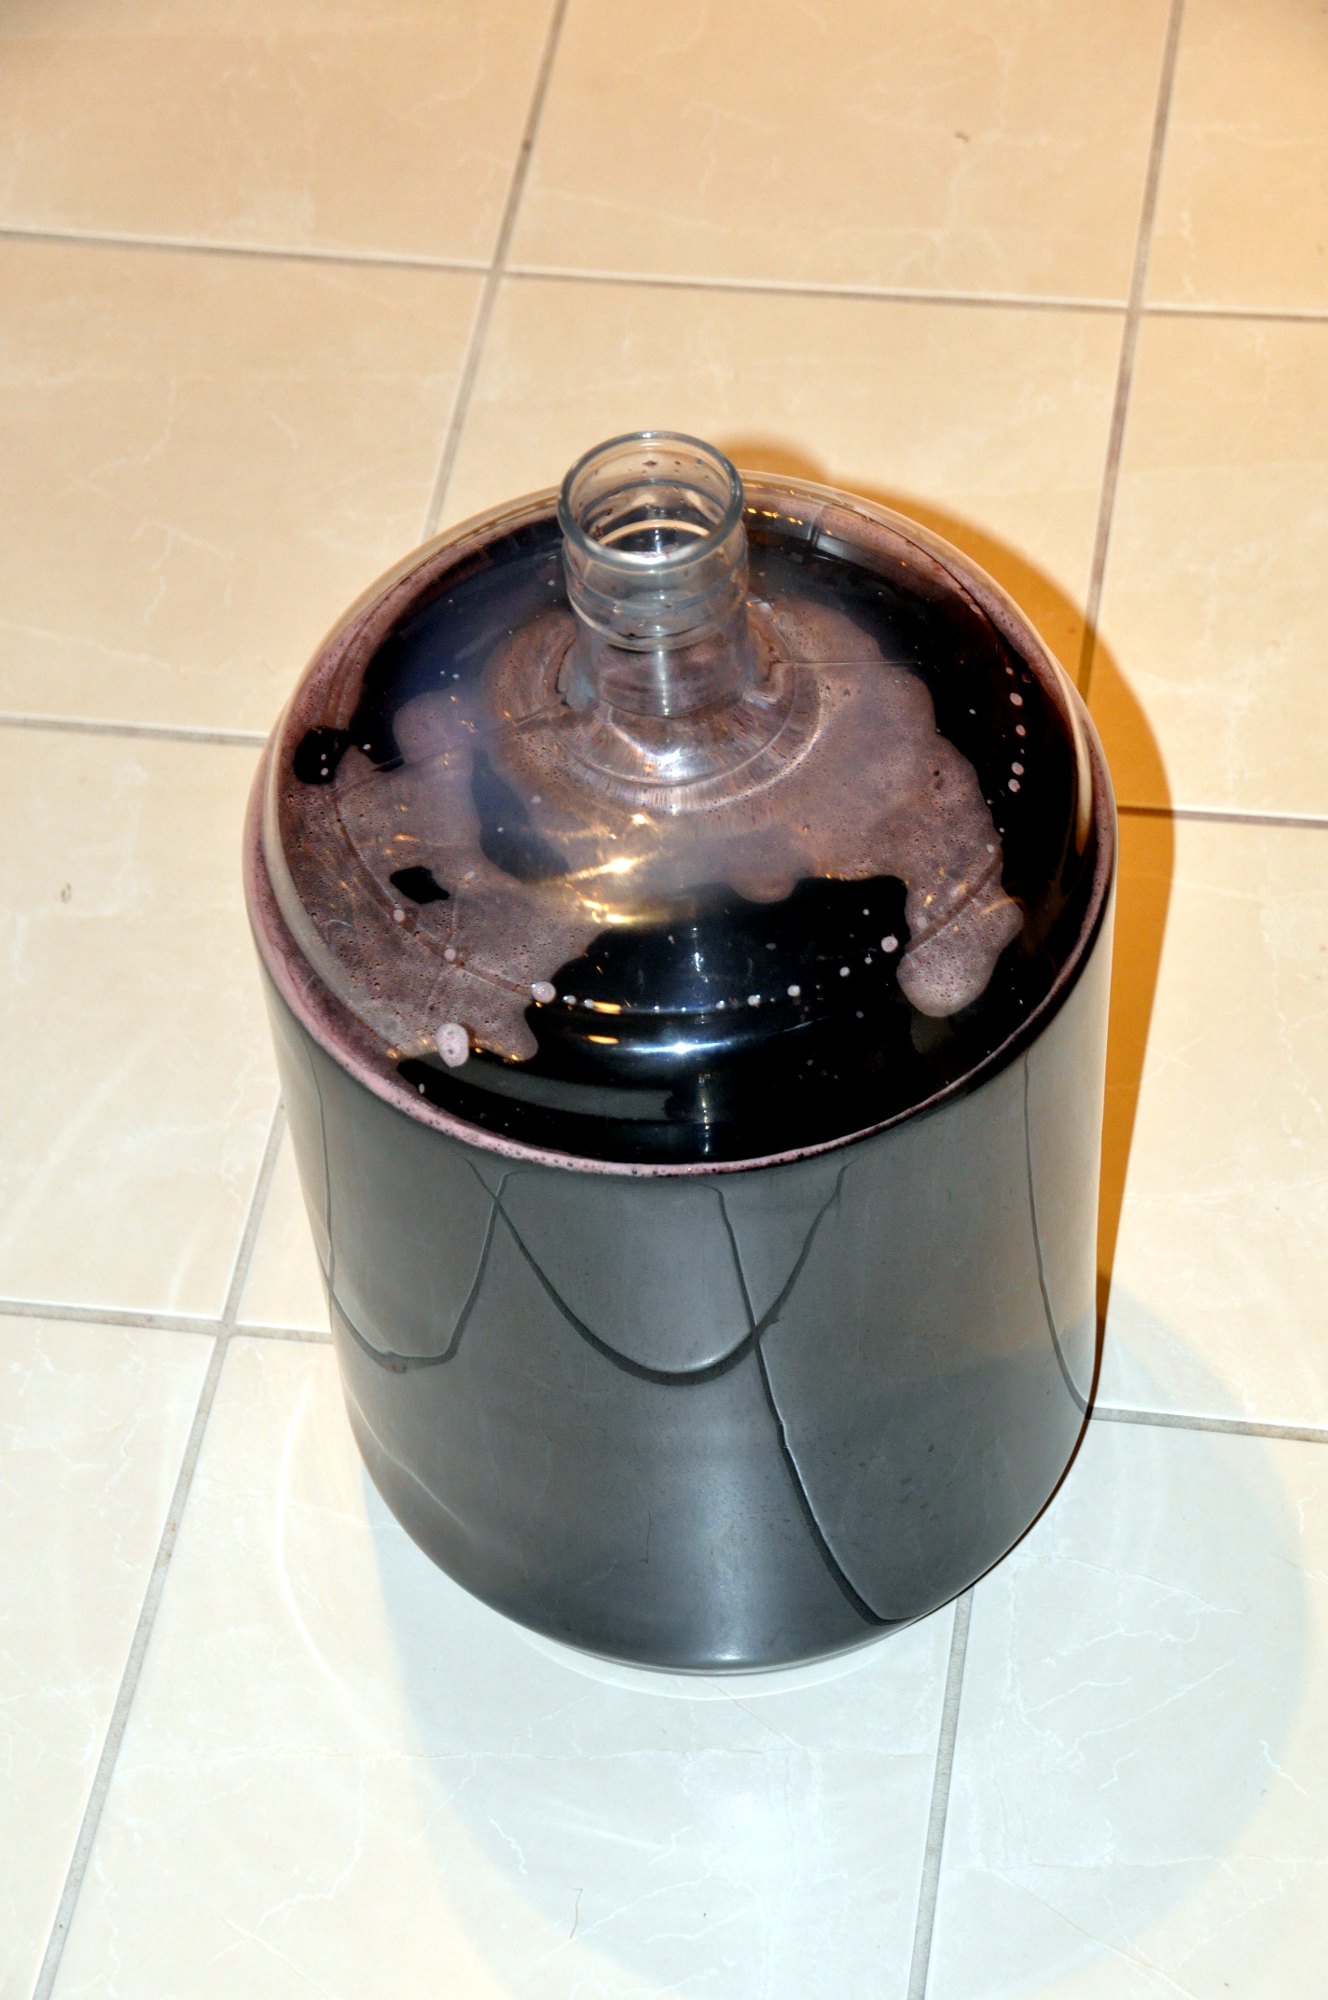
And once again, rack the wine into a clean and sterilized carboy. You can see that even after the two previous transfers, there is still plenty of gunk left at the bottom – this is probably the dead yeast.
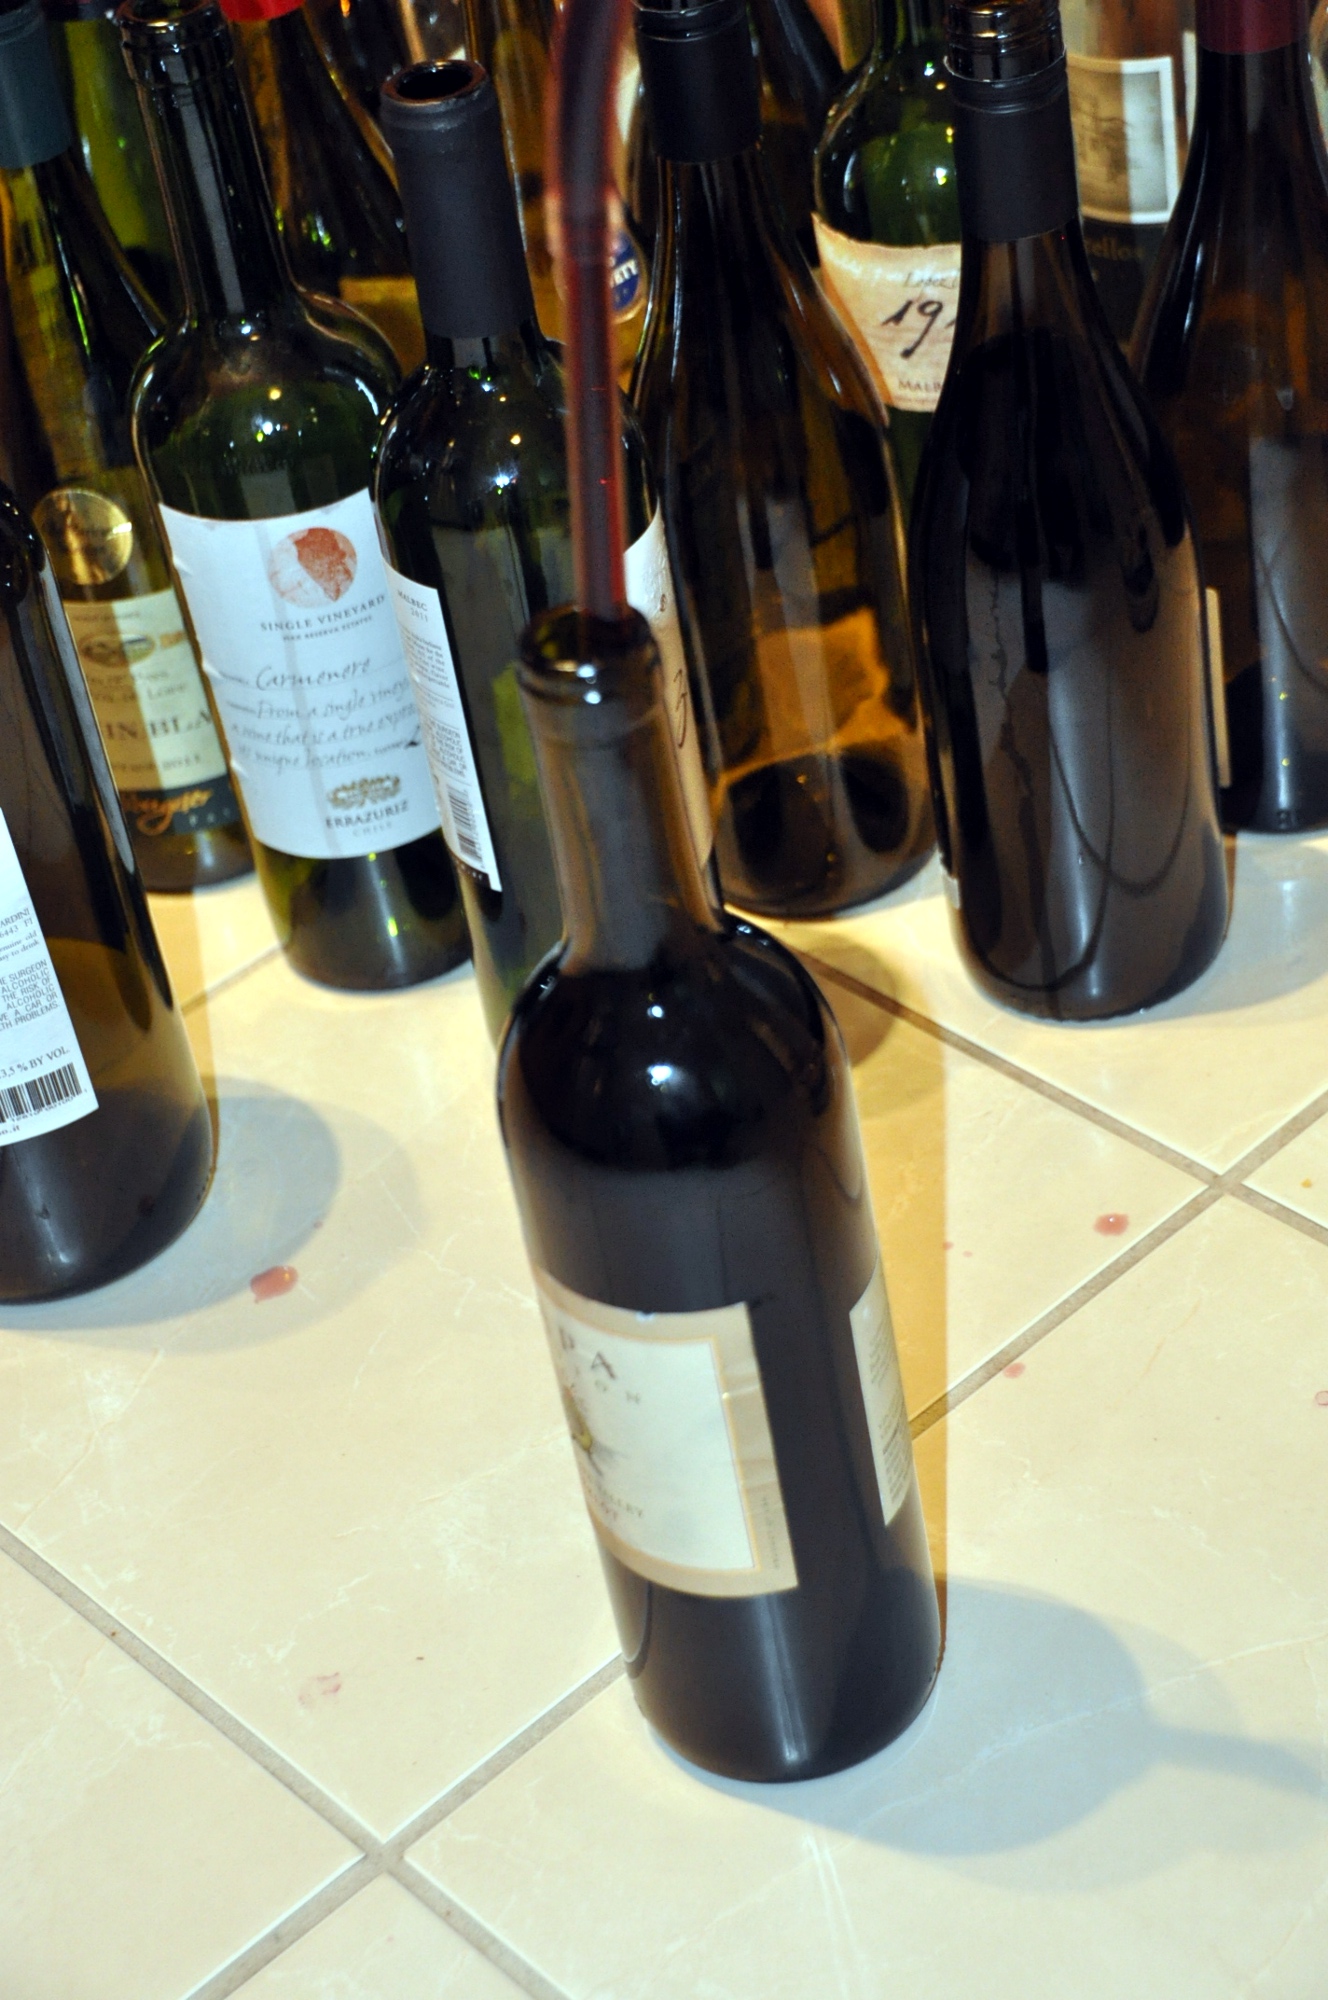
Then get everything ready. Siphon the wine into the racking tube and then attach the filling tube. Then just fill the bottles, one after the other. The tube gives you just enough extra volume such that when you fill the bottle almost to the rim, you will have the right amount of air space when you remove the tube.
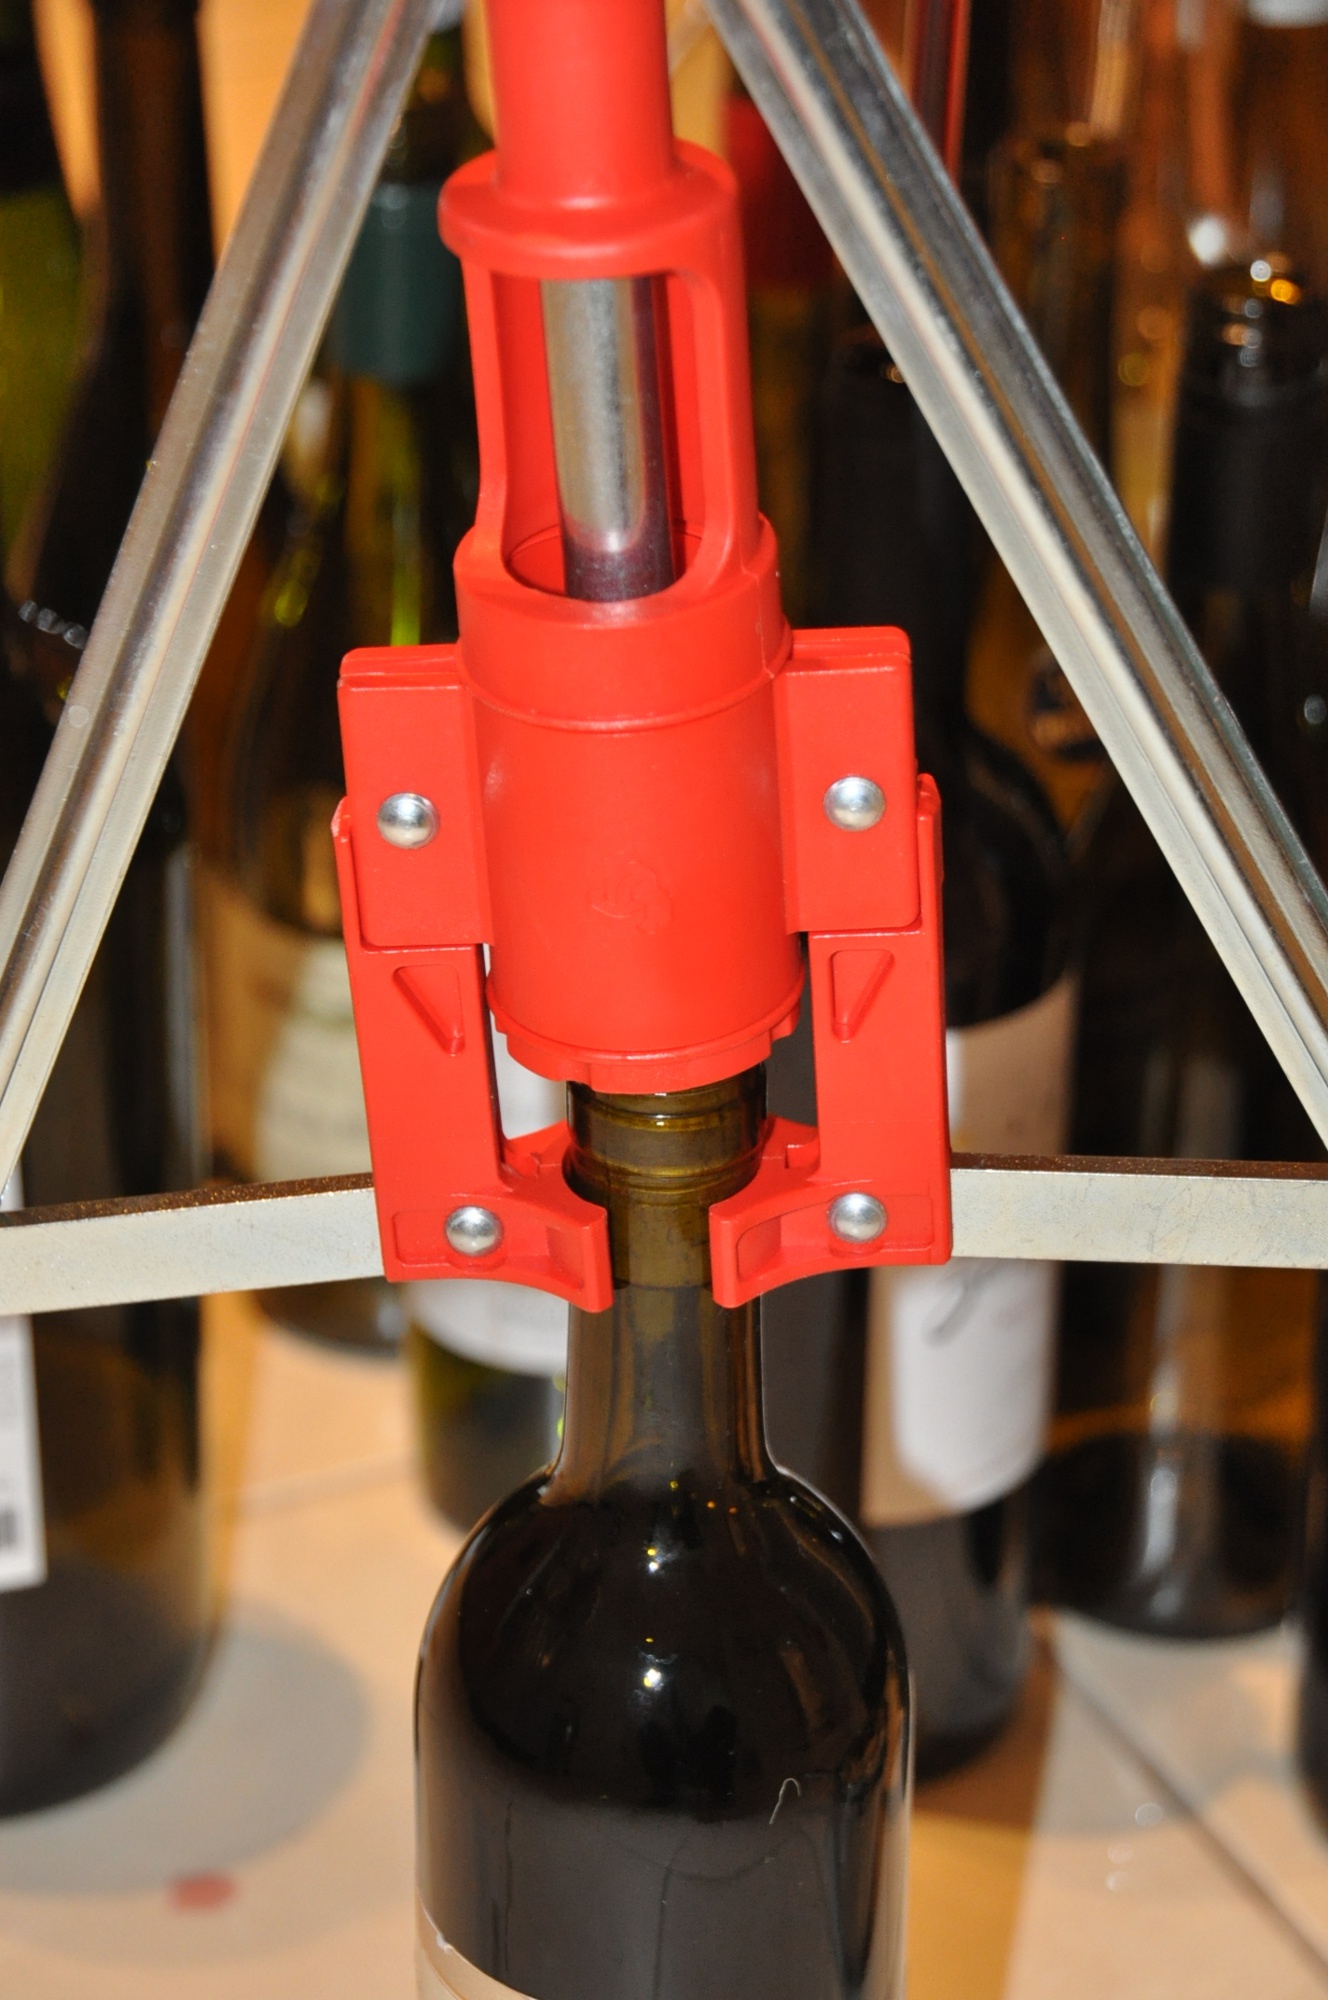
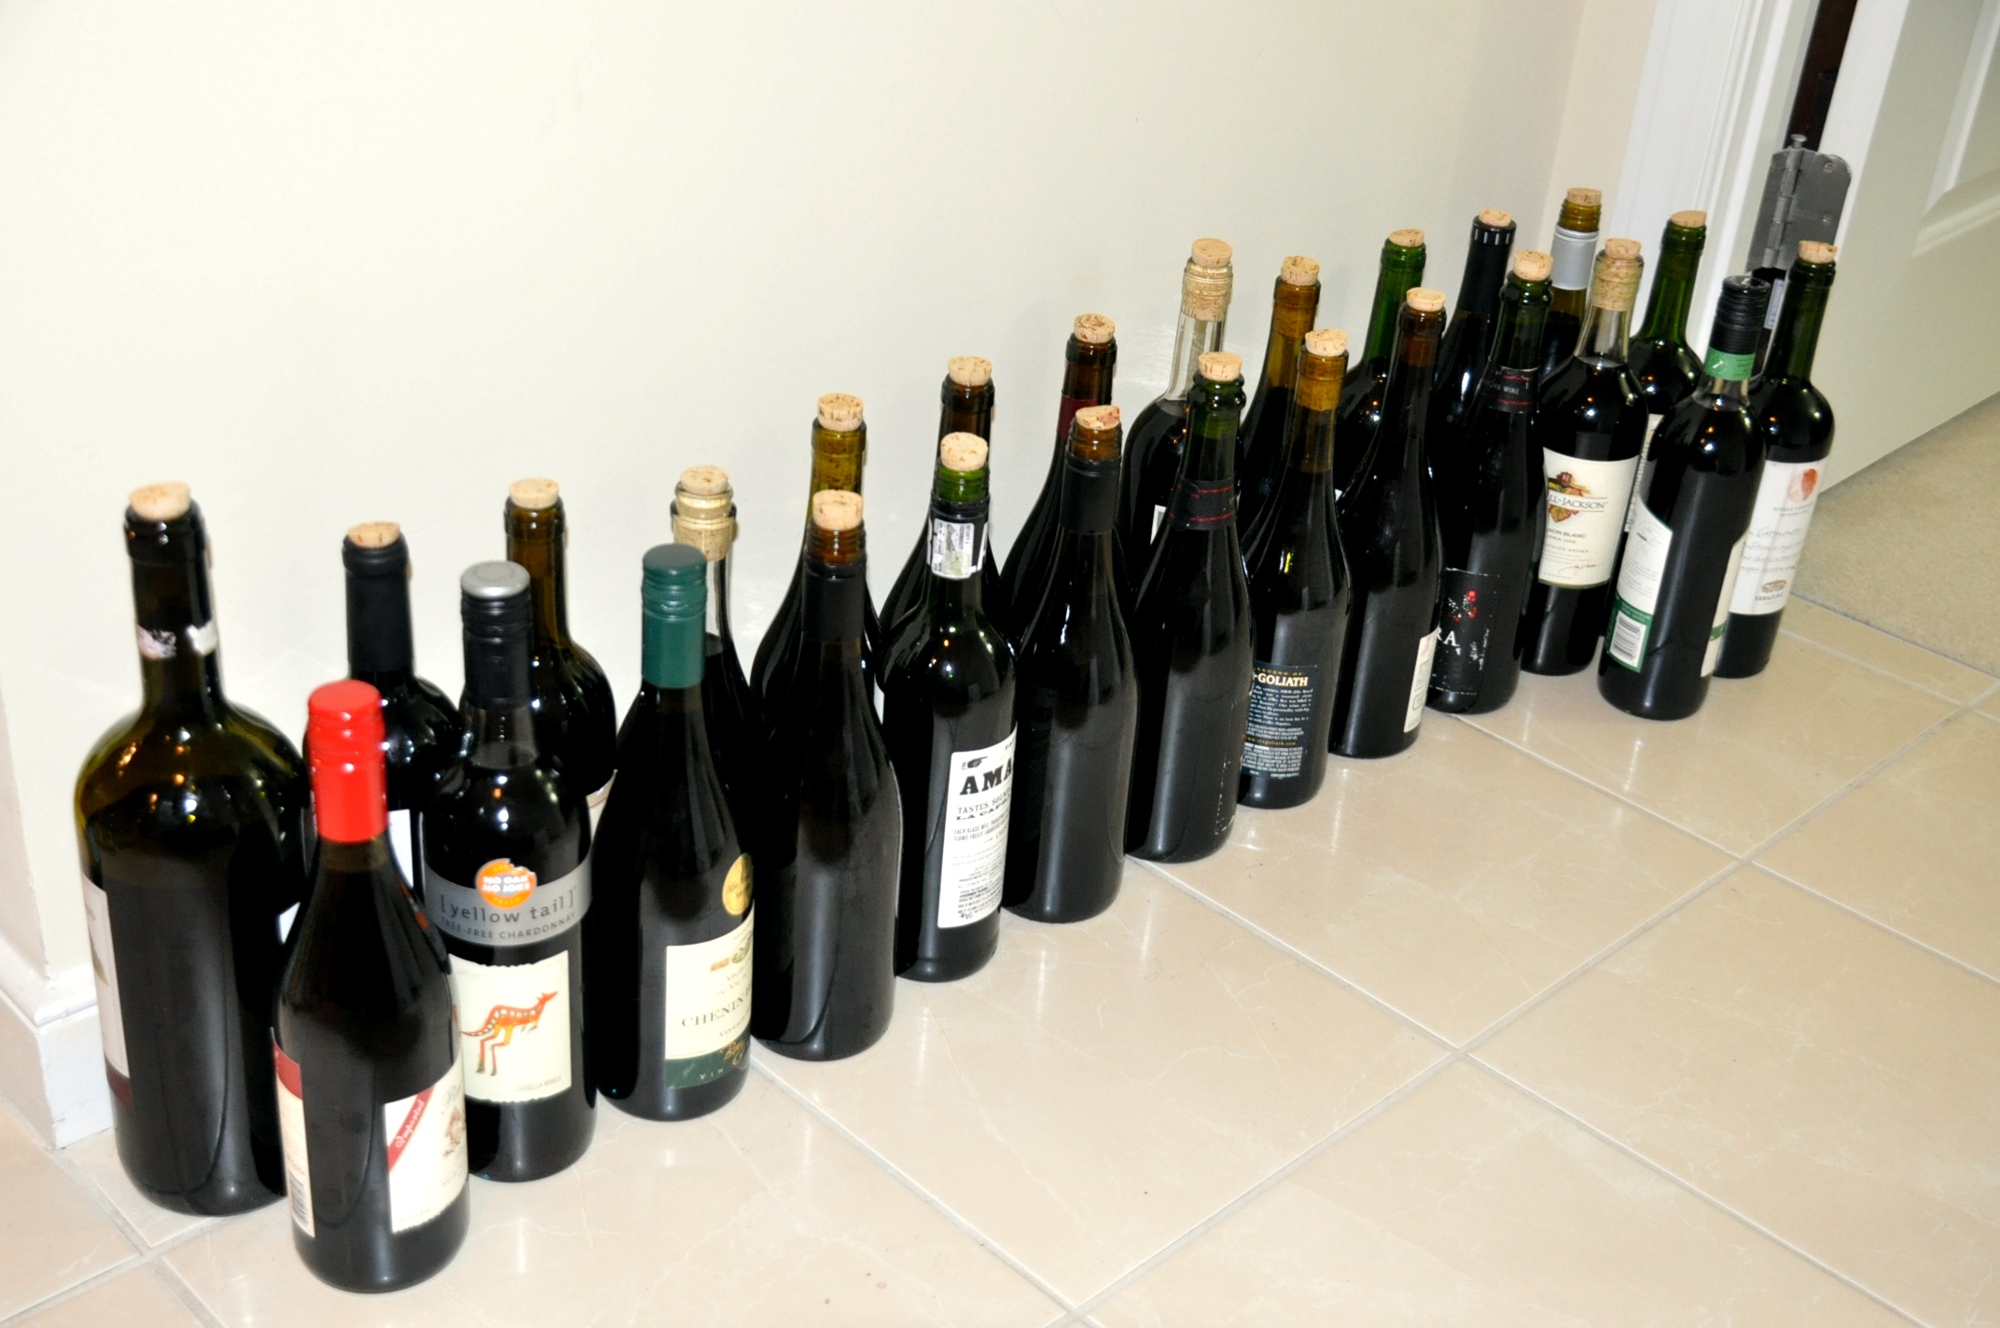
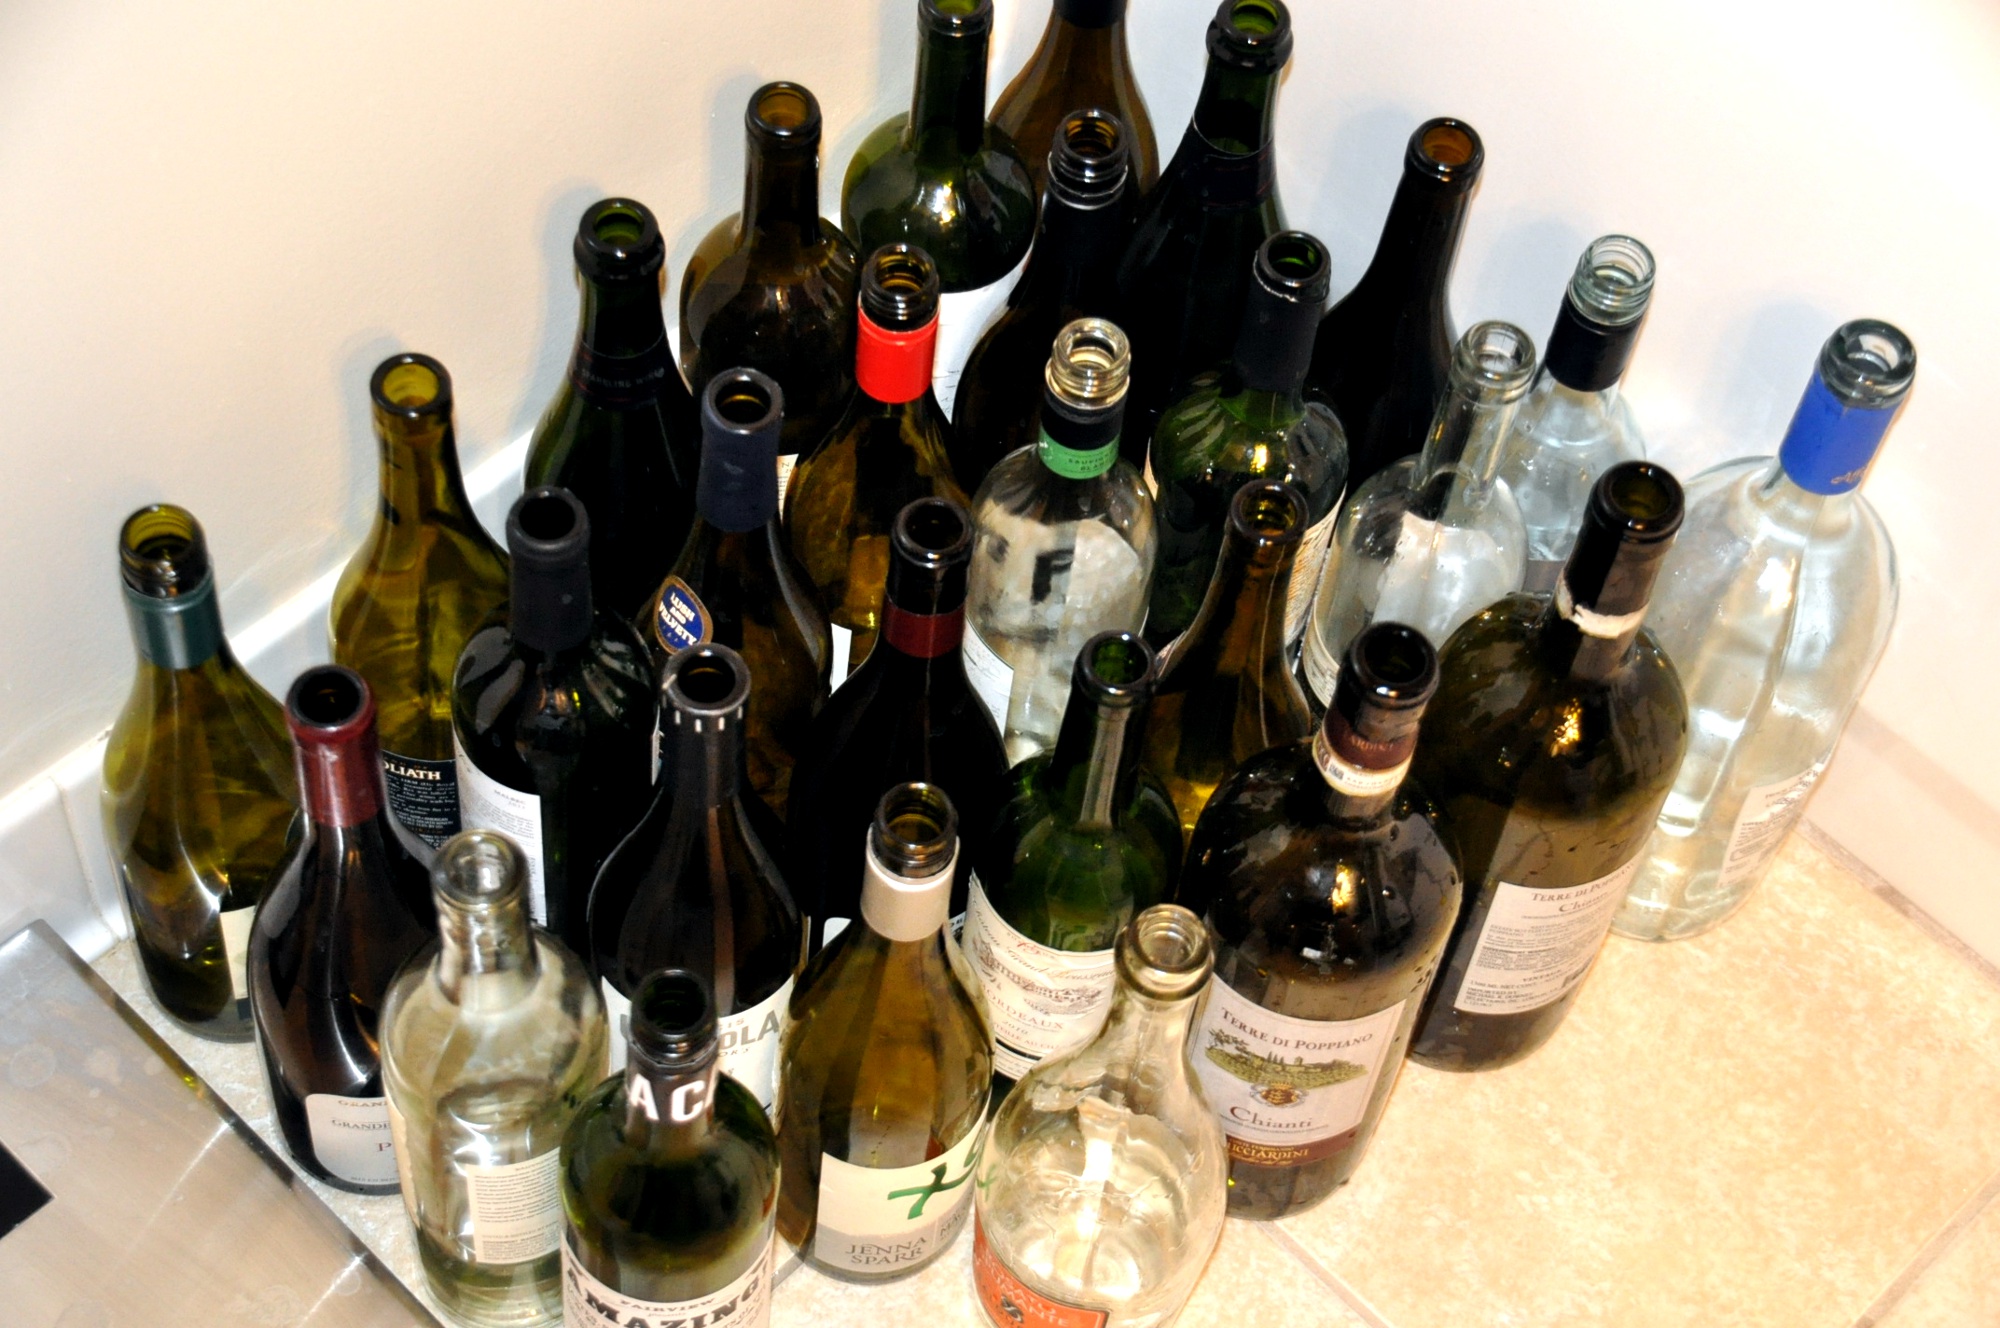
Then use the corker the cork the bottles. This was my first time using this contraption and I could not get the cork to go in all the way, regardless of how much I fidgeted with the adjustment screw. But so far the corks are holding up well. The second picture shows our new wine collection – I think we are ready for winter!
Day 56 (1/5/2013): Enjoying!
The instructions say that you should wait for at least few weeks before trying the wine. But that’s easier said than done! Even after just two weeks, the wine was quite delicious (you need to let it breathe for few minutes first though). It was actually quite good on the day we bottled it, and it’s definitely changing in taste as it’s aging the bottle. It will be interesting to see how the taste changes with time. By the way, the coaster in the picture was made by an artist friend of a colleague of mine, Jackie Jacobson. Check out her site, she has plenty of nice art work for sale.
Ouch, I leave a vine making to folks who know more about it. I am not one of them though I like drinkin wine 🙂
Miro, you should try it (or beer). You may be surprised how relatively easy it is.
Lubos, one day I may try it. Do they sell kits for a white wine? Wanda is into white I am more into red wine, meaning I would have to make both.
Also, you said that you used just a tap water. While living in South Slovakia, I had friends in “wine country” and they were big at having good source of clean water. Tap water use to be chlorinated to a different degree. Does not it interfere with process? That should not be problem with me as we have our own well with pretty good water, thought a bit on “hard side”.
Anyway, chlorine can be eliminated by a filtration process if needed.
Yeah Miro, that is definitely a good point. When I used to make beer, I always used bottled water. But this time I forgot to buy the water and didn’t feel like running back to the store. So I took my chance with the tap water and at least in this case, it didn’t seem to make a difference.
I have done this twice but with simpler kits. You can also get an “auto syphon” so you don’t have to use your mouth. I also struggled with that lever style of corking machines. I started using Zork closures–more expensive than corks but a lot easier to do. I am going to try a more involved kit this summer. Anyway, na zdravie!
Thanks George for the heads up on Zork. I was not aware that such enclosures even existed. I do like corks though, they make the wine look more traditional. I may invest in a better corker next time, I am sure the one that came with the kit was some basic model.
Dr. Lubos!
As an engineer, I am surprised that you have not addressed the relative cost/unit of wine made a’ la Lubos vs some place inexpensive, like Woot.com.
So what is the average cost per bottle, eh? I understand that you would need to amortize the fixed capital investment and expense the variables, but to keep it simple, what is the sunk cost per bottle of the first batch, not counting labor?
If the wine turns out well, this could be an important number to toss out casually when serving same wine to guests as an exclusive “realitné víno z domu Luboša” not generally available to the public but valued at over $xx per bottle!
It is well known in marketing circles that the appelation and label of spiritus potables can have a huge influence on the subjective experience of the product attributes.
As a chemist, I have done my share of brewing and have often marveled at the zeal that those yeaste beasties can convert glucose to ethanol. Why it just happens naturally!
Wine making, like beer making, is more of a materials handling issue for most of the steps than it is of chemistry. One labors to prevent wild and uncontrolled reactions, which will most often adversely affect the outcome. Hence in engineering or science terms, the issue to is to limit the degrees of freedom that the system has so that the desired pathway becomes energetically favored.
Yet wine making as described by you, which, at its heart, is ancient, involves all sorts of mysterious moieties and arcane agents, e.g. potassium sorbate, sodium metabisulfite, chitosan, kieselguhr, most of which with few exceptions were unknown to the ancients, but nevertheless are sold as part of a commercial kit to help make the process more reproducible (limit the degrees of freedom.)
I applaud your gumption in taking on the process. I wait to see if you will continue to produce wine on a regular basis. I am also interested to hear more about the native wines of Slovakia and how yours compare?
What say you, Doctor?
Hi Walter. It was actually quite cheap. If I don’t include the cost of the equipment kit, each wine bottle cost me slightly over $3. The ingredient kit cost $78 and it produced 25 bottles of wine. I got all the actual bottles for free, either by saving ones we drank at home or by asking friends, and I just used tap water. If you do include the cost of the equipment kit (the carboys and so on) then the cost for this first batch is $8.30 per bottle.
The wine actually turned out quite well so I am very happy with this experiment. One thing I found is that it is always better to splurge a bit when buying the ingredient kits. This is also true when home brewing; the kit I used was the more expensive kind that MoreWine offered. Often the cheaper kits skimp on ingredients and the result suffers for it. But even if the wine had not turned out well, the main loss would be the time and not so much the money. At least with beer, you know in less than a month how it turned out. Wine is so much more complicated, and if you include the time for aging in the bottle, you are looking at good 6 months from the time you start the process until you know what the true quality of the wine will be.
But at the same time, making stuff at home is fun, regardless of whether you save money doing it, or even if you succeed on the first try. I probably could have bought cases for less on Woot, but then the whole wine making process would had remained a mystery to me.
I use a Ferrari/Gilda corker. It works well. If the corks are heated in hot water for a short time, they will seal better. These types of corks are only needed if the wine is stored more than a year. Non grape wines are good. I have made wine from persimmons, apples. pears and dandelions. Apples and pears have the problem of the juice extraction.
I need help.I had an old slovak recipe for making Garlic wine. It was just for cooking. But I misplaced it during a move. I remember having to use potatoes instead of grapes, but thats it. Can you help me find this recipe. Thank You Jim
You write that it contains potatoes. So I think that “vodka” is the foundation of garlic wine.http://www.sancaprepecen.eu/attachments/article/80/CESNAKOV%C3%81%20VODKA.pdf
As a fun it is interesting. However, this is not wine making, pour Dieu.
Tomas
Wonderful recipe. My father used to make wine in the basement of our house in PA years ago, probably 1953 or 54. We had big earthen ware crocks that he used. He used elderberrys and apparently it was so potent that one of his friends drank too much and then tried to walk home in the snow and my father went after him and found him passed out and brought him back to the house. He was okay but had one hell of a hangover. I never knew how he did it. The basement always smelled of yeast and fermentation. Dad was born in 1903, Slovak, parents from Saros.
je zaujmavé čo všetko sa dá kúpiť.
my sme s mojim starým otcom robili víno a môžem ti dať niekoľko rád ale základom dobrého vína je nesipať tam žiadne chemikálie. Pokiaľ nechceš aby sa víno zlomilo (základ šampusu 🙂 ) stačí ho stiahnuť do veľkého hrnca alebo inej čistej nádoby a okysličiť ho (t.j. zobrať pohár, nabrať do neho víno a vyliať späť do hrnca a opakovať kým sa ti nebude víno zdať dobré).
čo sa týka sterilnosti je to zbitočné lebo klasický spôsob robenia vína je založení na kvasení, čiže baktérie začnú spotrebovávať cukor a vytvárať z neho alkohol
Ano, to je ciastocne pravda, ale s bakteriami ide o “competition” ze ktory typ sa usadi skor. Ked sa uz rozmnozi ten pravy kvasok tak hej, tak potom uz neni velky risk ze sa pokazi chut inymi bakteriami. Ale je dolezite aby na zaciatku bolo vsetko dobre sterilizovane, aspon v oblastiach kde tie prirodne bakterie nie su dobre.
My Mom, Sue Sabol, used to regularly make Blackberry Brandy. I remember she had a very large pot & tongs for sterilizing the bottles & corks. If anyone has a recipe for Blackberry Brandy, I would love to have it &, although I’m not sure I’ve ever seen Blackberries in our markets, Blueberries are very plentiful as are Apricots which I’m sure would make wonderful Brandy! Thank you to anyone who can help me out w/a great recipe!!! ???